Search Results for: surface prep

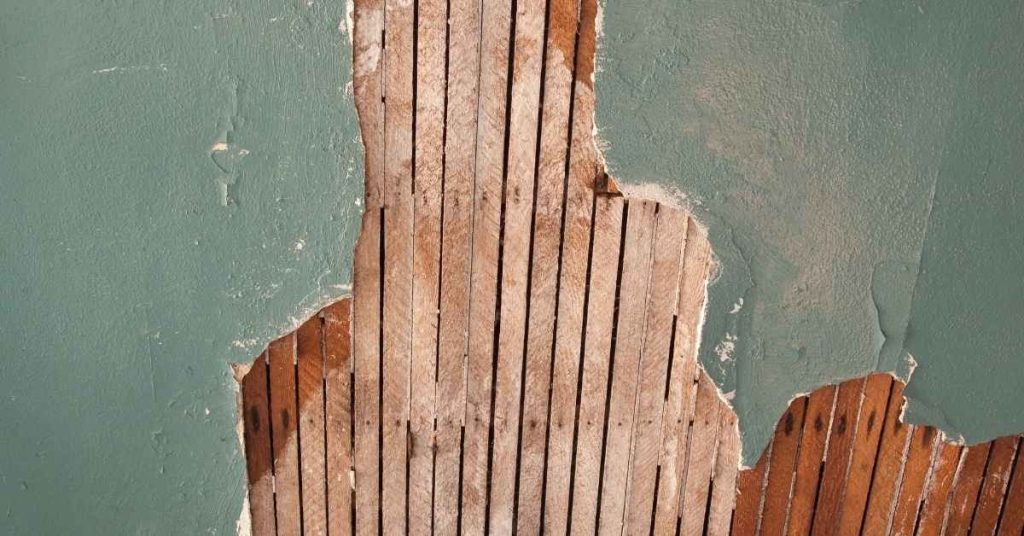
Exposed wooden lath behind partially damaged plaster wall

Plaster Key Failure on Wood Lath: Step-by-Step Repair Timeline and Duration

Introduction The timeline for repairing plaster key failure on wood lath can vary depending on the extent of damage, but understanding the process will help you plan effectively. This guide walks you through each step, from diagnosis to completion, with approximate time frames. Before starting, gather your tools and materials, ensuring everything is in good […]

Plaster Key Failure on Wood Lath: Step-by-Step Repair Timeline and Duration Read More »

worker applying plaster to wall with trowel and hawk

Gauging Plaster for Lime Work: Timeline, Steps by Time

Introduction Planning your lime plastering project involves understanding the time commitment. Gauging plaster for lime work requires careful timing to ensure each step is completed at the right moment. From preparing walls to applying and curing the plaster, every stage has a specific duration that impacts the overall timeline. Let’s break down the process into

Gauging Plaster for Lime Work: Timeline, Steps by Time Read More »

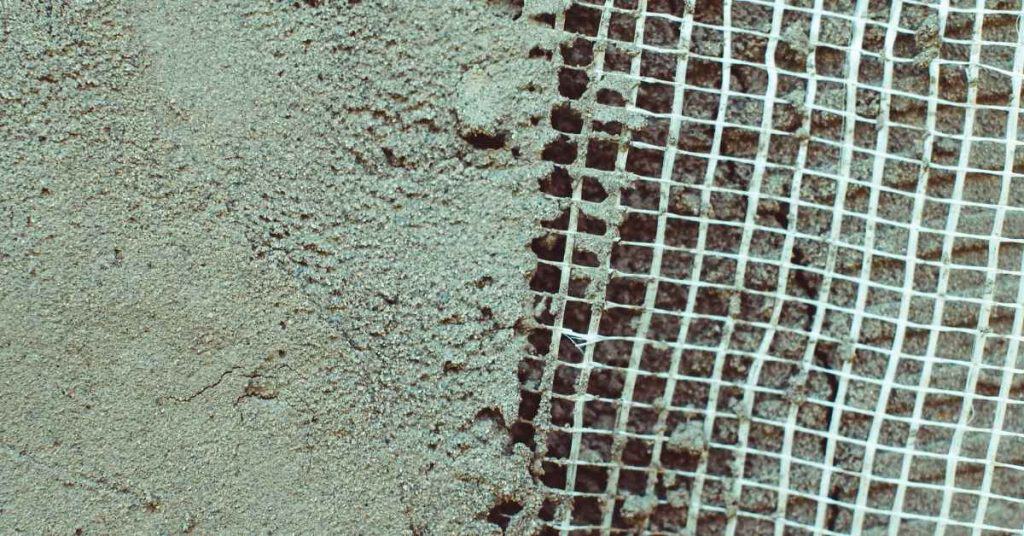
White mesh lath grid adjacent to cement-coated surface.

Replacing Rusted Metal Lath in a Small Area: Patch Boundaries and Fastener Choices

Introduction Replacing rusted metal lath in a small area means cutting out the corroded section, fitting a matching piece of new lath, and fastening it so the patch ties into solid surrounding material. Identify the rotted or rust-stained parts and pick a replacement lath type that matches or is compatible; check product labels or manufacturer

Replacing Rusted Metal Lath in a Small Area: Patch Boundaries and Fastener Choices Read More »

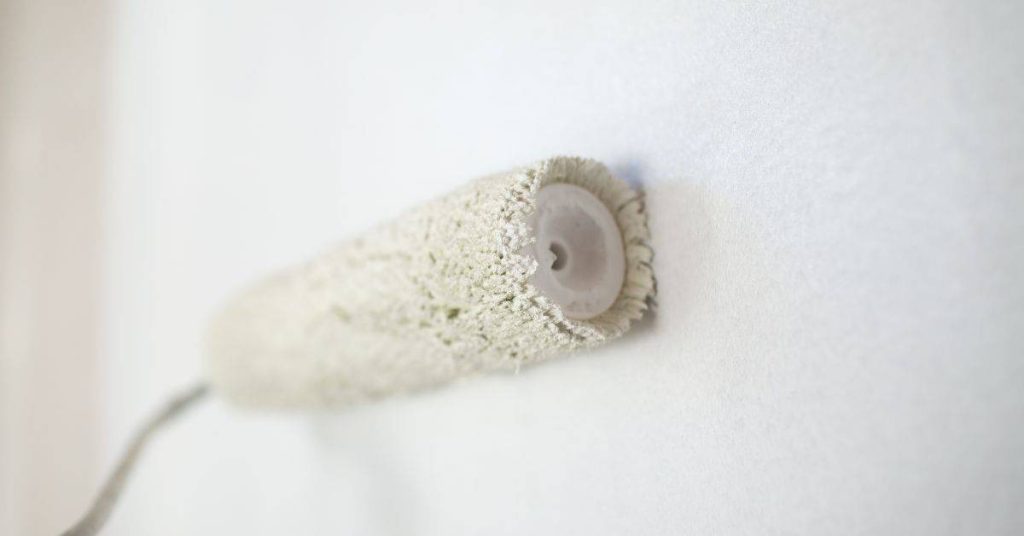
Closeup of paint roller applying white paint on wall

Plaster Drying vs Curing Timeline: When to Paint for Long-Lasting Results

Introduction The timeline of plaster drying and curing is crucial to ensure a durable, long-lasting finish. Rushing the process can lead to paint failures like blistering or peeling. Understanding the timeline helps you plan your project better and avoid costly mistakes. Here’s how to determine when your plaster is ready for painting. The Plaster Drying

Plaster Drying vs Curing Timeline: When to Paint for Long-Lasting Results Read More »

Hand holding a trowel with plaster and spreader

Tadelakt Soap Application: A Step-by-Step Timeline to Maintain Water Resistance Without Streaks

Introduction Applying soap to your Tadelakt surface is a crucial maintenance task, but it’s also time-sensitive. Understanding the timeline of this process ensures you maintain water resistance and avoid streaks effectively. From preparation to application and curing, each step takes a specific amount of time. Let’s break down the Tadelakt soap application process into a

Tadelakt Soap Application: A Step-by-Step Timeline to Maintain Water Resistance Without Streaks Read More »

Smooth beige polished lime plaster wall surface

Polished Lime Plaster in Wet Areas: Timeline & Duration for DIY Installation

Introduction The timeline and duration of installing polished lime plaster in wet areas can vary depending on several factors. Understanding the process and its key stages will help you plan your project effectively. In this guide, we’ll break down the installation process into a clear timeline, ensuring you know what to expect at each stage

Polished Lime Plaster in Wet Areas: Timeline & Duration for DIY Installation Read More »

Worker smoothing plaster on a curved wall

Plaster Repair on Curved Walls: A Step-by-Step Timeline for Smooth Results

Introduction Repairing plaster on curved walls requires careful planning and timing. Each step, from preparation to finishing, plays a crucial role in ensuring your repair blends seamlessly with the existing surface. To help you stay organized and on track, we’ve created this comprehensive timeline outlining the key stages of repairing plaster on curved walls, so

Plaster Repair on Curved Walls: A Step-by-Step Timeline for Smooth Results Read More »

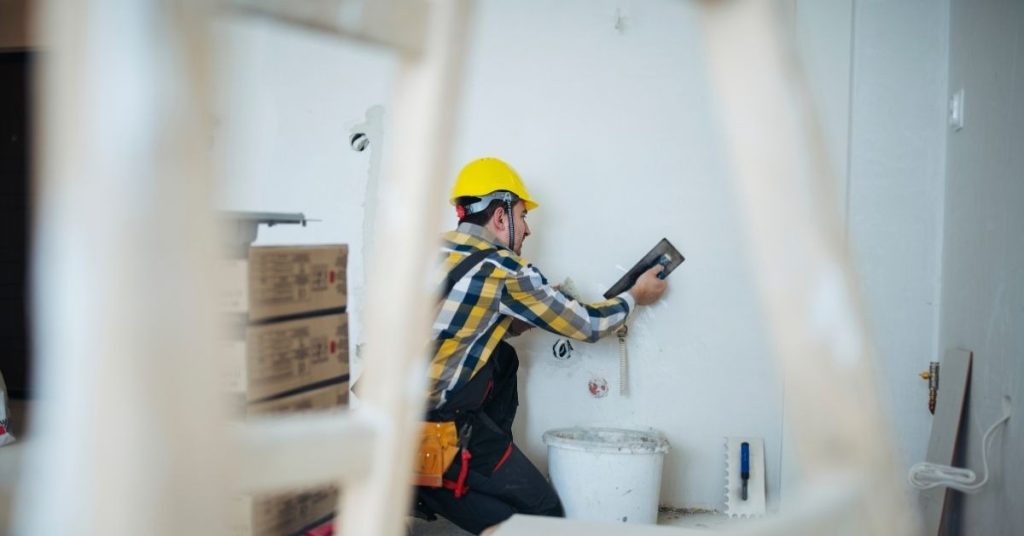
Worker applying plaster to interior wall wearing yellow safety helmet

Plaster Baseboard Dings and Gouges: Fast Patch Options That Don’t Shrink Back – Step-by-Step Timeline

Introduction Repairing plaster baseboard dings and gouges can be a quick job if you follow the right steps in the correct order. Understanding the timeline of these repairs helps ensure you complete the project efficiently without compromising quality. In this guide, we’ll walk you through the step-by-step process, focusing on how long each task takes,

Plaster Baseboard Dings and Gouges: Fast Patch Options That Don’t Shrink Back – Step-by-Step Timeline Read More »

Person patching ceiling plaster near window with putty knife

Plaster Repairs Around Ceiling Light Boxes: A Step-by-Step Timeline to Stop Ring Cracks

Introduction Tackling plaster repairs around ceiling light boxes can seem daunting, but breaking down the process into a clear timeline makes it manageable. This step-by-step guide walks you through each stage, from preparation to finishing, ensuring you complete the job efficiently and effectively. The key to successful repair lies in understanding how long each task

Plaster Repairs Around Ceiling Light Boxes: A Step-by-Step Timeline to Stop Ring Cracks Read More »

smooth gray plaster wall surface texture

Fixing Rust Bleed Through Plaster: A Step-by-Step Timeline

Introduction Tackling rust bleed through plaster can seem daunting, but breaking down the process into a clear timeline makes it manageable. This step-by-step guide walks you through identifying the problem, preparing the surface, isolating metal, and sealing the area – all within a realistic timeframe. Understanding how long each stage takes helps you plan your

Fixing Rust Bleed Through Plaster: A Step-by-Step Timeline Read More »