Search Results for: skim coat plaster

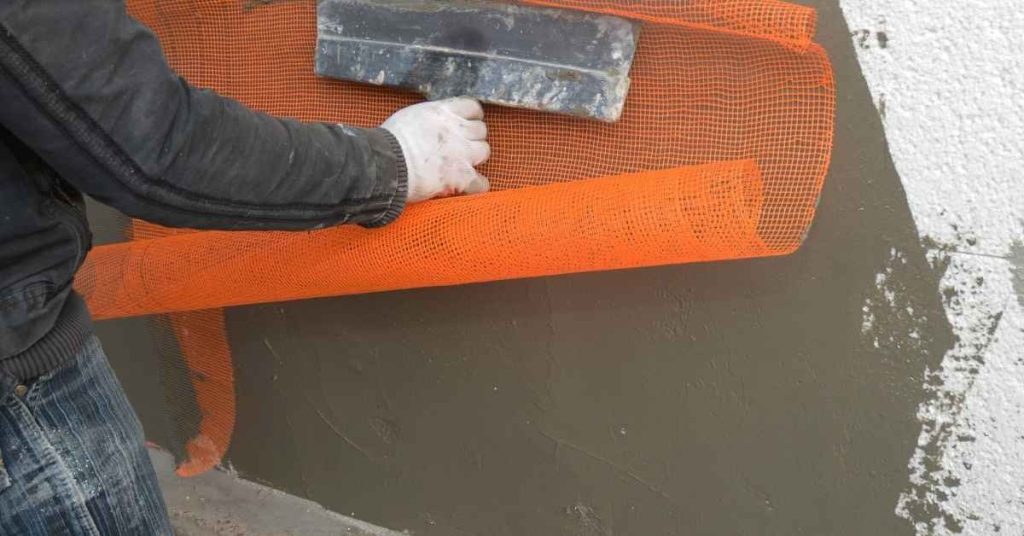
Worker applying orange mesh on wet stucco surface

Repairing Stucco at Inside Corners: Mesh Layout and Stress Relief Details

Introduction Repairing stucco at inside corners means reinforcing the corner with mesh and creating controlled stress relief so the patch bonds and moves without cracking. In practice you’ll cut and embed mesh over the corner, feather the scratch/base coats into the surrounding sound stucco, and finish with compatible topcoat material; check product labels and local […]

Repairing Stucco at Inside Corners: Mesh Layout and Stress Relief Details Read More »
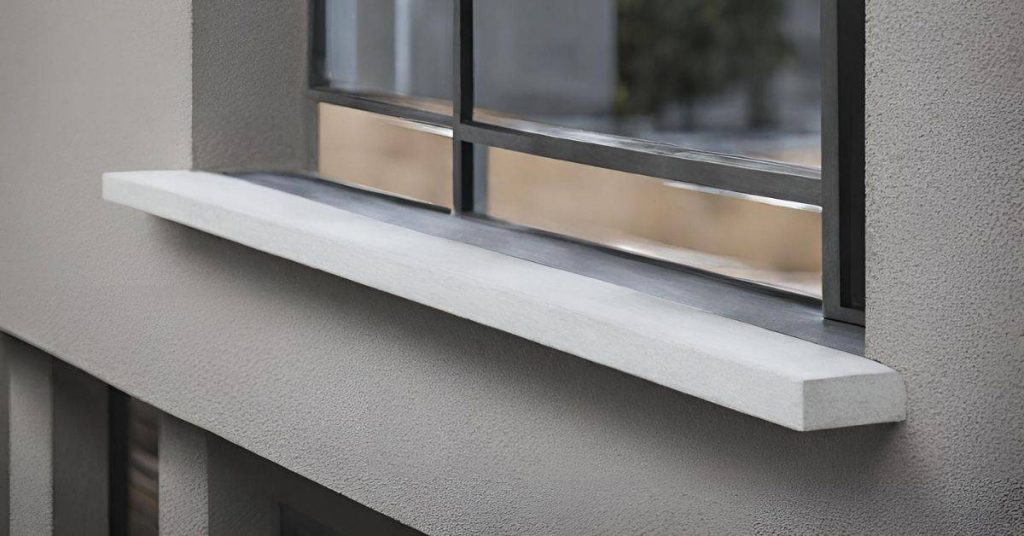
Close-up of a concrete window sill under a black metal-framed window

Concrete Overlay on Old Broom Finish: Step-by-Step Timeline and Duration Guide

Introduction Applying a concrete overlay to an old broom finish is a time-sensitive project that requires careful planning. Understanding the timeline and duration of each step is crucial for successful results. In this guide, we’ll break down the process into manageable steps, focusing on how long each task takes, so you can plan your project

Concrete Overlay on Old Broom Finish: Step-by-Step Timeline and Duration Guide Read More »

Brick chimney with metal flashing on shingled roof

How to Rebuild Stucco at a Chimney Cricket: Flashing Integration Without Leaks

Introduction Rebuilding stucco at a chimney cricket means removing damaged material, repairing the substrate, and re-flashing the cricket so water is directed away from the chimney without leaks. This is a hands-on DIY task that combines cutting back stucco, checking and repairing the underlying sheathing and metal flashing, and installing compatible stucco layers. Before you

How to Rebuild Stucco at a Chimney Cricket: Flashing Integration Without Leaks Read More »

Close-up view of crushed concrete aggregate stones

Exposed Aggregate Repairs: Re-Exposing Stone Without Washing Out the Patch

Introduction Exposed aggregate repairs that re-expose stone without washing out the patch means removing the surface paste down to the original aggregate so the patch blends with the surrounding concrete. It’s a hands-on process using mechanical abrasion and careful material matching rather than scrubbing with water until the new paste disappears. Check product labels and

Exposed Aggregate Repairs: Re-Exposing Stone Without Washing Out the Patch Read More »

modern concrete countertop with integrated sink and black faucet

Repairing a Concrete Countertop Chip at the Sink: Edge Build-Up and Reseal Workflow

Introduction Repairing a concrete countertop chip at the sink means rebuilding the damaged edge with a compatible patch compound, shaping it to match the surrounding profile, and then resealing the repair so water can’t get in. This is a hands-on patch-and-finish job you can do with basic tools, but check the patch product label and

Repairing a Concrete Countertop Chip at the Sink: Edge Build-Up and Reseal Workflow Read More »

Worker smoothing wet concrete with steel trowel

How to Avoid Concrete Burn Marks From Steel Trowels: Timing and Pressure

Introduction Concrete burn marks from steel trowels are surface defects caused by working the slab too long or with too much pressure while the surface is still finishing; to avoid them, match your troweling timing and hand pressure to the concrete’s set and follow good finishing technique. This means watching the slab, feeling the surface,

How to Avoid Concrete Burn Marks From Steel Trowels: Timing and Pressure Read More »

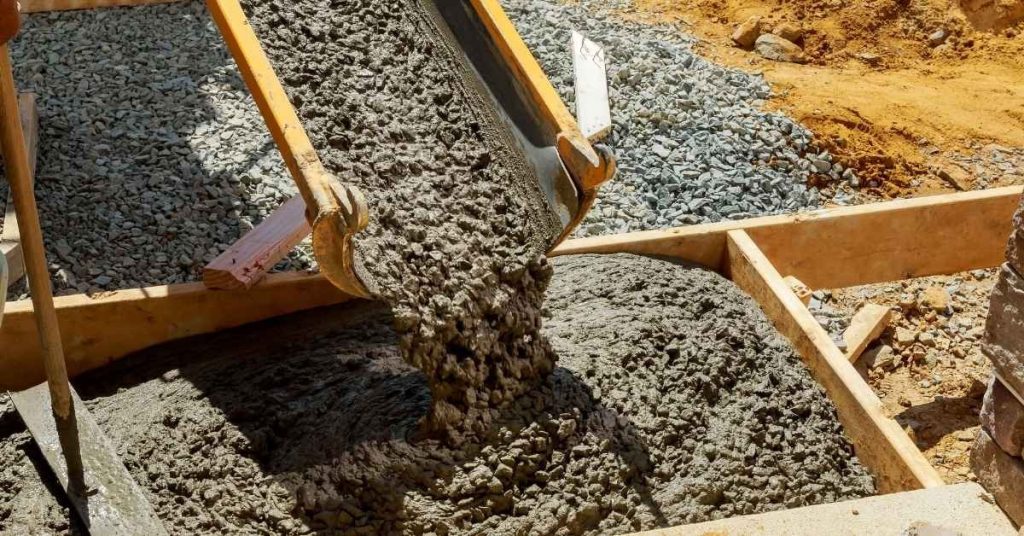
Wet concrete pouring into wooden forms for curbing

How to Repair a Broken Concrete Curb Corner: A Step-by-Step Timeline

Introduction Repairing a broken concrete curb corner can seem like a daunting task, but with the right approach and understanding of the timeline involved, it’s a manageable DIY project. This step-by-step guide walks you through the process from start to finish, breaking down each stage so you know exactly how long it takes and what

How to Repair a Broken Concrete Curb Corner: A Step-by-Step Timeline Read More »

Room with unfinished drywall and ceiling drywall taped and mudded

Drywall Thickness for Ceilings vs Walls: Preventing Sag, Improving Sound, and Meeting Fire Requirements

Introduction Drywall thickness for ceilings versus walls is the choice of panel weight and rigidity you use to prevent sag on ceilings, control sound between rooms, and meet fire-resistance needs. In plain terms: ceilings often need stiffer or heavier board than walls to avoid sag, but exact thickness and fire ratings depend on the product

Drywall Thickness for Ceilings vs Walls: Preventing Sag, Improving Sound, and Meeting Fire Requirements Read More »

White painted wooden shiplap wall with horizontal boards

Flashing on Painted Walls: How to Stop Patchy Sheen From Showing Through

Introduction Flashing on painted walls is the thin barrier that keeps water from seeping behind paint. When it fails, patchy sheen can show through and ruin a smooth finish. Check the paint and flashing product labels for compatibility, and follow manufacturer instructions or local rules if you’re unsure. To prep, clean the wall and repair

Flashing on Painted Walls: How to Stop Patchy Sheen From Showing Through Read More »

Worker applying drywall mud with a trowel on wall

Creating a Perfect Shadowline Reveal at Drywall-to-Ceiling Transitions (Modern Detail)

Introduction A shadowline reveal is a small, clean gap between drywall and the ceiling that creates a floating edge. It’s a hands-on detail that hides joint lines while catching light. Think of it as a deliberate, precise trim that reads as modern and tidy. To pull it off, you’ll plan the edge, keep a consistent

Creating a Perfect Shadowline Reveal at Drywall-to-Ceiling Transitions (Modern Detail) Read More »