Search Results for: sealer

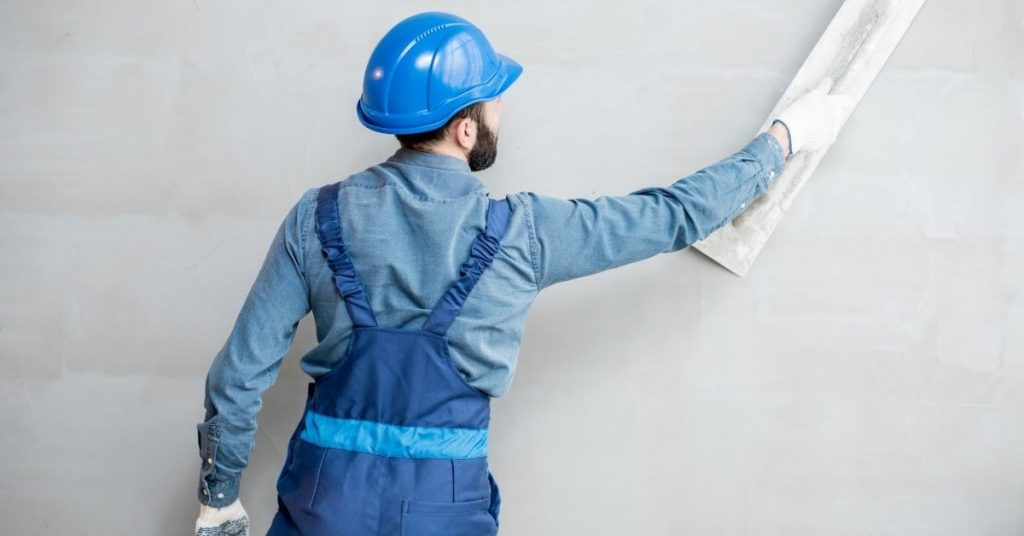
Worker in blue helmet smoothing a light gray plaster wall

Roman Clay Wall Finishes: Substrate Picks, Burnish Timing, and Sealing Options

Introduction Roman clay wall finishes are traditional lime-based plasters applied to walls to create a natural, earthy, matte surface. They require a clean, sound substrate and proper priming before application. Burnish timing depends on conditions and should be tested on a scrap area to get the feel you want. These finishes work well in living […]

Roman Clay Wall Finishes: Substrate Picks, Burnish Timing, and Sealing Options Read More »

bucket with plastering tools on wet surface outdoors

Tadelakt for DIY Bathrooms: Burnishing, Waxing, and Details That Prevent Failure

Introduction Tadelakt is a traditional lime plaster finish used in bathrooms that you burnish and wax to create a smooth, water-resistant surface. This article covers the key steps you can do yourself, like burnishing and applying wax, and the details that help prevent failure. Keep in mind that proper preparation and careful curing are essential

Tadelakt for DIY Bathrooms: Burnishing, Waxing, and Details That Prevent Failure Read More »

Hand smoothing lime plaster on wall with trowel

Lime Plaster in Basements: Moisture Testing, Vapor Drive, and Paint Choices

Introduction Lime plaster in basements is a breathable plaster finish that helps manage moisture. It relies on lime’s chemistry to let vapor pass while providing a durable coat. This DIY approach requires careful moisture testing and proper surface prep. Moisture testing, understanding vapor drive, and choosing compatible paints matter for long-term performance. Check product labels,

Lime Plaster in Basements: Moisture Testing, Vapor Drive, and Paint Choices Read More »

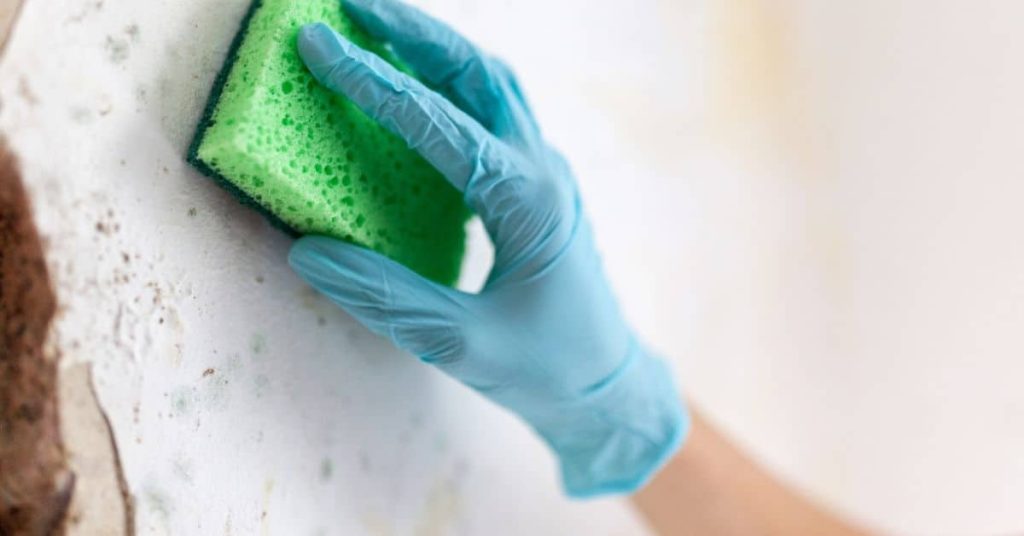
Hand in blue glove cleaning white wall with green sponge

Cleaning and Resealing Polished Plaster: Soap Scum, Dull Spots, and Refresh Coats

Introduction Cleaning and resealing polished plaster means removing soap scum and dull spots and applying a fresh protective coat. This is a hands-on DIY job that restores the surface without tearing it out. Expect a light scrubbing, careful rinse, and a new sealant layer following the manufacturer’s instructions. Before you start, check the product labels

Cleaning and Resealing Polished Plaster: Soap Scum, Dull Spots, and Refresh Coats Read More »

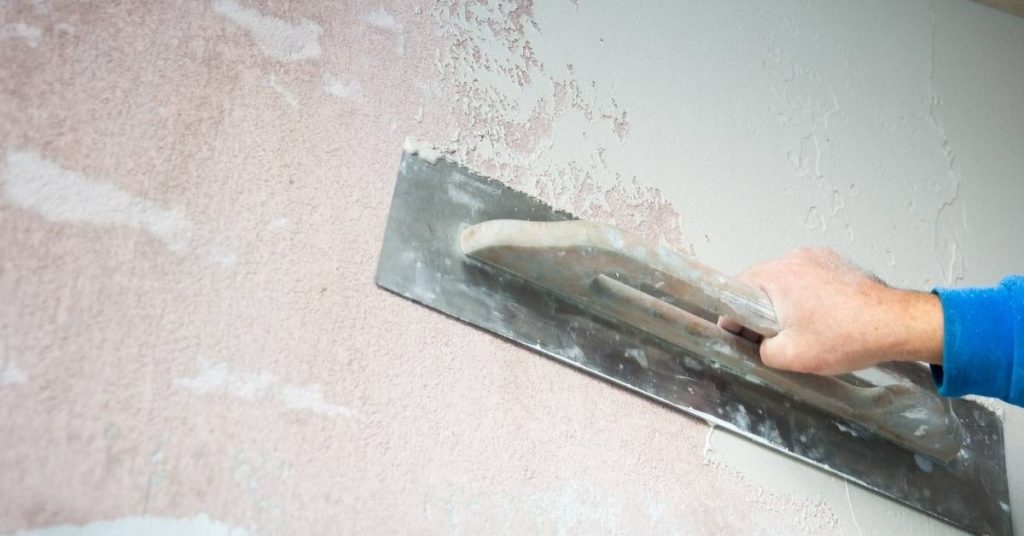
Hand applying plaster on wall with metal trowel

Clay Plaster Dent Repairs: Spot Blends, Burnish Timing, and Invisible Touch-Ups

Introduction Clay plaster dent repairs are about filling dents with clay plaster, blending the patch to the surrounding wall, and keeping the finish invisible. This is a hands-on, small-mesh job you can tackle with basic tools and careful timing. You’ll spot blend by feathering edges and adjusting texture until the repaired area matches the wall.

Clay Plaster Dent Repairs: Spot Blends, Burnish Timing, and Invisible Touch-Ups Read More »

Close-up of textured polished plaster wall surface

Sanding vs Burnishing Polished Plaster: Fixing Trowel Tracks Without Haze

Introduction Sanding and burnishing polished plaster is the process of smoothing and finishing the surface to remove trowel tracks and haze. This is done after the plaster has cured enough to work but while it’s still workable, using gentle abrasion and polish. The goal is a uniform, matte or soft sheen without gouges. Before you

Sanding vs Burnishing Polished Plaster: Fixing Trowel Tracks Without Haze Read More »

Snow-covered precast concrete beams stacked outdoors

Clean Concrete Door Threshold Curbs: Isolation Joints and Waterproof Transition Details

Introduction A clean concrete door threshold curb is a raised, sealed transition at a doorway that isolates joints and redirects water. For installation, choose a waterproofing membrane that can bridge the joint between curb and slab, and follow the manufacturer’s surface prep and cure guidance. Architectural details matter—use proper edging, transitions, and compatible sealants, and

Clean Concrete Door Threshold Curbs: Isolation Joints and Waterproof Transition Details Read More »

Woman painting kitchen cabinets brown with brush

Painting Brick Without Trapping Moisture: Mineral Paint vs Acrylic Reality

Introduction Mineral paint lets brick breathe and dry without trapping moisture. Acrylic finishes sit on the surface and can seal moisture in if the surface isn’t prepared or the weather isn’t right. In this article I’ll lay out practical, hands‑on steps so you know what to check before you paint. Before you buy, read the

Painting Brick Without Trapping Moisture: Mineral Paint vs Acrylic Reality Read More »

Hand holding electric drill with bit against white brick wall

Removing Paint from Brick: What Works Without Turning Faces to Powder

Introduction Removing paint from brick means stripping paint while keeping the brickwork intact and the mortar sound. This DIY guide focuses on practical, low-damage approaches you can do with common tools and safe techniques. You’ll want to test on a small area first and watch for powdering or etching, then proceed carefully. Start with gentle

Removing Paint from Brick: What Works Without Turning Faces to Powder Read More »

Black painted brick wall with uneven paint coverage

Interior Painted Brick Done Right: Bond Tests, Primers, and Bleed-Through Fixes

Introduction Interior painted brick means coating interior brick walls with paint using proper prep to ensure adhesion and durability. This article covers how to test for good bond, what primers to use, and how to fix bleed-through in plain, hands-on terms. You’ll find practical steps you can follow on a DIY job site and what

Interior Painted Brick Done Right: Bond Tests, Primers, and Bleed-Through Fixes Read More »