Search Results for: sanding plaster

Worker applying drywall mud with a trowel on wall

Creating a Perfect Shadowline Reveal at Drywall-to-Ceiling Transitions (Modern Detail)

Introduction A shadowline reveal is a small, clean gap between drywall and the ceiling that creates a floating edge. It’s a hands-on detail that hides joint lines while catching light. Think of it as a deliberate, precise trim that reads as modern and tidy. To pull it off, you’ll plan the edge, keep a consistent […]

Creating a Perfect Shadowline Reveal at Drywall-to-Ceiling Transitions (Modern Detail) Read More »

Blue ladder in room with patched and primed drywall walls

Setting-Type Mud vs. All-Purpose: Where Each Belongs in Repairs and Finishing

Introduction Setting-type mud is a drywall compound that dries harder for joints, while all-purpose mud is a versatile, faster-setting option for general repairs. In repairs and finishing, use setting-type where you need a strong, clean joint and sanding resistance; use all-purpose for quick fills and smooth coats. Think about the project timeline and surface when

Setting-Type Mud vs. All-Purpose: Where Each Belongs in Repairs and Finishing Read More »

Smooth white ceiling with recessed tray design and hanging bulb

How to Prevent Flashing at Joints Under Semi-Gloss Paint (Primer + Skim + Sand Workflow)

Introduction Flashing at joints under semi-gloss paint is when the edge of the joint shows through the finish due to imperfect sealing or adhesion. The fix is a careful primer, skim coat, and light sanding to smooth joints before applying the topcoat. Work from clean surfaces and match the paint system to the substrate, checking

How to Prevent Flashing at Joints Under Semi-Gloss Paint (Primer + Skim + Sand Workflow) Read More »

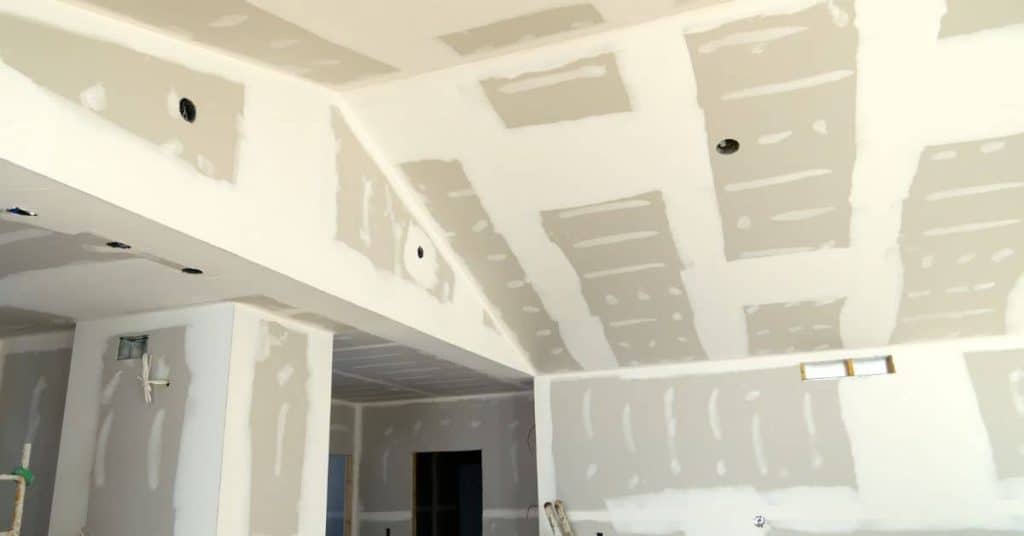
Unpainted drywall sheets with taped and mudded joints on ceiling and walls

Drywall Finishing in Cold Weather: Heater Placement, Dry Times, and Crack Prevention

Introduction Drywall finishing in cold weather means keeping mud workable and joints from cracking by managing heat and drying times. Aim for a steady, moderate temperature in the room and avoid drafts that slow drying. Check the mud you’re using for cold-weather guidance and follow the manufacturer’s instructions for working times. Position heaters to keep

Drywall Finishing in Cold Weather: Heater Placement, Dry Times, and Crack Prevention Read More »

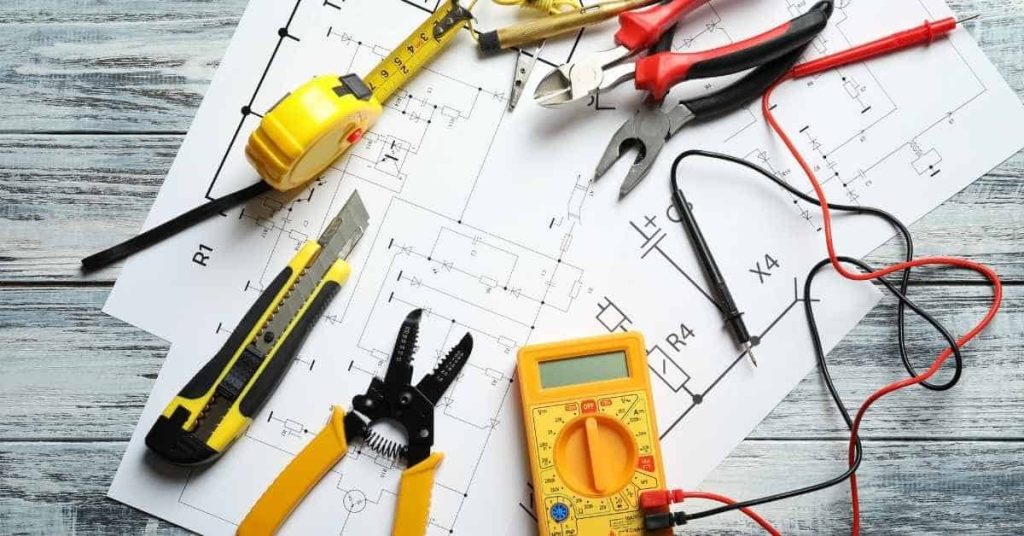
Electrical tools on top of blueprint diagrams on wooden surface

Electrical Box Extenders and Drywall Thickness: Getting Device Flush Without Cracked Mud Rings

Introduction Electrical box extenders adjust the depth of a box so the device sits flush with drywall. Key takeaways Match drywall thickness with extender depth to keep devices flush. Measure drywall and box depth accurately before selecting any extender. Choose extender type by box style, mud thickness, and finish height. Follow manufacturer instructions and local

Electrical Box Extenders and Drywall Thickness: Getting Device Flush Without Cracked Mud Rings Read More »

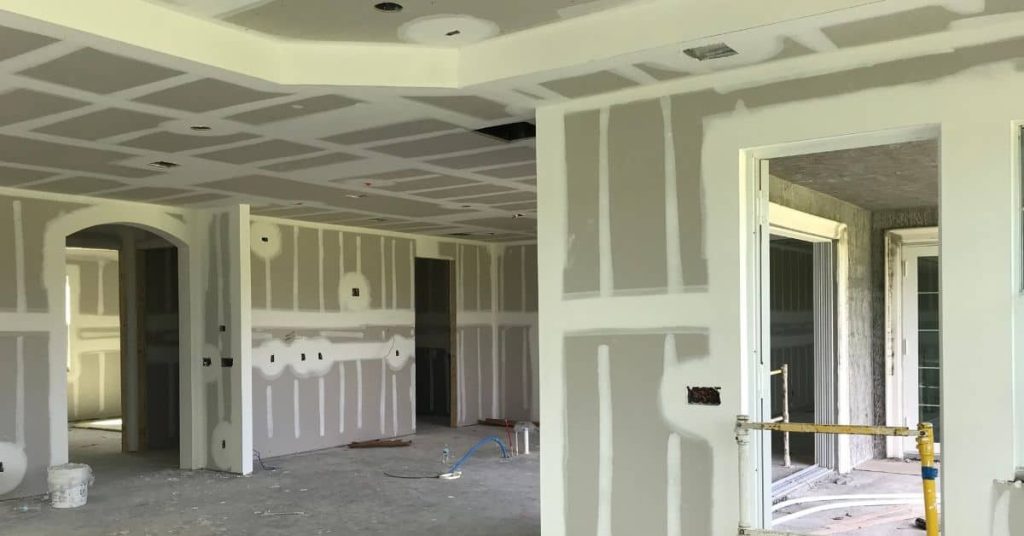
Drywall panels with taped and mudded seams in unfinished room

Drywall Repair After Wallpaper Removal: Fixing Torn Paper Without Bubbles

Introduction Drywall repair after wallpaper removal means fixing the torn or peeled gypsum board surface so it sits flat and ready for paint. You’ll likely need to patch the torn areas, skim the joints, and feather the edges so the wall looks seamless. This is a hands-on job you can do without specialized tools beyond

Drywall Repair After Wallpaper Removal: Fixing Torn Paper Without Bubbles Read More »

Interior room with drywall patches and joint compound

How to Patch Drywall After Removing Tile Backsplash (Old Mastic, Tears, and Skim Strategy)

Introduction Patching drywall after removing a tile backsplash involves repairing damaged drywall, smoothing feathered seams, and re-skimming the surface so it’s ready to paint. You’ll want to address old mastic footprints, tears, and any ridges or gouges left behind. Check for water stains or loose paint and plan repairs accordingly before you proceed. Start by

How to Patch Drywall After Removing Tile Backsplash (Old Mastic, Tears, and Skim Strategy) Read More »

Person applying drywall joint compound near window

Drywall Around New Windows: How to Build Returns That Stay Straight and Crack-Free

Introduction Returns around a window are the built drywall edges that keep the opening straight and crack‑free. This article explains how to shape and install them in a DIY‑friendly way. You’ll get a straightforward, hands-on approach that doesn’t rely on theory. You’ll want to start by dry‑fitting the window reveal and deciding where the drywall

Drywall Around New Windows: How to Build Returns That Stay Straight and Crack-Free Read More »

Interior walls with unfinished drywall and visible joint compound

How to Finish Drywall Over OSB/Sheathing Interior Walls (Adhesion and Joint Strategy)

Introduction Finishing drywall over OSB means applying drywall to bare OSB sheathing with proper bonding, taping, and joint methods. Before you start, confirm the OSB is clean, dry, and reasonably flat and plan how you’ll attach the drywall. This approach centers on solid adhesion and clean joints without compromising the panel. Use the methods and

How to Finish Drywall Over OSB/Sheathing Interior Walls (Adhesion and Joint Strategy) Read More »

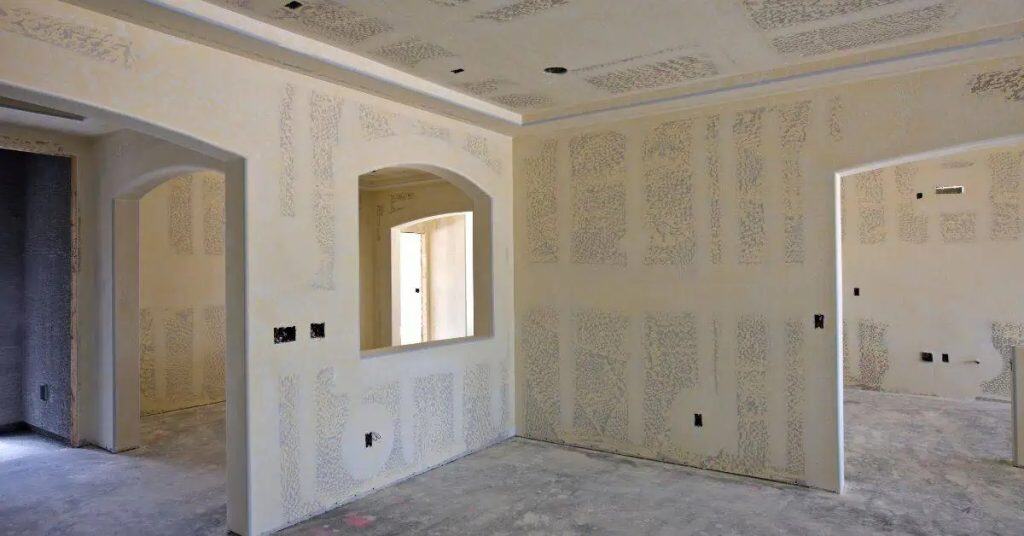
Drywall panels with taped and mudded joints in unfinished room

Drywall Butt Joint ‘Humps’: Prevention With Back-Blocking and Repair Options

Introduction A drywall butt joint hump is an uneven bump along a seam where two panels meet. It happens when compaction or framing flex creates a little bulge that catches the eye. This article covers how back-blocking and simple repair steps can keep seams flat. Back-blocking involves inserting solid material behind the joint to help

Drywall Butt Joint ‘Humps’: Prevention With Back-Blocking and Repair Options Read More »