Search Results for: sanding plaster

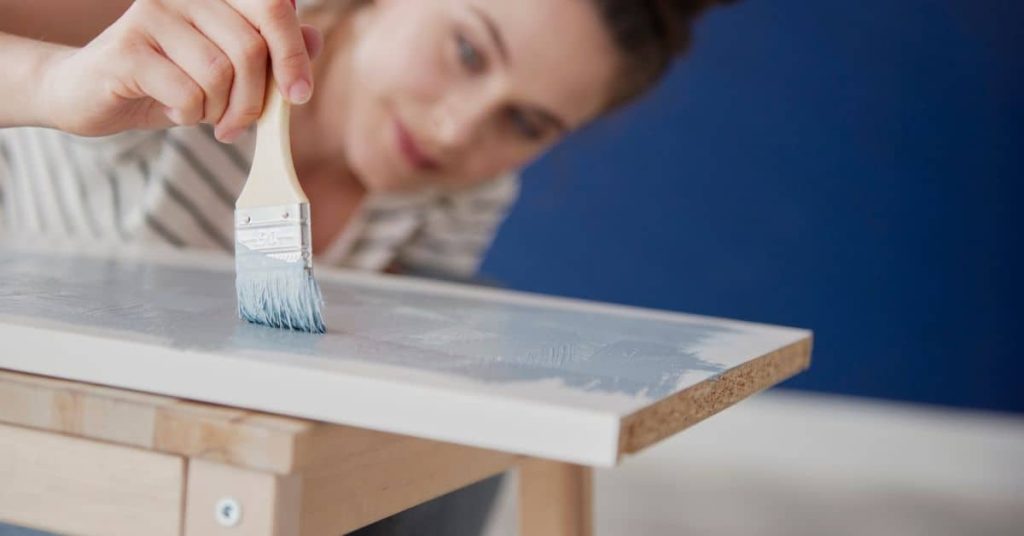
Person applying light blue paint with brush on wood panel

Painting Over Stained Wood Without Bleed-Through: Sealing and Scuff-Sand Workflow

Introduction Painting over stained wood without bleed-through means sealing the stain so tannins or dye don’t discolor the new paint and then scuff-sanding for adhesion. Do it as a two-step workflow: block the stain with a suitable sealer per the product label, then lightly sand and clean before priming and painting. Keep it practical—test a […]

Painting Over Stained Wood Without Bleed-Through: Sealing and Scuff-Sand Workflow Read More »

Modern glass sliding door system with metal frames

Converting an Oil-Based System to Waterborne: Step-by-Step Adhesion Protocol

Introduction Converting an oil-based system to waterborne means removing incompatible residues and establishing a surface the new water-based coating can bond to. This is a hands-on process of cleaning, testing, and priming rather than a one-step swap. Check product labels and manufacturer instructions for compatibility and recommended prep methods. Expect to do physical cleaning, solvent

Converting an Oil-Based System to Waterborne: Step-by-Step Adhesion Protocol Read More »

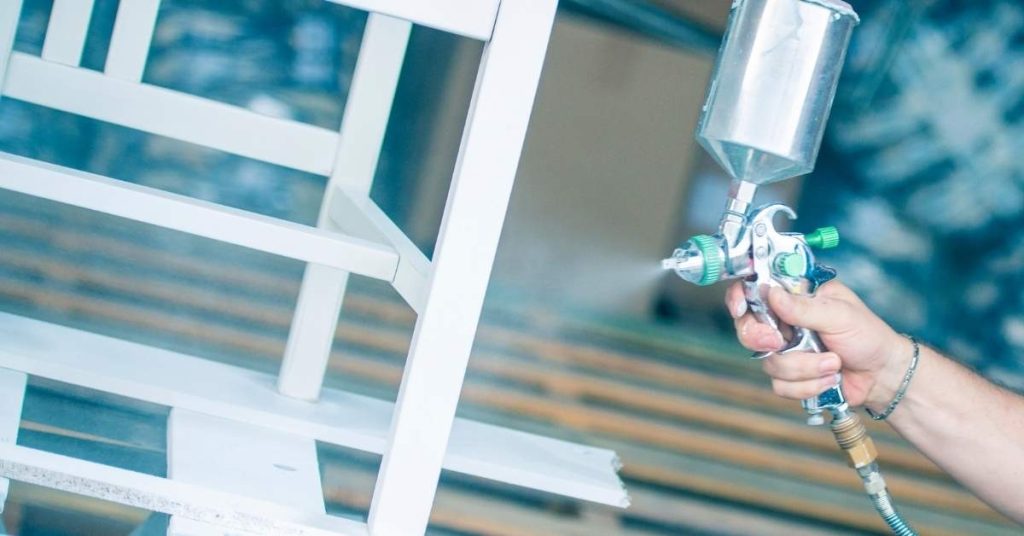
Hand spraying white lacquer on wooden furniture frame

Spray Finishing Cabinets With Waterborne Lacquer: Setup, Dry Times, and Scratch Resistance

Introduction Spray finishing cabinets with waterborne lacquer means using a water-based clear finish atomized through a spray gun to protect and dress cabinet surfaces. It’s a faster-build, lower-odor option than many solvent lacquers, but you should check the product label for recommended spray setup and drying guidance. Expect to work in controlled humidity and temperature

Spray Finishing Cabinets With Waterborne Lacquer: Setup, Dry Times, and Scratch Resistance Read More »

Hand holding a trowel with plaster and spreader

Tadelakt Soap Application: A Step-by-Step Timeline to Maintain Water Resistance Without Streaks

Introduction Applying soap to your Tadelakt surface is a crucial maintenance task, but it’s also time-sensitive. Understanding the timeline of this process ensures you maintain water resistance and avoid streaks effectively. From preparation to application and curing, each step takes a specific amount of time. Let’s break down the Tadelakt soap application process into a

Tadelakt Soap Application: A Step-by-Step Timeline to Maintain Water Resistance Without Streaks Read More »

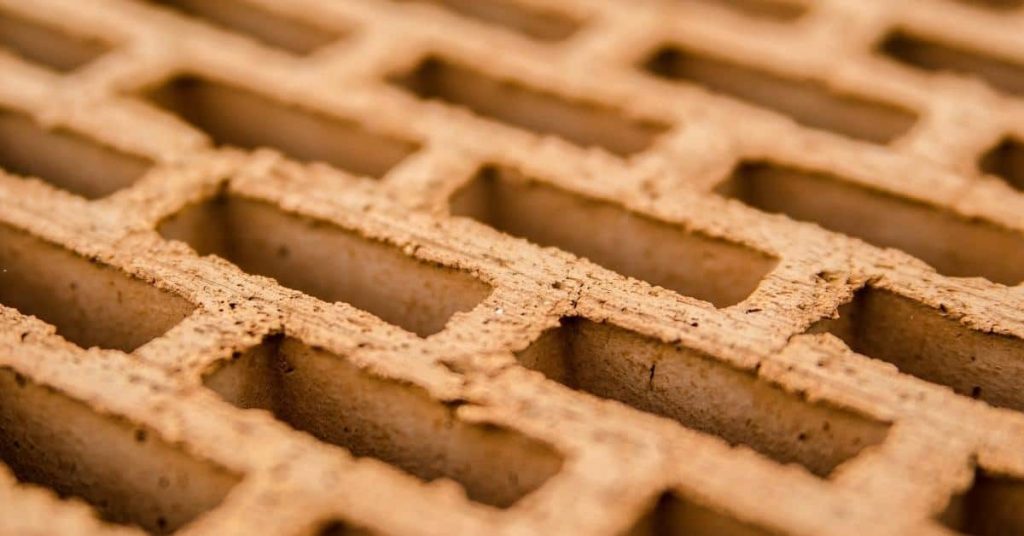
closeup of hollow clay blocks stacked together

Roman Clay Maintenance: Spot Repair & Re-Seal Timeline – Step-by-Step in Under 3 Hours

Introduction Tackling Roman clay maintenance doesn’t have to be a time-consuming chore. With the right approach, you can complete spot repairs and re-sealing in under three hours. Let’s break down the process into manageable steps, ensuring you stay on schedule without compromising quality. For the full guide, see Roman Clay Maintenance: Spot Repair, Re-Seal, and

Roman Clay Maintenance: Spot Repair & Re-Seal Timeline – Step-by-Step in Under 3 Hours Read More »

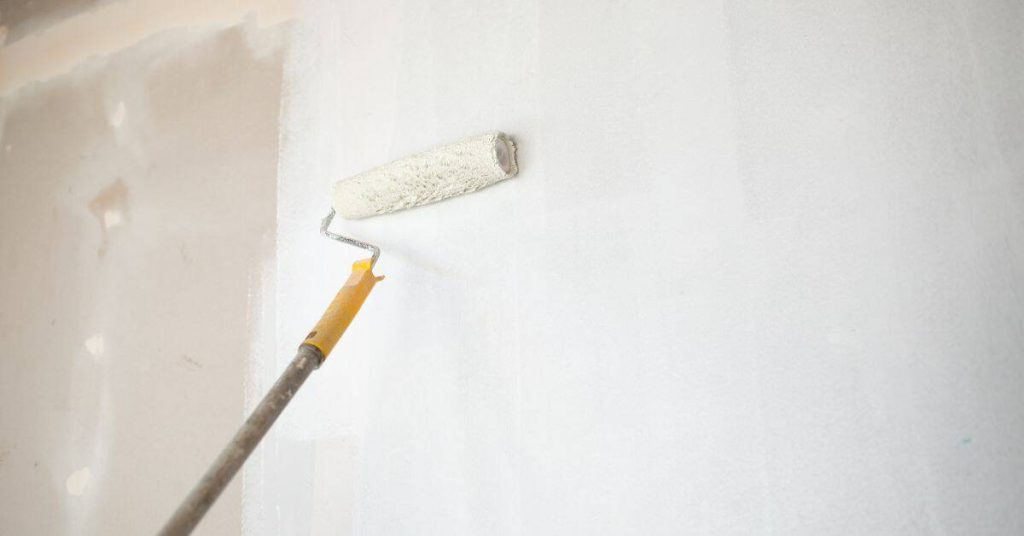
Paint roller applying white paint on wall

White Paint Undertones: A Step-by-Step Timeline for Real Room Success

Introduction The journey to finding the perfect white paint with the right undertone can feel like a guessing game. But it doesn’t have to be. By understanding and following a clear timeline, you can confidently choose whites that complement your room’s lighting and finishes, avoiding unwanted casts and costly repaints. For the full guide, see

White Paint Undertones: A Step-by-Step Timeline for Real Room Success Read More »

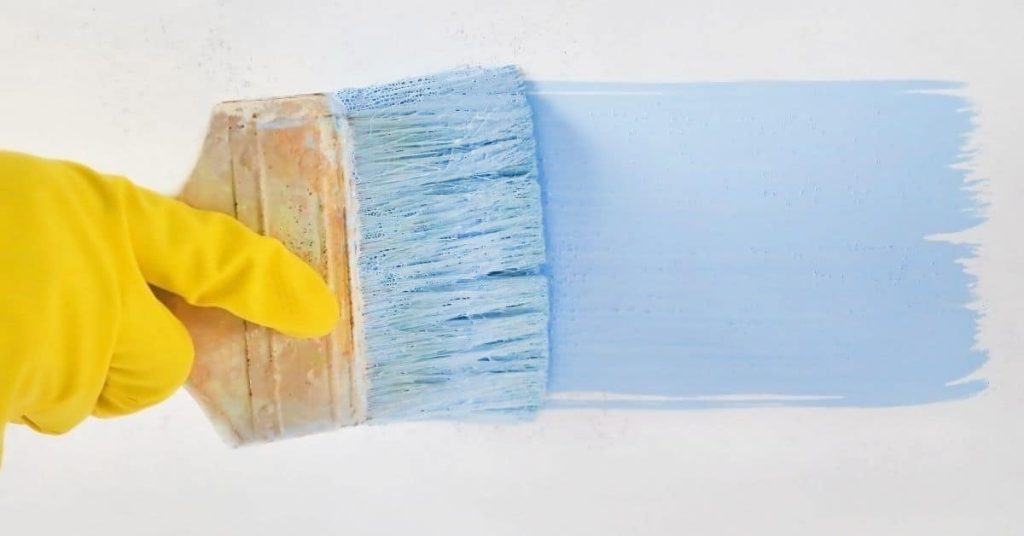
Hand in yellow glove holding paintbrush painting blue stripe

Cutting In on Rough Surfaces: A Step-by-Step Timeline for Clean Lines

Introduction Tackling rough surfaces with a paintbrush can be challenging, but with the right approach and understanding of how long each step takes, you’ll achieve crisp lines in no time. In this guide, we’ll break down the process into a clear timeline, helping you estimate how much time to allocate for each task and complete

Cutting In on Rough Surfaces: A Step-by-Step Timeline for Clean Lines Read More »

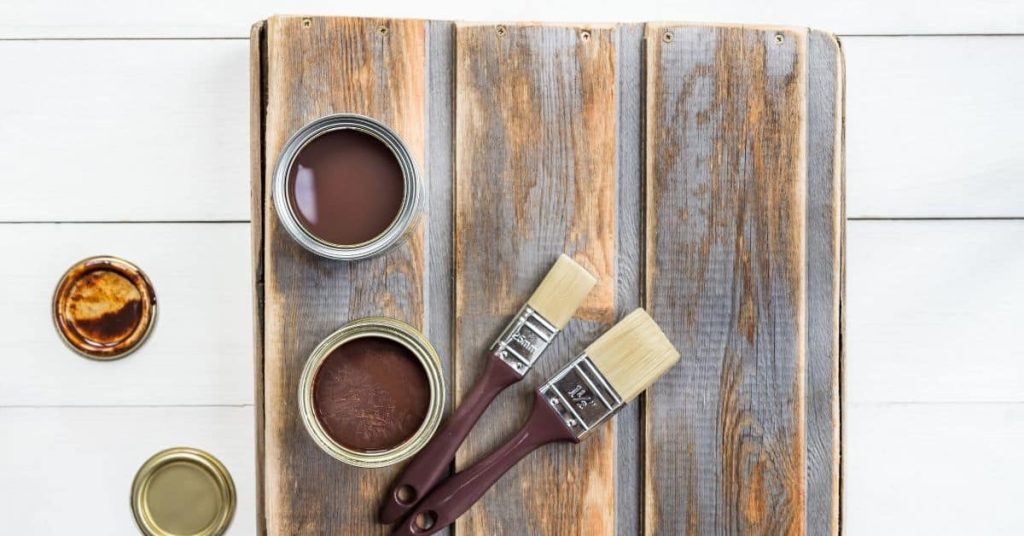
Two paintbrushes two open cans of wood stain on wooden boards

Shellac vs Oil vs Waterborne Primers: Application Timeline and Project Scheduling

Introduction The timeline of your painting project is crucial, especially when it comes to applying primers. Each primer type—shellac, oil, or waterborne—has its own application time, dry time, and recoat window. Understanding these timelines helps you plan your project efficiently, ensuring you have enough time for each step without rushing through the process or waiting

Shellac vs Oil vs Waterborne Primers: Application Timeline and Project Scheduling Read More »

Person applying paint with brush on wood panel

Painting Dark Colors Without Streaks: A Step-by-Step Timeline

Introduction The process of painting dark colors without streaks requires careful planning and timing. With the right approach, you can achieve a professional-looking finish in just a few days. In this guide, we’ll walk you through the step-by-step timeline for painting dark colors without streaks, from surface preparation to final application and drying time. For

Painting Dark Colors Without Streaks: A Step-by-Step Timeline Read More »