Search Results for: sanding plaster

paintbrush resting on yellow paint bucket with roller tray and colorful paint buckets

Limewash Streaks: Preventing lap marks and uneven color

Introduction Limewash streaks are uneven color patches that appear as lap marks when the coating dries. This article explains practical, hands-on steps to prevent them while you’re working with limewash. You’ll learn simple checks and common-sense methods you can do on a DIY project. Start by preparing the surface well and applying limewash in consistent […]

Limewash Streaks: Preventing lap marks and uneven color Read More »

closeup of hollow clay bricks showing texture and edges

Repairing Roman Clay Scratches: Fixes that don’t leave shiny spots

Introduction Repairing Roman clay scratches means restoring the smooth, even look of the surface without creating new shiny spots. The goal is a natural finish that blends with the surrounding texture and tone. Start by evaluating the scratch, then choose a patching method that won’t leave a glossy patch and test it on a hidden

Repairing Roman Clay Scratches: Fixes that don’t leave shiny spots Read More »

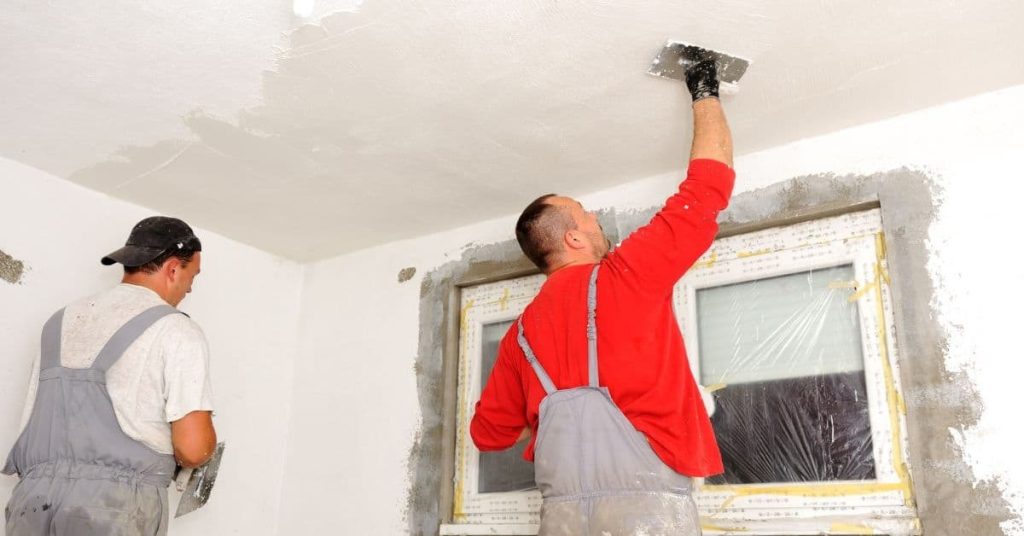
Two men applying plaster to a ceiling and wall near a window

Stopping Water Stain Bleed: Fixing the cause and sealing the ceiling

Introduction Stopping water stain bleed means fixing the moisture source and sealing the ceiling so stains don’t reappear. It’s a hands-on job that starts with finding where the water is coming from and drying the area thoroughly. Then you seal the surface to block any future bleed-through. You’ll see practical tips for locating the leak,

Stopping Water Stain Bleed: Fixing the cause and sealing the ceiling Read More »

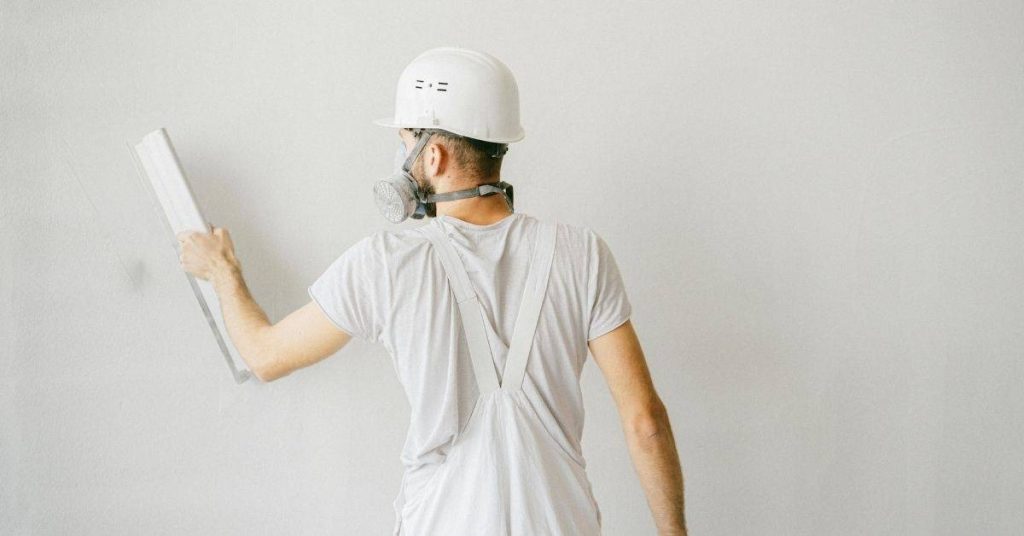
Worker smoothing plaster on drywall wearing safety helmet and mask

Gaps Between Trim and Wall: Fixing Wavy Drywall Without Replacing Trim

Introduction Gaps between trim and wall are gaps where the trim edge doesn’t sit tight against flat drywall. They happen when the drywall isn’t perfectly flush or the trim was fastened before the wall settled. You’ll see them most where corners and edges meet the wall surface. You can fix it without removing the trim

Gaps Between Trim and Wall: Fixing Wavy Drywall Without Replacing Trim Read More »

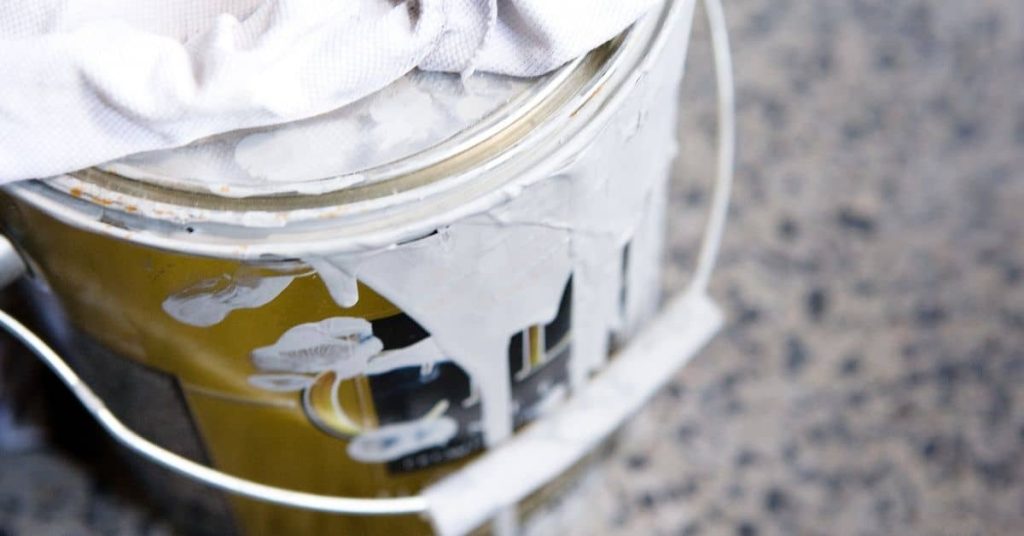
Close-up of paint can with white paint spilled on side

Why Paint Bubbles on Walls: Moisture vs Heat vs Dirt (How to Diagnose)

Introduction Paint bubbles occur when moisture, heat, or dirt get trapped under the paint. That trapped stuff lifts the coating and creates blisters you can see on walls. Check for damp spots, recent heat exposure, or dusty surfaces that weren’t cleaned before painting. To diagnose, inspect the area for moisture, heat exposure, or dirt. Try

Why Paint Bubbles on Walls: Moisture vs Heat vs Dirt (How to Diagnose) Read More »

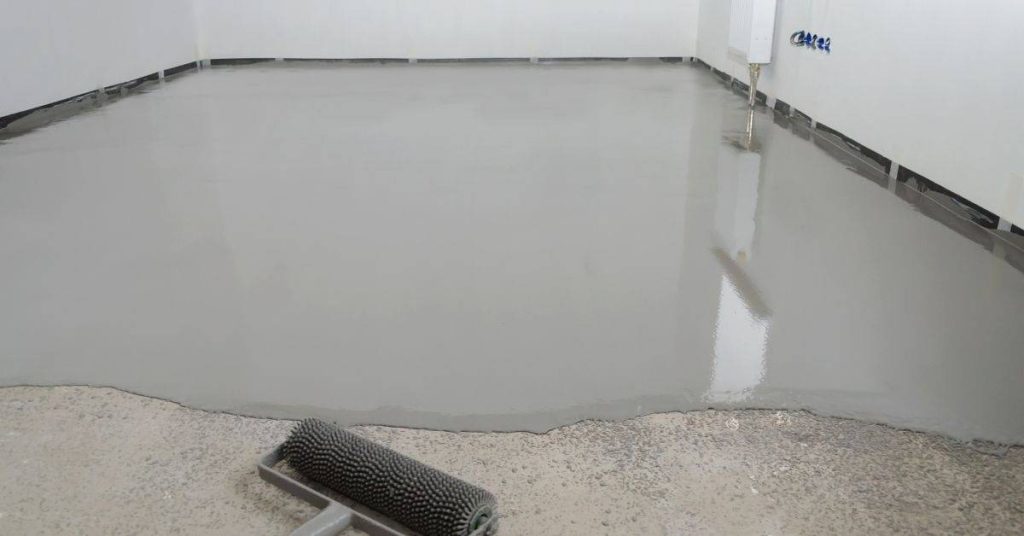
Freshly poured self-leveling concrete floor with a spiked roller

Leveling a Subfloor for Tile: Self-Leveling Underlayment Prep That Prevents Failure

Introduction Leveling a subfloor for tile means making the floor surface flat, stable, and ready to receive tile so you don’t get cracks or hollow spots. This is a hands-on task that starts with checking the current floor and ends with a smooth base for your tile setting. Take your time to plan out the

Leveling a Subfloor for Tile: Self-Leveling Underlayment Prep That Prevents Failure Read More »

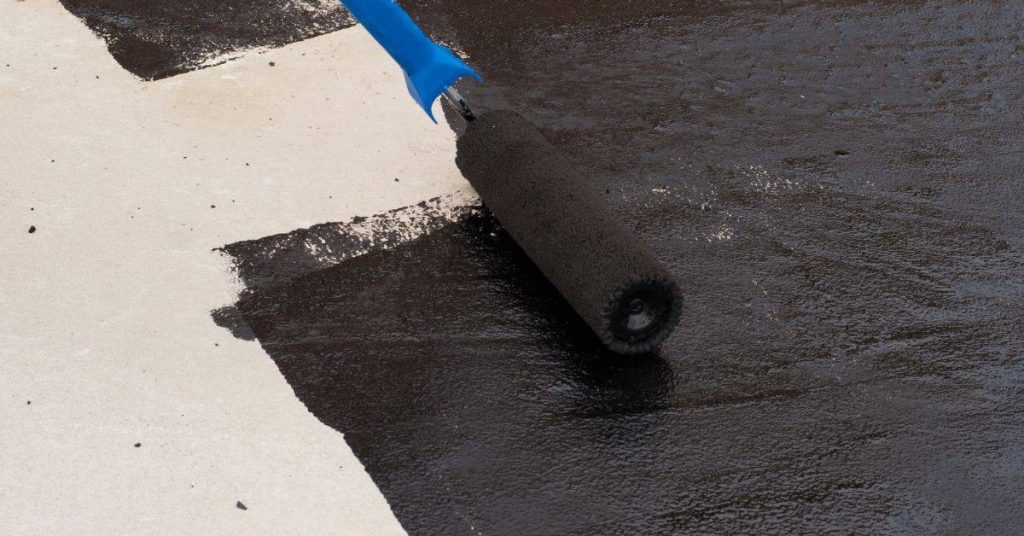
Paint roller applying black sealer on light tile surface

Microcement Over Tile: Prep, Base Coats, Sealer Choices, and DIY Success Factors

Introduction Microcement over tile is a system that coats existing tile with a cement-based finish after proper prep. This approach hinges on solid surface prep, compatible primers, and careful application to stay durable and look even. Base coats and layering are key, and you should follow the product instructions and check for compatibility with tile

Microcement Over Tile: Prep, Base Coats, Sealer Choices, and DIY Success Factors Read More »