Search Results for: sanding plaster

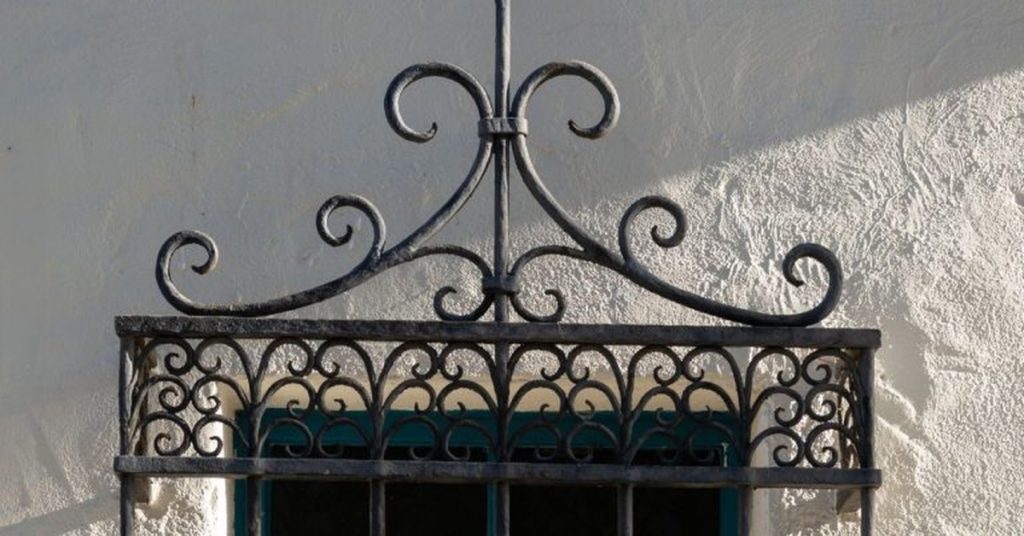
metal window grille on textured plaster wall

Fixing Rust Bleed Through Plaster: Metal Isolation and Stain-Blocking Strategy

Introduction Fixing rust bleed through plaster means stopping iron staining at the metal source and isolating it so stains don’t reappear through new finishes. In practice that means exposing the area, treating or replacing corroded metal, and using an appropriate isolation/stain-blocking primer before replastering or painting. Check product labels and manufacturer instructions for compatibility with […]

Fixing Rust Bleed Through Plaster: Metal Isolation and Stain-Blocking Strategy Read More »

Green paint roller applying green paint on white wall

Plastering Over Old Calcimine Paint: Identification Tests and Bonding Fixes

Introduction Plastering over old calcimine paint means confirming the paint is the flaky, powdery lime-based finish that repels new plaster and then removing or treating it so plaster can bond. I’ll show simple tests to identify calcimine and practical fixes for adhesion problems you can do with common tools. If a product or spec matters,

Plastering Over Old Calcimine Paint: Identification Tests and Bonding Fixes Read More »

Man smoothing plaster on wall with float tool

How to Get Dead-Flat Plaster Walls: Straightedge Checks and Build-Up Strategy

Introduction Getting dead-flat plaster walls means using straightedge checks and a stepwise build-up of layers until any high or low spots are leveled out. It’s a practical process of finding the worst deviations, feathering in material, and rechecking with a straightedge until the surface reads flat to the eye and tool. Expect to use joint

How to Get Dead-Flat Plaster Walls: Straightedge Checks and Build-Up Strategy Read More »

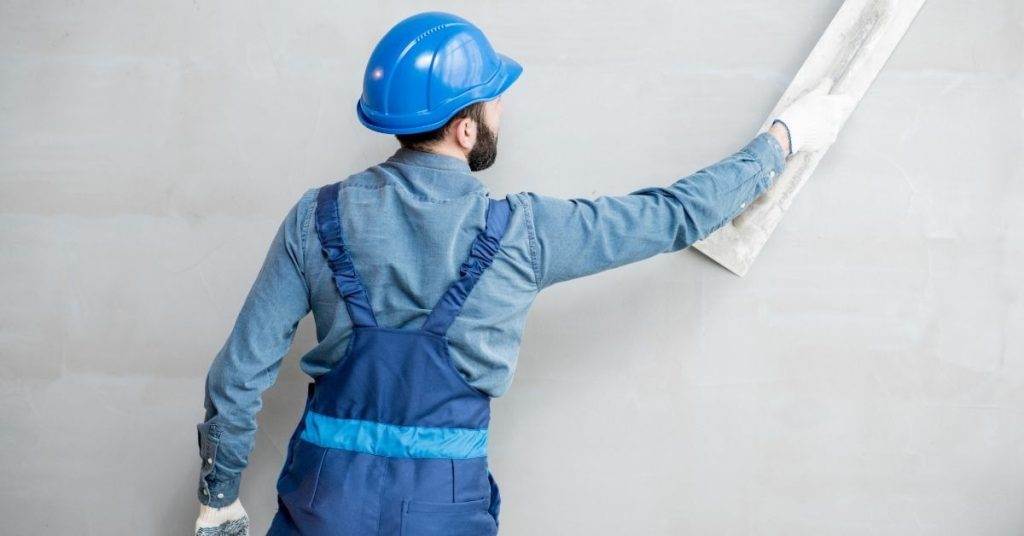
Construction worker smoothing plaster on wall wearing blue helmet

Repairing Polished Plaster Chips: Patch Blending Without Visible ‘Halos’

Introduction Repairing polished plaster chips means filling and feathering the damaged area so the patch matches surrounding sheen and texture without a visible ring. Start by cleaning and undercutting loose edges, use compatible repair material, and build thin layers that are troweled and polished to blend into the existing finish. Check product labels and manufacturer

Repairing Polished Plaster Chips: Patch Blending Without Visible ‘Halos’ Read More »

white plaster wall with uneven textured surface

Venetian Plaster Over Existing Texture: When to Skim, When to Sand, and When to Remove

Introduction Venetian plaster over existing textured walls means deciding whether to skim, sand, or remove that texture so the final finish looks smooth and bonds properly. In plain jobsite terms: skim if the texture is shallow and solid, sand if it’s flaky or slightly high, and remove if it’s loose, highly uneven, or has adhesion

Venetian Plaster Over Existing Texture: When to Skim, When to Sand, and When to Remove Read More »

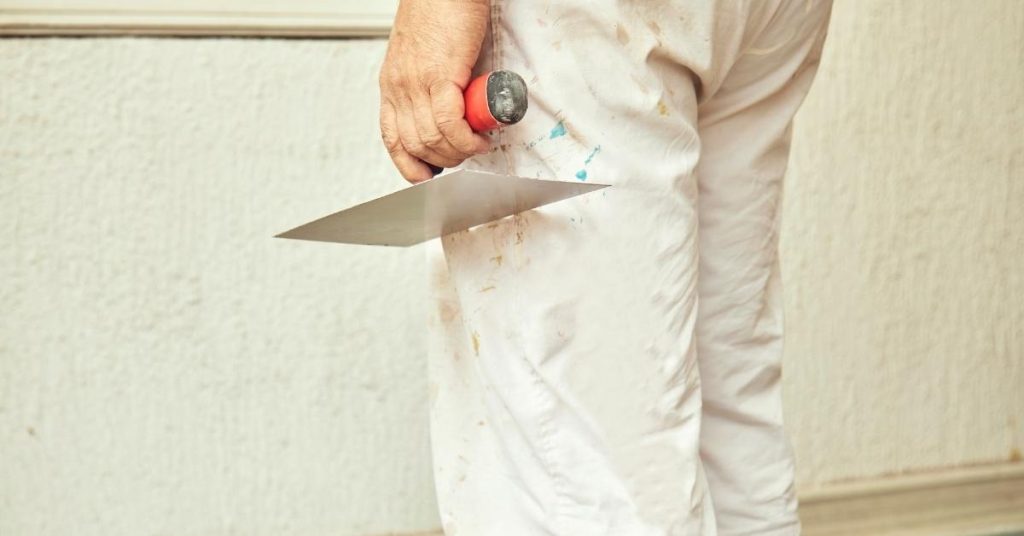
Hand holding plastering trowel against white wall background

Venetian Plaster Burnishing: Tool Choice, Timing, and How to Avoid Black Marks

Introduction Venetian plaster burnishing is the final rubbing of a polished plaster surface to compact and shine it using the right tools at the right moment. Pick flexible trowels or burnishers suited to your plaster type and check the product label for recommended tools, and make sure the base coat is dry and sound before

Venetian Plaster Burnishing: Tool Choice, Timing, and How to Avoid Black Marks Read More »

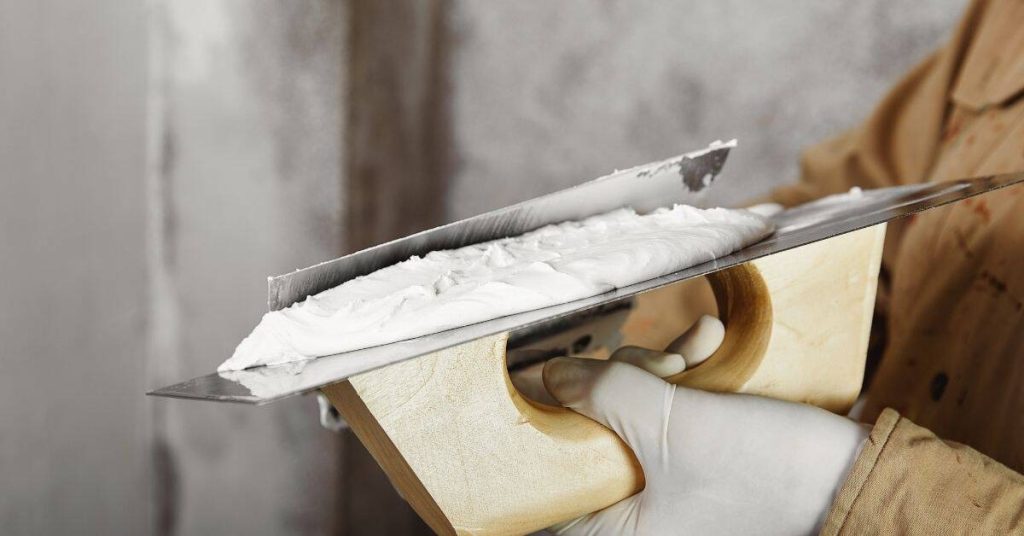
Hand holding plastering trowel with fresh white plaster

Clay Plaster in Bathrooms: Timeline & Duration – Step-by-Step Guide

Introduction Installing clay plaster in your bathroom can transform the space into a warm, inviting haven. But how long does it take? Let’s break down the timeline and duration of this DIY project step by step. From surface preparation to final sealing, understanding the time commitment helps you plan effectively and ensures a successful outcome.

Clay Plaster in Bathrooms: Timeline & Duration – Step-by-Step Guide Read More »

close up of white gypsum plaster wall texture

Plaster in Kitchens: Grease Contamination Tests & Primer Choices – Timeline Before Painting

Introduction Preparing plaster kitchen walls for painting involves several steps, including testing for grease contamination and applying the right primer. Understanding the timeline of these processes helps you plan your project efficiently. This guide walks you through each step, focusing on how long it takes to test, clean, prime, and paint your kitchen plaster walls,

Plaster in Kitchens: Grease Contamination Tests & Primer Choices – Timeline Before Painting Read More »

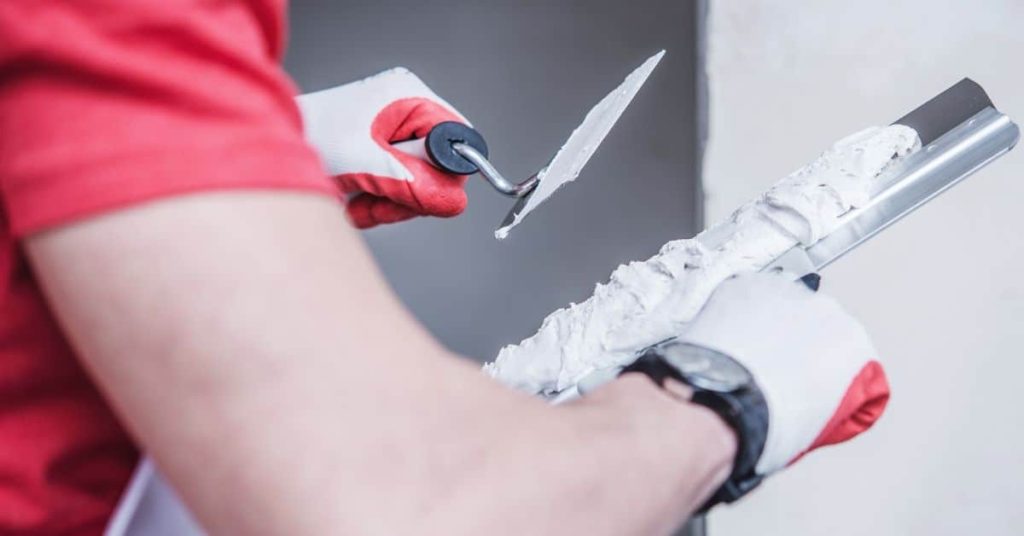
Person holding plaster on hawk and applying with trowel

Restoring Plaster Picture Rails: A Step-by-Step Timeline to Preserve Shadow Lines

Introduction Preserving the original character of your home’s plaster picture rails involves careful repair and restoration. Understanding the timeline for this project helps you plan effectively, ensuring a successful outcome that maintains the shadow lines. From initial assessment to final touches, let’s break down the process into manageable steps, focusing on how long each task

Restoring Plaster Picture Rails: A Step-by-Step Timeline to Preserve Shadow Lines Read More »

Close-up of decorative plaster cornice with leaf motif

Plaster Cornice Repairs: A Step-by-Step Timeline for Running Molds

Introduction Repairing plaster cornices with running molds can seem daunting, but breaking down the process into a clear timeline makes it manageable. This step-by-step guide focuses on the duration of each task, helping you plan and complete your repair project efficiently. Whether you’re restoring an old cornice or fixing damage in a newer home, understanding

Plaster Cornice Repairs: A Step-by-Step Timeline for Running Molds Read More »