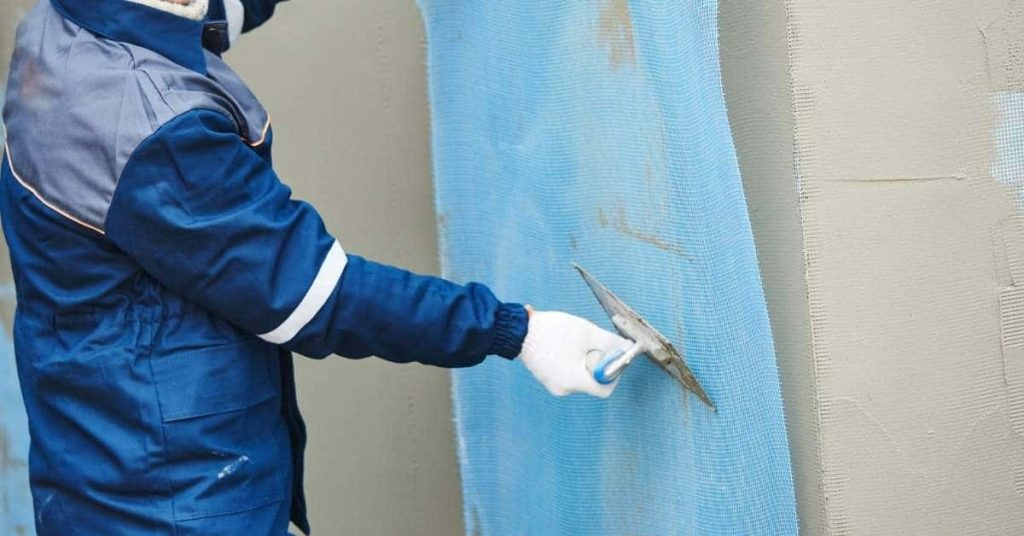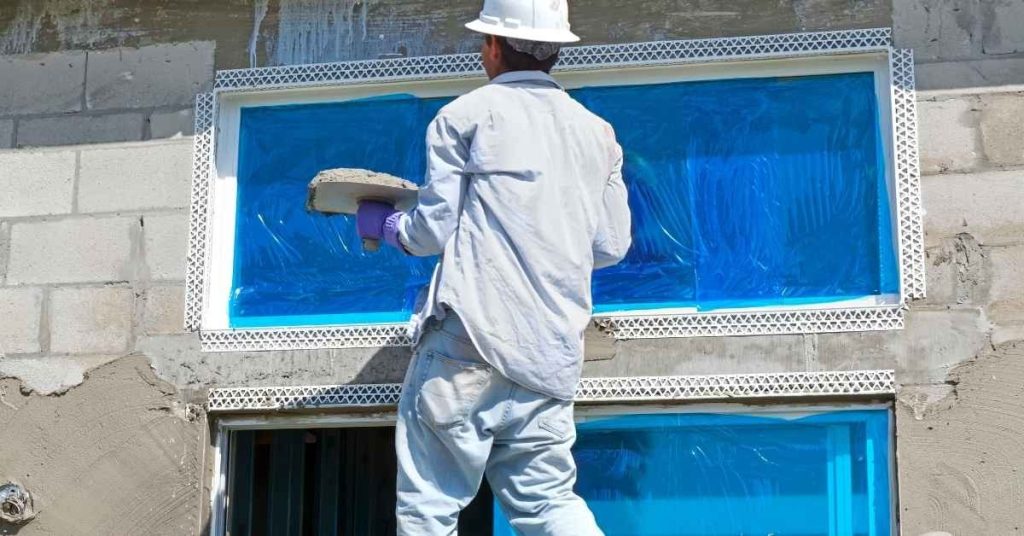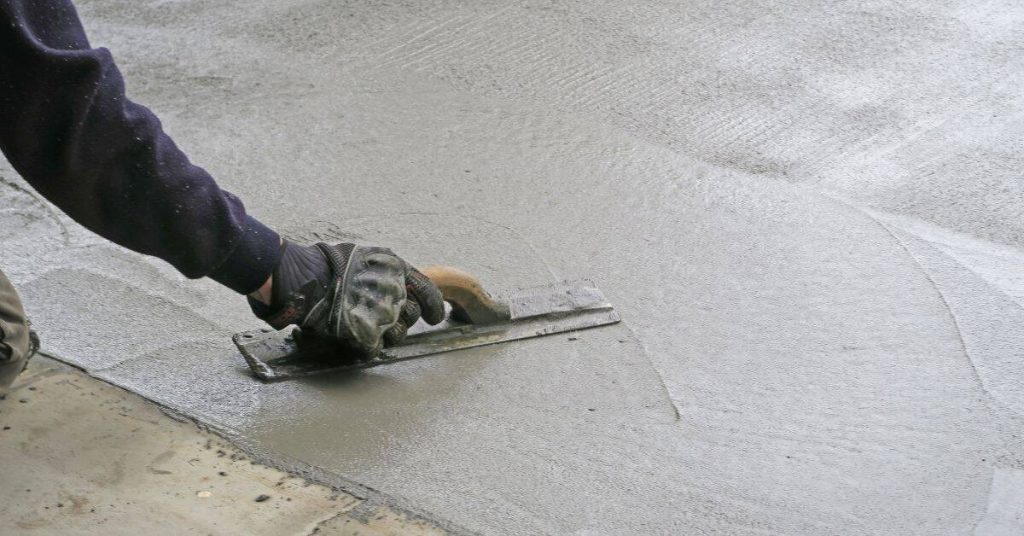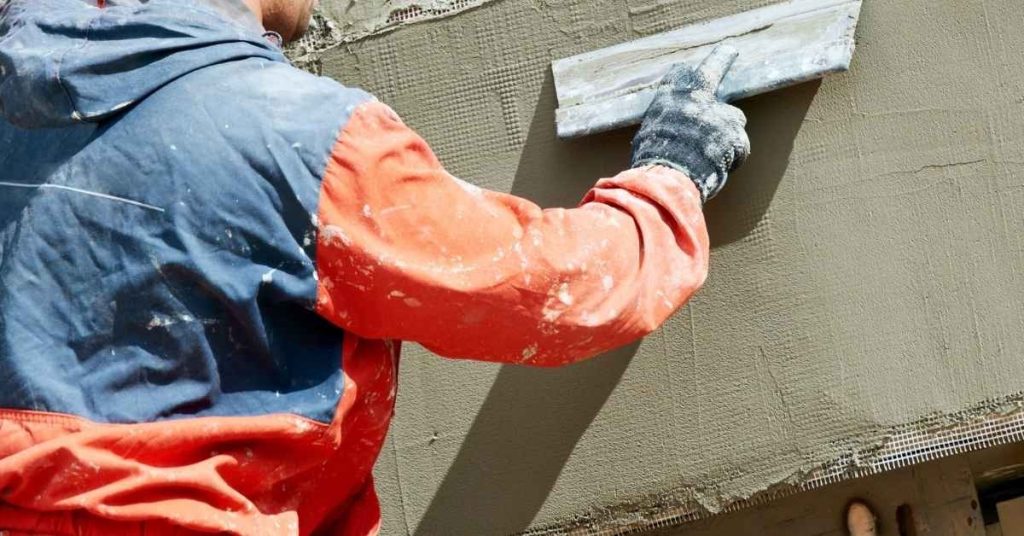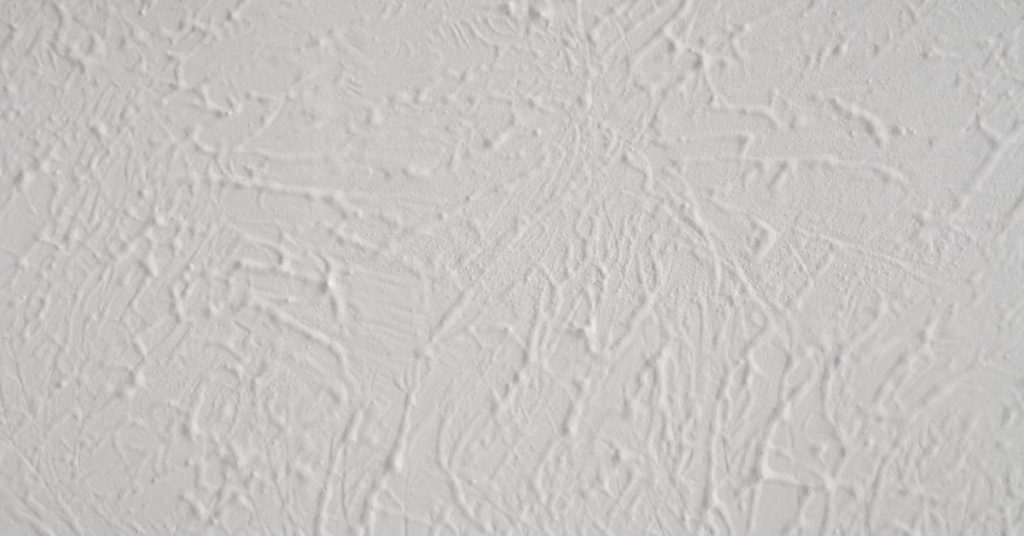
Plaster Feather Edges That Don’t Flake: Keying, Wetting, and Finish Timing
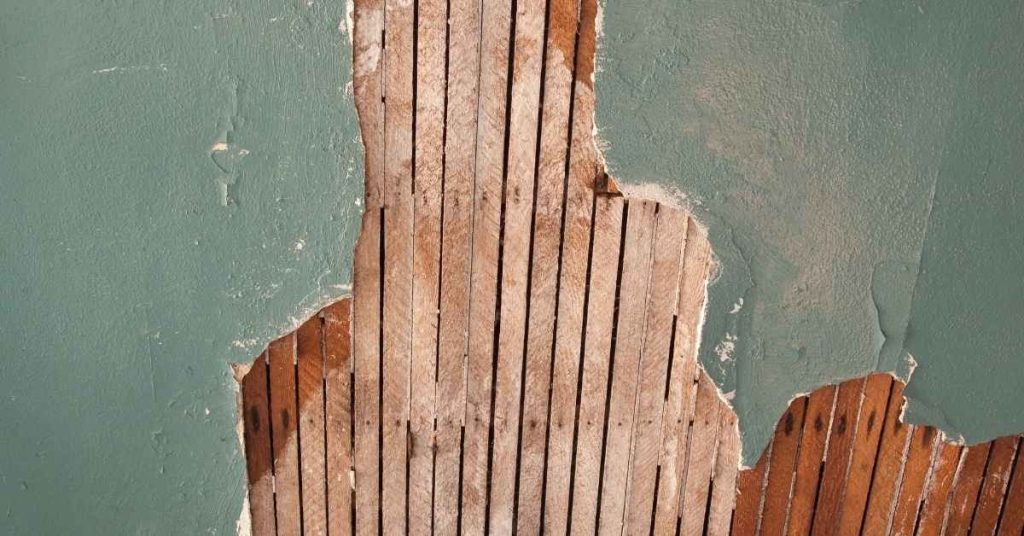
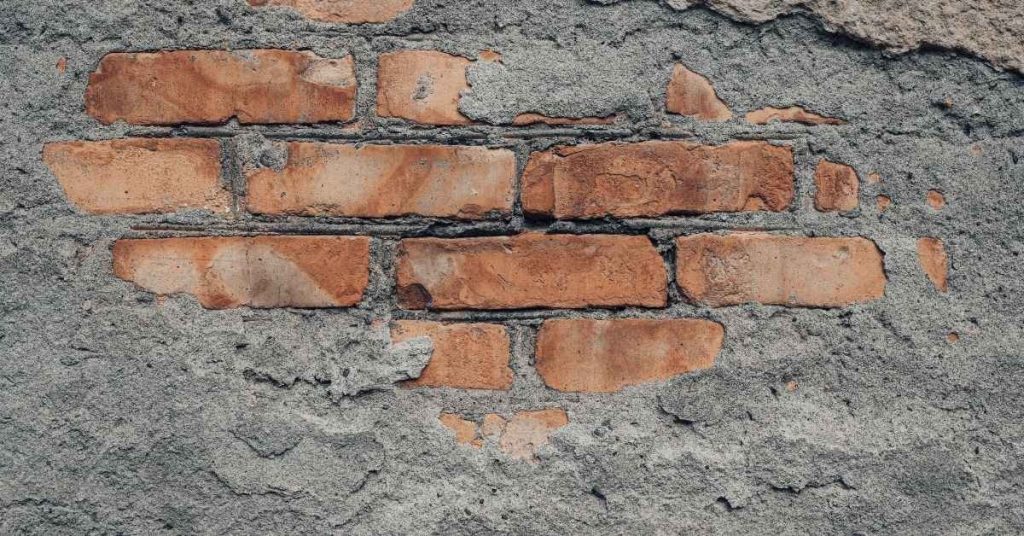
Introduction Plaster feather edges that don’t flake are thin finish edges keyed and bonded to the existing surface, wetted and timed correctly so the new plaster grabs without lifting. Check whether the area needs repair by tapping or scraping loose material and by checking for movement; if substrate is dusty, crumbling, or contaminated you must […]
Plaster Feather Edges That Don’t Flake: Keying, Wetting, and Finish Timing Read More »