Search Results for: product to seal between floor and wall

Person applying plaster to wall with trowel and hawk

Plaster Baseboard Dings and Gouges: Fast Patch Options That Don’t Shrink Back

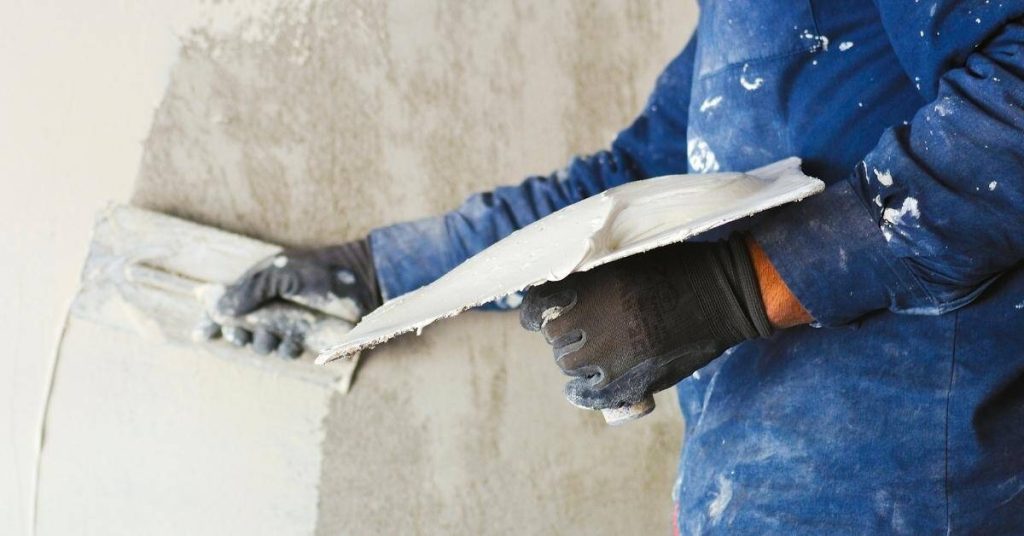
Introduction Plaster baseboard dings and gouges are shallow to moderate damages along the plaster or drywall near the floor that you can tack quickly without later sinking or cracking. In plain terms: pick a stable, shrink-resistant patch material, prepare the area, and feather it to the surrounding surface so the repair bonds and stays flat. […]

Plaster Baseboard Dings and Gouges: Fast Patch Options That Don’t Shrink Back Read More »

Close up of a pointed metal scratch tool tip wrapped in paper

Plaster Undercoats on CMU: Scratch Keys, Moisture Control, and Cure Timing

Introduction Plaster undercoats on CMU are the first bonded layers of cement or gypsum-based material applied to concrete masonry units to create a flat, sound surface for finish coats. They include types like cementitious scratch coats and bonding or leveling coats; check the product label and manufacturer instructions to pick the right one for your

Plaster Undercoats on CMU: Scratch Keys, Moisture Control, and Cure Timing Read More »

Hand with glove smoothing lime plaster on wall with straightedge

Microcracks in Lime Plaster: Normal Crazing vs Movement and How to Decide

Introduction Microcracks in lime plaster are usually small surface crazing that forms as the plaster dries and shrinks; they are often cosmetic and not a structural failure. Look at crack width, depth, and whether it goes into the substrate to decide; if unsure, check the product label or manufacturer guidance for allowed hairline cracking. In

Microcracks in Lime Plaster: Normal Crazing vs Movement and How to Decide Read More »

Green paint roller applying green paint on white wall

Plastering Over Old Calcimine Paint: Identification Tests and Bonding Fixes

Introduction Plastering over old calcimine paint means confirming the paint is the flaky, powdery lime-based finish that repels new plaster and then removing or treating it so plaster can bond. I’ll show simple tests to identify calcimine and practical fixes for adhesion problems you can do with common tools. If a product or spec matters,

Plastering Over Old Calcimine Paint: Identification Tests and Bonding Fixes Read More »

white plaster wall with uneven textured surface

Venetian Plaster Over Existing Texture: When to Skim, When to Sand, and When to Remove

Introduction Venetian plaster over existing textured walls means deciding whether to skim, sand, or remove that texture so the final finish looks smooth and bonds properly. In plain jobsite terms: skim if the texture is shallow and solid, sand if it’s flaky or slightly high, and remove if it’s loose, highly uneven, or has adhesion

Venetian Plaster Over Existing Texture: When to Skim, When to Sand, and When to Remove Read More »

Close-up of paint roller applying white paint on wall corner

How to Paint Over Silicone Contamination: Solvents, Abrasion, and Specialty Primers

Introduction Painting over silicone contamination means removing or isolating slick silicone residue so paint will stick; that can be done with solvents, mechanical abrasion, or specialty primers depending on how much silicone is present. Start by testing a small area to see if solvent or sanding removes the contamination, and always check product labels and

How to Paint Over Silicone Contamination: Solvents, Abrasion, and Specialty Primers Read More »

Paint roller applying white paint on wall

How to Create a Paint Sample Wall Without Ruining Drywall: Removable Boards and Film

Introduction Creating a paint sample wall without ruining drywall means putting paint on removable boards or using a temporary film so the wall itself stays clean. This is a hands-on DIY approach that keeps samples tidy and lets you move or change test spots without patching. Check product labels and manufacturer instructions for attachment methods

How to Create a Paint Sample Wall Without Ruining Drywall: Removable Boards and Film Read More »

Hand dipping paintbrush into white paint bucket

Cutting In on Rough Surfaces: Brush Choice and Edge Tricks That Keep Lines Clean

Introduction Cutting in on rough surfaces means using the right brush and a few edge tricks so your paint lines stay sharp even when the substrate is irregular. In practice that means choosing a brush filament and size that match the material and paint—check the product label and manufacturer instructions for compatibility—and using steady pressure

Cutting In on Rough Surfaces: Brush Choice and Edge Tricks That Keep Lines Clean Read More »

Empty indoor concrete parking garage with columns and marked spaces

How to Reduce Hot-Tire Pickup on Garage Coatings: Cure Time and Topcoat Choices

Introduction Reducing hot-tire pickup on garage coatings means giving the coating enough cure time and choosing a topcoat that resists softening under heat and rubber contact. In plain jobsite terms: let the base coat harden per the product directions and pick a topcoat designed for vehicular traffic and heat resistance. Check the product label and

How to Reduce Hot-Tire Pickup on Garage Coatings: Cure Time and Topcoat Choices Read More »

Various painted cabinet door samples in multiple colors and finishes

Furniture-Grade Painted Finishes: Grain Filling, Sanding, and Topcoat Choices

Introduction Furniture-grade painted finishes means getting a smooth, filled grain surface that takes paint like shop work so your piece looks professional; it’s done by filling open grain, sanding flat, and choosing the right topcoat. This is a hands-on sequence: pick a grain filler compatible with your paint, sand progressively to remove filler and level

Furniture-Grade Painted Finishes: Grain Filling, Sanding, and Topcoat Choices Read More »