Search Results for: polishing

Hand holding plastering trowel against white wall background

Venetian Plaster Burnishing: Tool Choice, Timing, and How to Avoid Black Marks

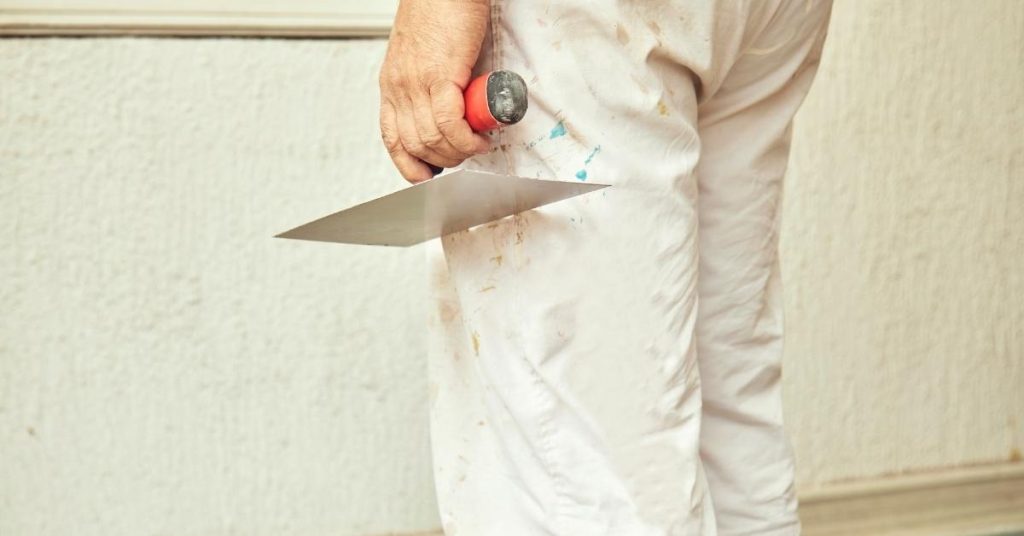
Introduction Venetian plaster burnishing is the final rubbing of a polished plaster surface to compact and shine it using the right tools at the right moment. Pick flexible trowels or burnishers suited to your plaster type and check the product label for recommended tools, and make sure the base coat is dry and sound before […]

Venetian Plaster Burnishing: Tool Choice, Timing, and How to Avoid Black Marks Read More »

Hand painting wooden cabinet door with blue paint roller

Painting Over Old Limewash: Identification, Neutralization, and Best Primers

Introduction Painting over old limewash can be a challenge due to its unique composition and properties. This guide will help you identify, neutralize, and prime your limewashed surfaces for successful painting. Key takeaways Identify limewash by chalky finish, mineral content, and matte, breathable film. Test adhesion with scrape and moisture penetration before priming. Contain dust,

Painting Over Old Limewash: Identification, Neutralization, and Best Primers Read More »

White painted horizontal wooden shiplap planks

Clear Coating Painted Surfaces: When It Helps, When It Yellows, and What to Use Instead

Introduction Clear coating painted surfaces means applying a transparent protective finish over existing paint to protect it and change the sheen; it helps when the paint is sound and you want extra durability or a uniform look. Use a clear product compatible with the paint type and follow the manufacturer’s instructions; if you’re unsure about

Clear Coating Painted Surfaces: When It Helps, When It Yellows, and What to Use Instead Read More »

Person in protective suit spray painting a metal car part

Painting Copper and Brass: Preventing Tarnish Under Clear Coats

Introduction Painting copper and brass to prevent tarnish under clear coats means preparing the metal, using the right sealer or barrier primer, and choosing a clear finish that won’t allow corrosion to spread. In plain terms: clean and remove tarnish, treat or isolate reactive metal, and topcoat with a compatible clear product. Check product labels

Painting Copper and Brass: Preventing Tarnish Under Clear Coats Read More »

Person painting metal pipe below radiator with white paintbrush

Painting Stainless Steel: Etch Options, Primers, and What Won’t Stick

Introduction Painting stainless steel means making a slick, non-porous metal accept paint by roughening the surface or using the right primer and prep; it’s not impossible but it takes proper etching or a chemically compatible primer. In practical DIY terms you’ll need to clean, degrease, and choose between mechanical scuffing or a metal etch product,

Painting Stainless Steel: Etch Options, Primers, and What Won’t Stick Read More »

Hand spraying white lacquer on wooden furniture frame

Spray Finishing Cabinets With Waterborne Lacquer: Setup, Dry Times, and Scratch Resistance

Introduction Spray finishing cabinets with waterborne lacquer means using a water-based clear finish atomized through a spray gun to protect and dress cabinet surfaces. It’s a faster-build, lower-odor option than many solvent lacquers, but you should check the product label for recommended spray setup and drying guidance. Expect to work in controlled humidity and temperature

Spray Finishing Cabinets With Waterborne Lacquer: Setup, Dry Times, and Scratch Resistance Read More »

Hand holding a trowel with plaster and spreader

Tadelakt Soap Application: A Step-by-Step Timeline to Maintain Water Resistance Without Streaks

Introduction Applying soap to your Tadelakt surface is a crucial maintenance task, but it’s also time-sensitive. Understanding the timeline of this process ensures you maintain water resistance and avoid streaks effectively. From preparation to application and curing, each step takes a specific amount of time. Let’s break down the Tadelakt soap application process into a

Tadelakt Soap Application: A Step-by-Step Timeline to Maintain Water Resistance Without Streaks Read More »

Smooth beige polished lime plaster wall surface

Polished Lime Plaster in Wet Areas: Timeline & Duration for DIY Installation

Introduction The timeline and duration of installing polished lime plaster in wet areas can vary depending on several factors. Understanding the process and its key stages will help you plan your project effectively. In this guide, we’ll break down the installation process into a clear timeline, ensuring you know what to expect at each stage

Polished Lime Plaster in Wet Areas: Timeline & Duration for DIY Installation Read More »

Empty room with freshly plastered white walls and bare concrete floor

How Long Does It Take to Get Dead-Flat Plaster Walls: A Step-by-Step Timeline

Introduction Achieving dead-flat plaster walls is a meticulous process that requires patience and careful planning. Understanding the timeline involved in each step can help you manage your expectations and ensure a successful outcome. In this guide, we’ll break down the process into clear, time-specific steps to give you an accurate estimate of how long it

How Long Does It Take to Get Dead-Flat Plaster Walls: A Step-by-Step Timeline Read More »

Gloved hand holding trowel with white plaster compound

Repairing Polished Plaster Chips: A Step-by-Step Timeline to Avoid Visible ‘Halos’

Introduction Tackling polished plaster chip repairs can seem daunting, but with a clear timeline and methodical approach, you can achieve seamless results without leaving visible halos. This step-by-step guide walks you through the process from start to finish, ensuring you complete each stage efficiently and effectively. The key to successful repair lies in understanding how

Repairing Polished Plaster Chips: A Step-by-Step Timeline to Avoid Visible ‘Halos’ Read More »