Search Results for: plaster crack repair

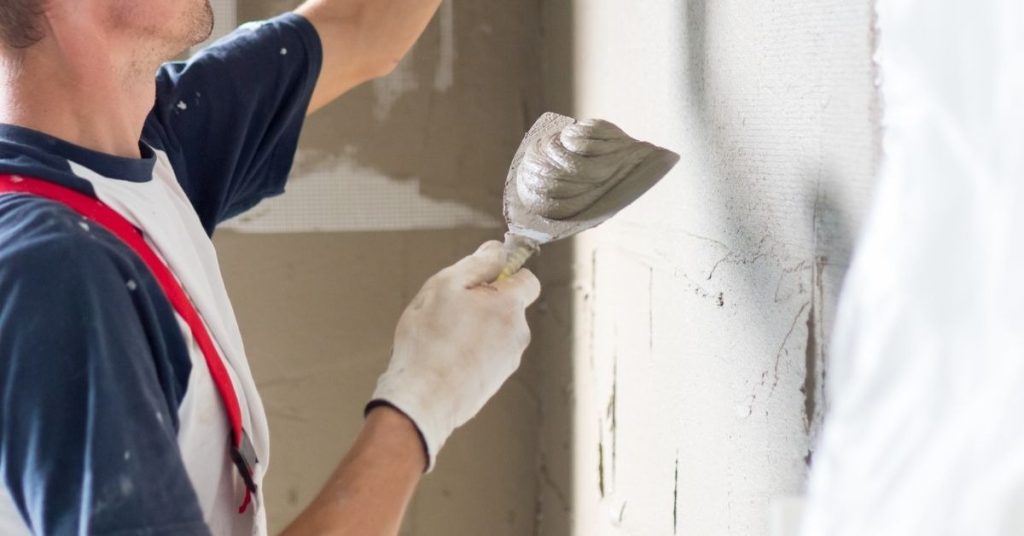
Person applying plaster to a wall using a trowel

Matching Wall Texture After Plaster Repairs: Tools and timing that blend

Introduction Matching wall texture after plaster repairs means blending new texture with existing wall so the repaired area looks seamless. The goal is a finish that doesn’t draw attention to the repair. Keep the approach practical and unobtrusive, focusing on a natural transition rather than a perfect patch. You’ll need the right tools and the […]

Matching Wall Texture After Plaster Repairs: Tools and timing that blend Read More »

Blue ladder in room with patched plaster walls

Baseboard Removal on Plaster: Patching without ripping out keys

Introduction Baseboard removal on plaster means carefully taking off the trim without damaging the plaster or its backing keys. It’s a hands-on task that requires gentle prying, small cuts with a utility knife, and patience. Plan to protect the wall surface and reuse or replace the trim as needed. Patching after removal focuses on backfilling

Baseboard Removal on Plaster: Patching without ripping out keys Read More »

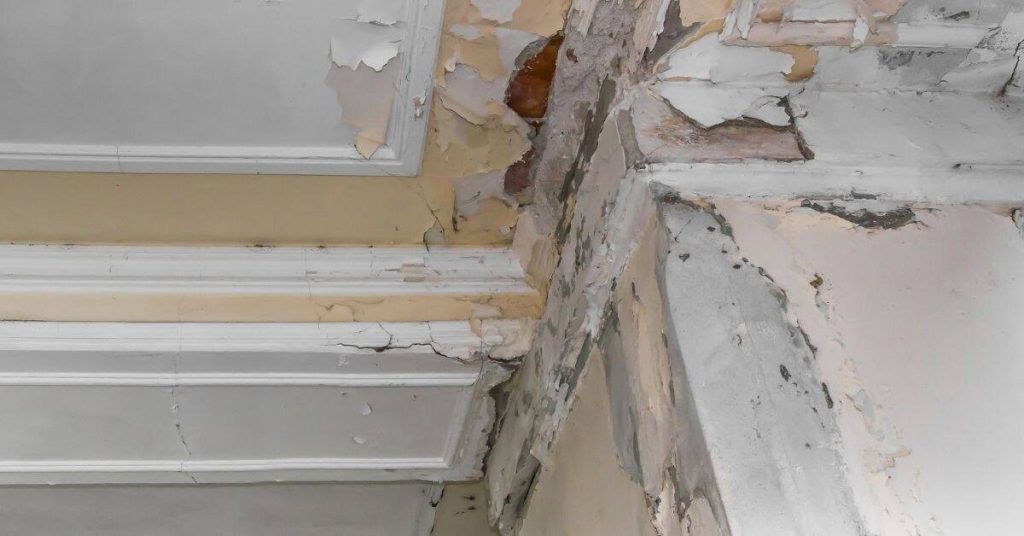
Close-up of cracked and peeling plaster ceiling with crown molding

Water-Damaged Plaster: What to remove, what to dry, and what to rebuild

Introduction Water-damaged plaster needs to be removed, dried, and rebuilt in a practical, step-by-step way. You’ll determine what to remove, what to dry, and what to replace based on how far the damage has spread. This article keeps the tone hands-on and avoids fluffy theory. Start by inspecting the area to judge how much material

Water-Damaged Plaster: What to remove, what to dry, and what to rebuild Read More »

Cracked plaster corner with yellow and white walls

Salt Damage in Plaster: Stopping recurring powder and flaking on masonry walls

Introduction Salt damage in plaster is when mineral salts from the masonry migrate into the plaster and cause powdering and flaking. This often happens as moisture moves through the wall and brings salts to the surface, weakening adhesion. The fix starts with locating the moisture source and choosing a repair approach that fits the wall

Salt Damage in Plaster: Stopping recurring powder and flaking on masonry walls Read More »

Smooth white plastered ceiling with single hanging light bulb

Blistering Plaster Finish Coats: Causes and a cleaner re-skim approach

Introduction Blistering plaster finish coats are finish layers that lift or bubble because moisture or poor adhesion gets trapped under the surface. In DIY work, heat, humidity, or applying a coat too thick can start blisters. A cleaner re-skim approach means removing the loose skin and reflowing the coat while following the product’s instructions. Begin

Blistering Plaster Finish Coats: Causes and a cleaner re-skim approach Read More »

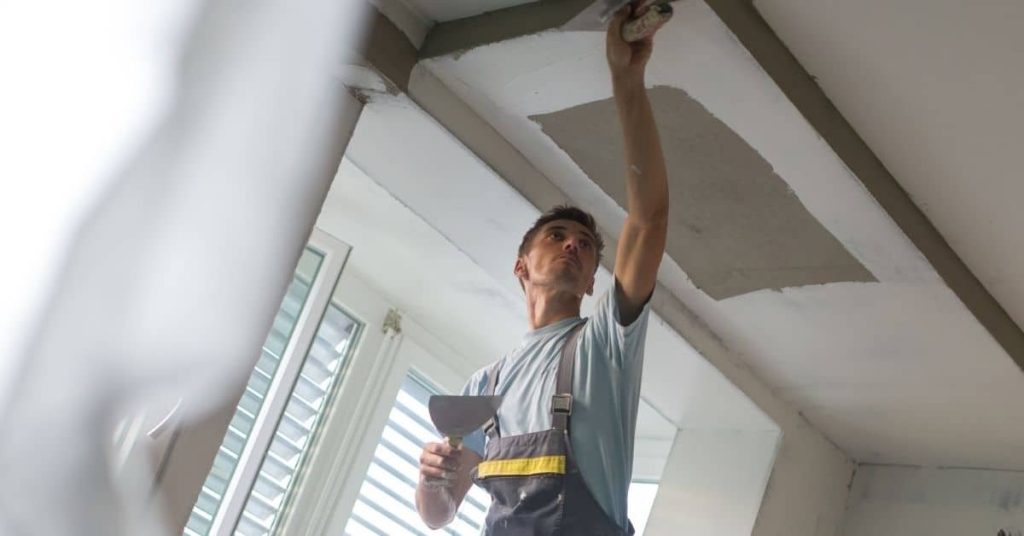
Worker smoothing plaster on wall with trowel

High-Suction Walls: Preventing plaster from flash-drying and tearing

Introduction High-suction walls pull moisture out of plaster too quickly, causing flash-drying and tearing. To work effectively, you need to control the wall’s thirst and pace your plastering. Keep the work steady and watch the surface for signs of fast drying. Control the suction by misting the wall lightly or using a wet bonding step

High-Suction Walls: Preventing plaster from flash-drying and tearing Read More »

Worker applying textured plaster with paint roller

Controlling Plaster Dry Time: Moisture management without soft surfaces

Introduction Controlling plaster dry time means managing moisture so the surface sets firm and doesn’t stay soft. In DIY work, you adjust humidity, ventilation, and application thickness to guide the cure. Keep an eye on how the room feels and how the plaster responds as it dries. Keep the work area within a steady temperature

Controlling Plaster Dry Time: Moisture management without soft surfaces Read More »

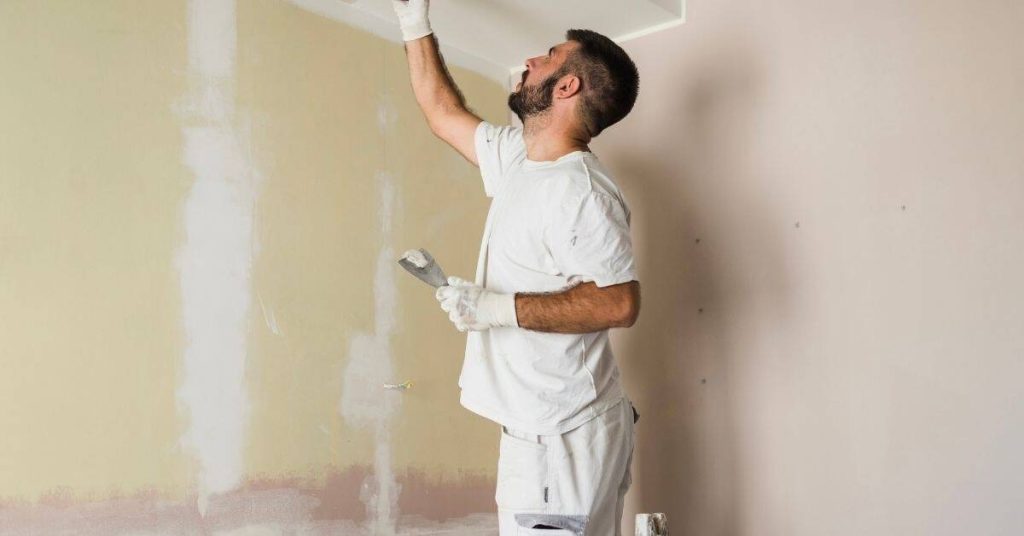
Man patching interior wall with plaster using putty knife

Patching Lime Plaster: Blending repairs without a color mismatch

Introduction Patching lime plaster is the process of repairing damaged areas so the new work matches the old finish. Work with lime plaster that matches the existing mix and color, and test color while it’s still workable to avoid a mismatch. Use feathered, gradual transitions and don’t overfill; the goal is a seamless repair. Prepare

Patching Lime Plaster: Blending repairs without a color mismatch Read More »