Replacing One Cracked Tile: Removal and Protecting Neighbors
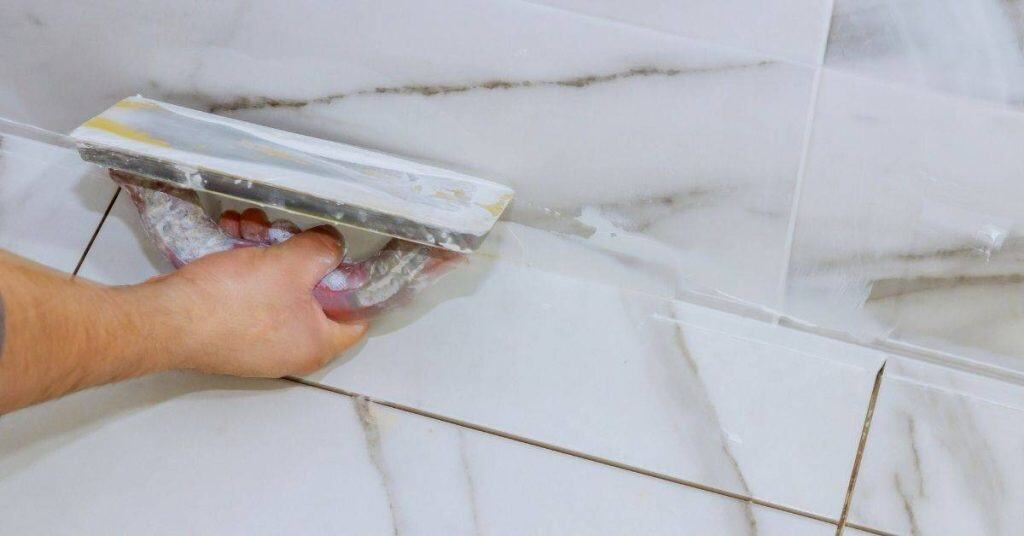
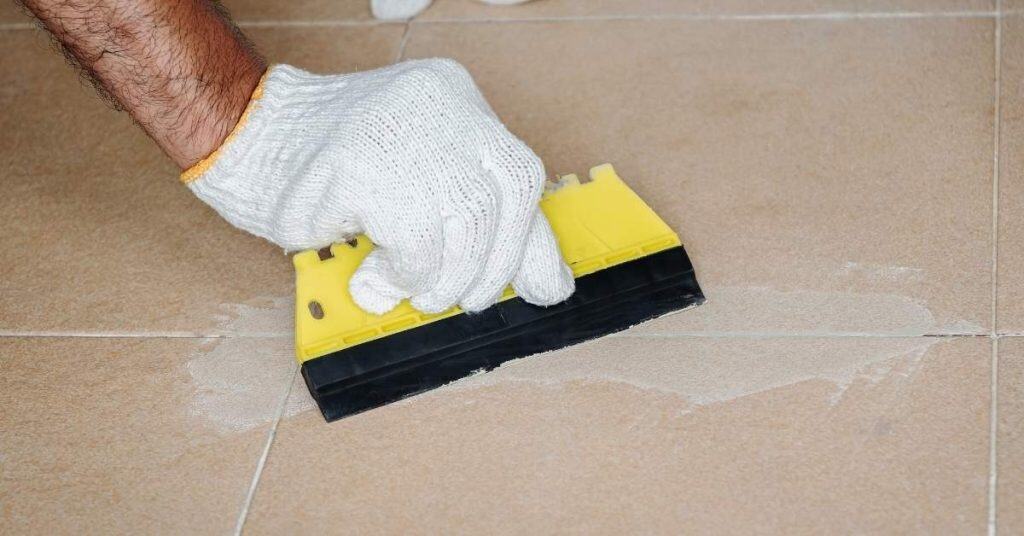
Introduction Replacing one cracked tile means removing the damaged piece and installing a new tile while protecting the tiles next to it. This is a hands‑on repair that focuses on keeping the surrounding area intact and level. You’ll want to plan, gather the right tools, and work carefully to avoid creating new cracks. Safety comes […]
Replacing One Cracked Tile: Removal and Protecting Neighbors Read More »