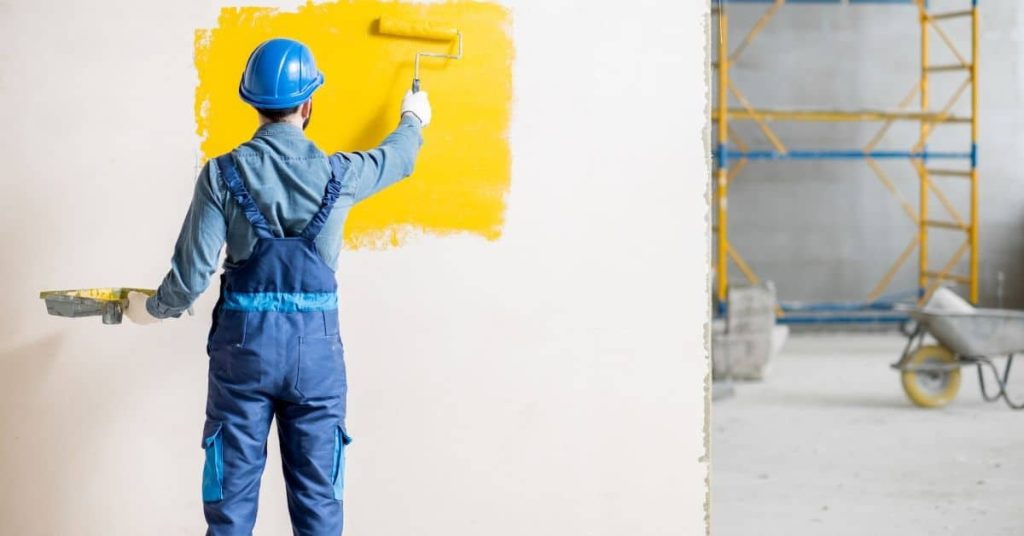
Can You Paint a Concrete Floor? Prep Steps That Prevent Peeling
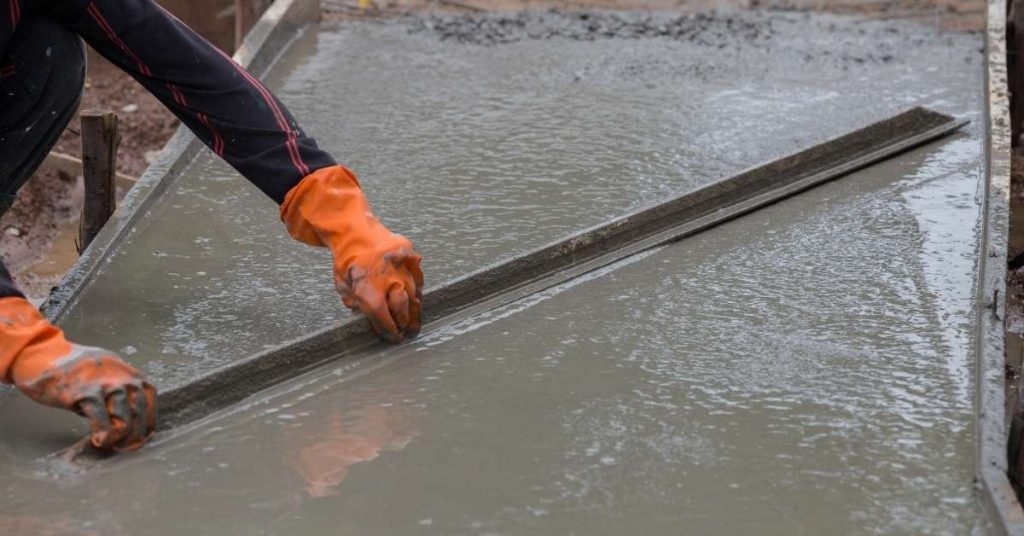
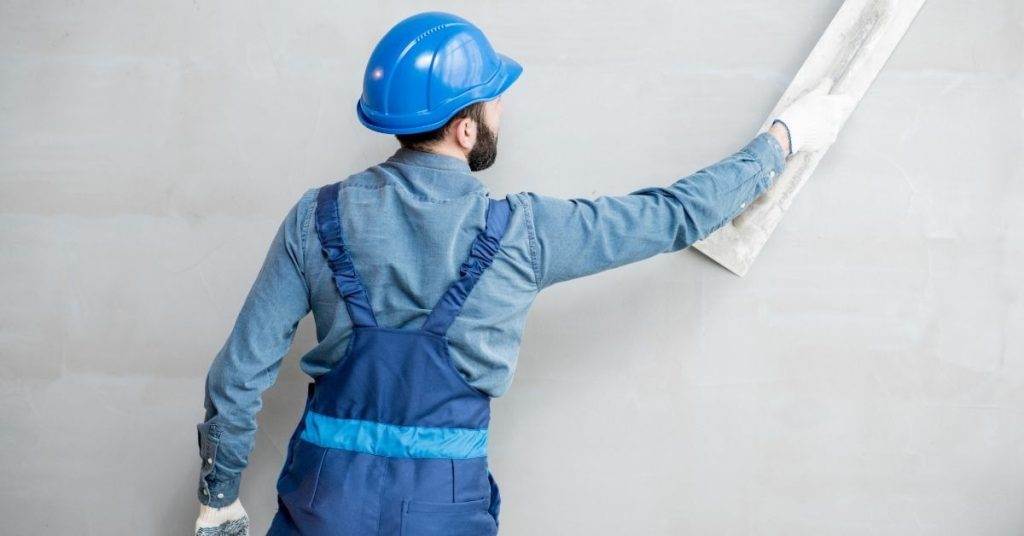
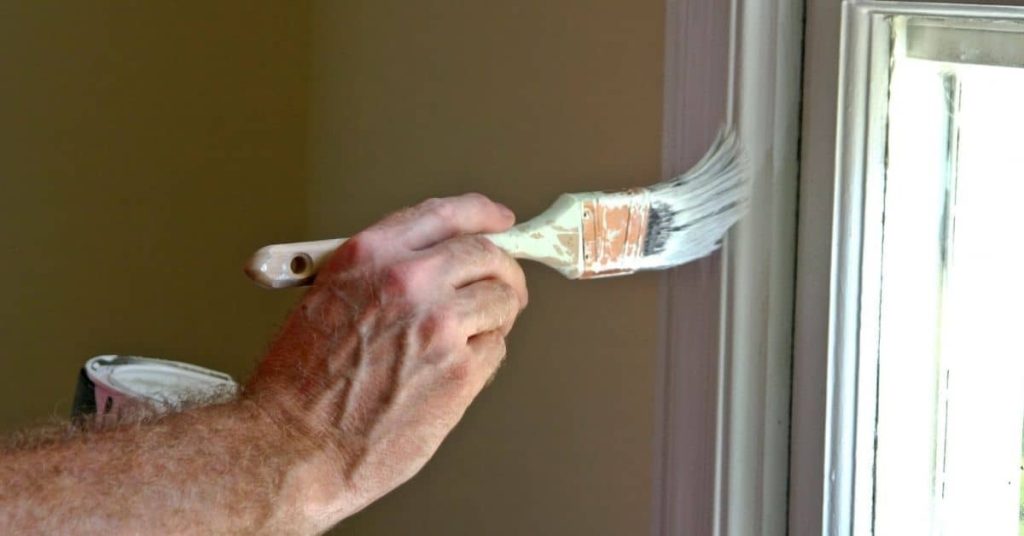
Introduction Yes, you can paint a concrete floor, but proper prep is essential to prevent peeling. This article walks you through the hands-on steps from surface prep to applying paint. Keep in mind to follow product labels and local rules for prep and use. Start with a clean, dry surface and remove loose dust and […]
Can You Paint a Concrete Floor? Prep Steps That Prevent Peeling Read More »