Search Results for: grinding

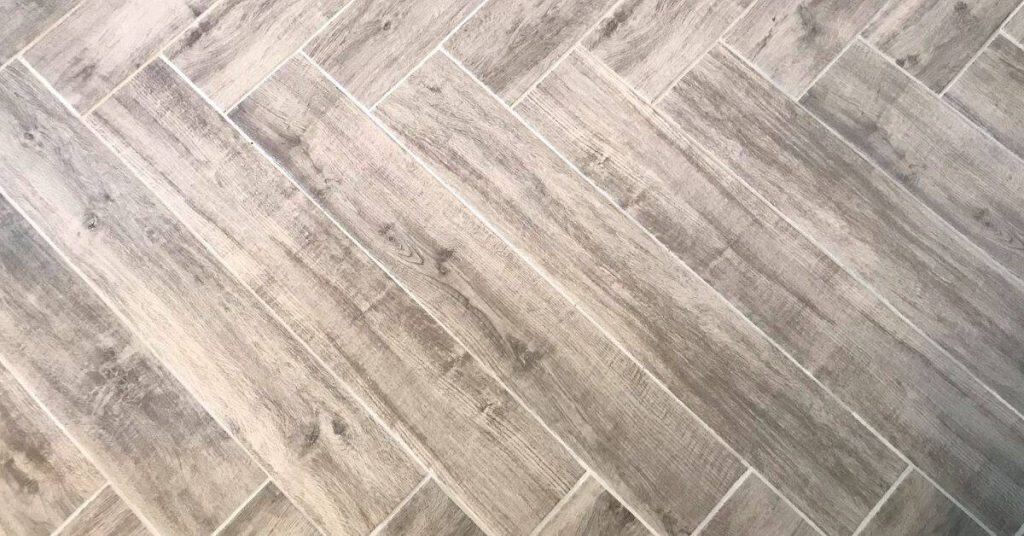
gray rectangular wood-look tiles arranged in herringbone pattern

Terracotta Tile Floor Trends 2026: Problems Explained: Causes, Testing, and Fixes

Introduction Terracotta tile floor trends in 2026 are practical, clay-based floors that highlight warm, earthy tones and a handcrafted look. This introduction explains common problems, their causes, and simple tests and fixes you can try at home. You’ll also learn what terracotta tiles are like to install and maintain, without fancy equipment. Terracotta tiles are […]

Terracotta Tile Floor Trends 2026: Problems Explained: Causes, Testing, and Fixes Read More »

Hand using roller to paint wall light blue

Storage Stability in Paints and Coatings: Problems Explained: Causes, Testing, and Fixes

Introduction Storage stability is how well paint and coatings hold their uniform consistency and performance over time while sitting in the can or bucket. Problems show up as separation, settling, or changes in texture that you don’t want when you open the lid. In practice, it comes down to how the ingredients stay mixed and

Storage Stability in Paints and Coatings: Problems Explained: Causes, Testing, and Fixes Read More »
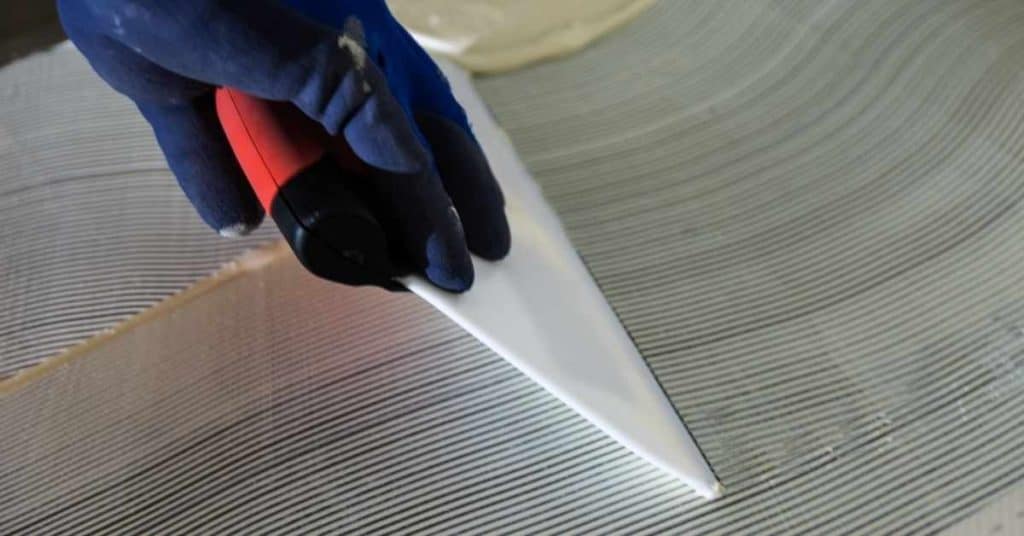
Hand in glove holding notched trowel spreading tile adhesive

Prepping Floors for Tile (Problems Explained: Causes, Testing, and Fixes)

Introduction Prepping floors for tile means making the surface clean, flat, and dry enough so tile adhesive can bond properly. This article walks you through surveying the floor, testing basics, and fixes you can do with standard tools. It’s a hands-on guide, not a lecture, and I’ll point you to what to check on labels,

Prepping Floors for Tile (Problems Explained: Causes, Testing, and Fixes) Read More »

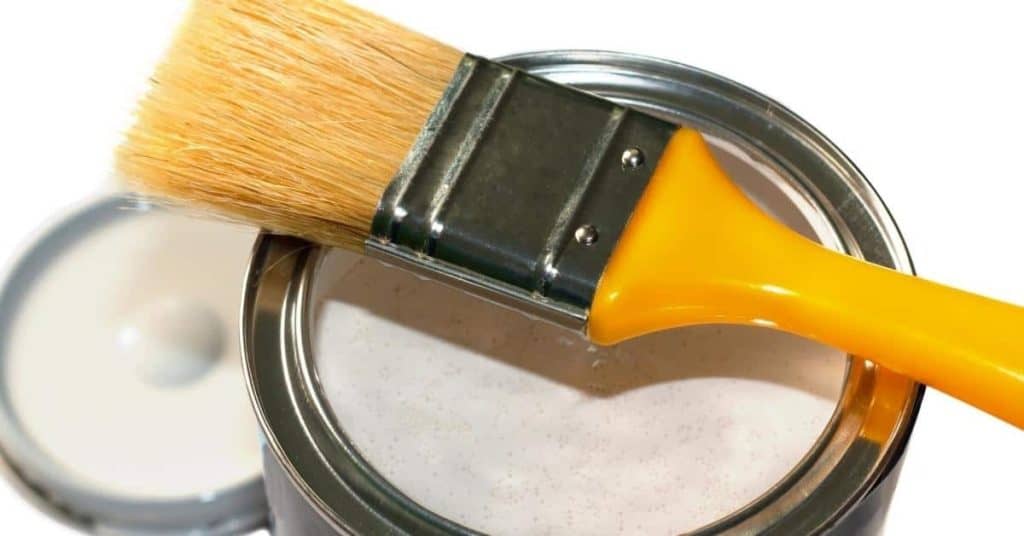
Paintbrush resting on open can of white paint

Items to Never Paint (Problems Explained: Causes, Testing, and Fixes)

Introduction Items you should never paint are surfaces that typically fail or trap moisture when coated. Common culprits include bare metal prone to corrosion, non-porous surfaces that don’t bond well, and materials that can emit fumes or moisture underneath a coat. In this article you’ll learn why these surfaces cause problems, how to test for

Items to Never Paint (Problems Explained: Causes, Testing, and Fixes) Read More »

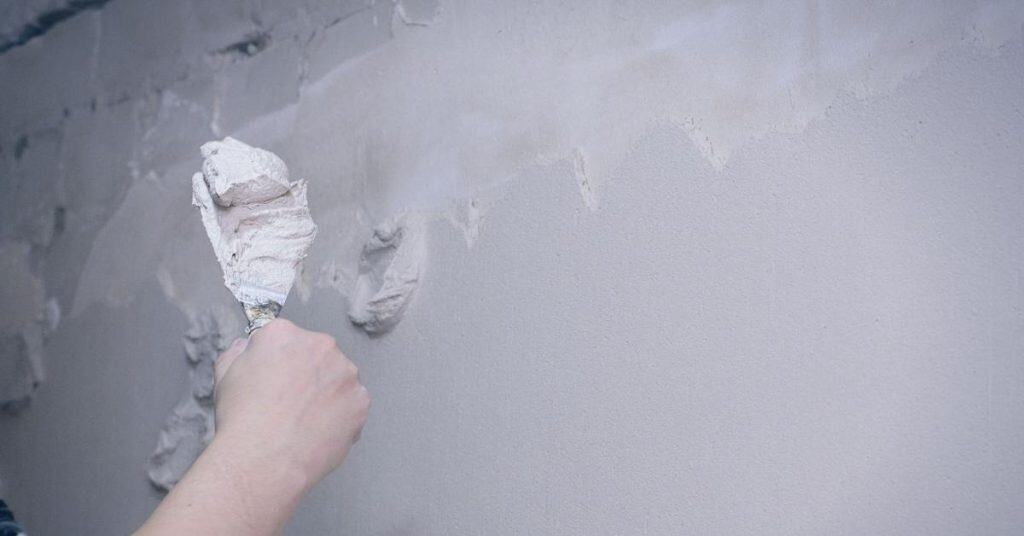
Close-up of rough white plaster wall texture

Plaster Dust Control Timeline for Small DIY Jobs

Small-job plaster dust-control timeline For a localized plaster repair in one room, plan containment first, control dust while you work, clean before opening the barrier, and allow time for a final inspection. These are planning estimates, not clearance times: they stop being realistic for multiple rooms, high ceilings, extensive demolition, powered grinding or cutting, poor

Plaster Dust Control Timeline for Small DIY Jobs Read More »

Worker smoothing plaster wall wearing blue overalls and helmet

How to Test Painted Plaster Before Skim Coating

Introduction Before skim coating painted plaster, establish two separate things: whether the existing paint is firmly attached to the plaster, and whether your chosen skim product will bond to the prepared painted surface. A clean-looking wall can still have weak paint layers, contamination, gloss, moisture damage, or incompatible coatings. Related guidance: A Simple Test to

How to Test Painted Plaster Before Skim Coating Read More »

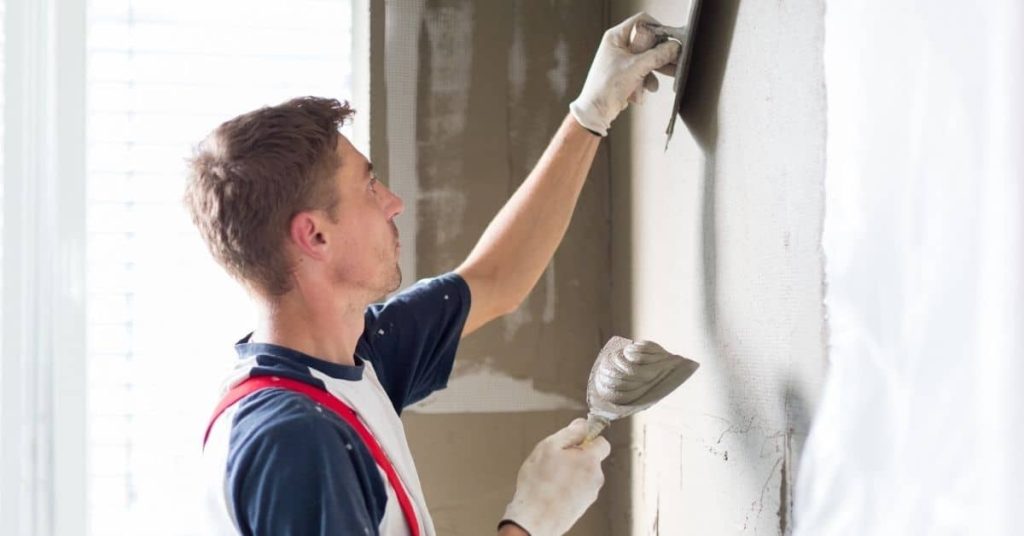
Worker smoothing plaster on wall with trowel wearing gloves and cap

Hardwall Plaster on Masonry: Achieving a Flat Plane Without “Waves”

Introduction Hardwall plaster on masonry is applying a cement-based coating to brick or block to create a flat, level surface. It means you’re sealing the rough masonry and guiding the plaster down to a true plane. Start by checking the wall for moisture and any loose material, then read the instruction on the product label

Hardwall Plaster on Masonry: Achieving a Flat Plane Without “Waves” Read More »

Hand applying plaster to wall with a trowel

Patching Plaster After Plumbing Access Holes: How to Keep the Patch from “Drumming”

Introduction Patching plaster after plumbing access holes means rebuilding the damaged wall so it won’t drum when you tap it. Start by carefully removing loose plaster around the hole and cleaning the edge so the patch bonds well. Check the backing and, if needed, install a thin scrim or patching plaster to create a solid

Patching Plaster After Plumbing Access Holes: How to Keep the Patch from “Drumming” Read More »

Decorative plaster corbel on exposed brick wall

Rebuilding Decorative Plaster Edges: Simple Molds You Can Make to Match Profiles

Introduction Rebuilding decorative plaster edges means making simple, handmade molds to reproduce the profile you want. You can shape the mold from clay or use basic flexible material to match the original edge, then set it up for casting. Check the profile on the piece and follow manufacturer instructions or local rules for materials and

Rebuilding Decorative Plaster Edges: Simple Molds You Can Make to Match Profiles Read More »

Man applying plaster to interior wall with trowel

Plaster Repairs in High Humidity Rooms: How to Prevent Powdery Finishes

Introduction Plaster repairs in high humidity rooms require moisture-aware prep and material choices to stop powdery finishes. Start by preparing the walls carefully, removing loose material and cleaning the surface before patching. Choose materials and patching methods suited for humid conditions, and verify any limits on use with the product label or manufacturer instructions. Mix

Plaster Repairs in High Humidity Rooms: How to Prevent Powdery Finishes Read More »