

Small-job plaster dust-control timeline
For a localized plaster repair in one room, plan containment first, control dust while you work, clean before opening the barrier, and allow time for a final inspection. These are planning estimates, not clearance times: they stop being realistic for multiple rooms, high ceilings, extensive demolition, powered grinding or cutting, poor containment, or work near occupied areas. Related guidance: Plaster Dust Control for Small Jobs: Containment That Keeps Cleanup Sane.
| Phase | Typical planning time | What to do before moving on |
|---|---|---|
| Before work: preparation | 1–2 hours | Remove or cover contents; protect the floor; close and seal the work-room door and leakage paths; set up tool capture and filtration or controlled exhaust; then inspect the enclosure. |
| Application, repair, or removal | Varies by repair and cure time | Keep dust-generating work inside containment. Fresh plaster application is generally less dusty than sanding cured material; scraping, demolition, and powered sanding need the most control. |
| Between work sessions | 30–60 minutes | Bag debris, vacuum settled dust, damp-wipe compatible surfaces, and leave the barrier intact. Check filters and seals rather than changing filters on a fixed daily schedule. |
| Final cleanup | 1–2 hours for a localized repair | HEPA-vacuum, damp-wipe or mop as appropriate, clean tools, inspect adjacent areas and grilles, and only then remove containment. |
If the material is unknown, the repair will disturb old painted or layered surfaces, or dust cannot be kept out of occupied spaces, pause before starting. Suspected asbestos should not be disturbed; obtain professional assessment. For older painted surfaces that will be sanded or demolished, use lead-safe practices or a certified renovator as appropriate.
Key takeaways
Containment is part of the job, not an optional cleanup step. Set it up before mixing, scraping, sanding, or moving dusty tools through the home.
- Use this schedule for one contained room or a localized repair, not extensive removal or multi-room work.
- Seal the work-room door, floor edges, and obvious gaps before sanding; address HVAC openings only when it is safe for the system.
- Use the least-dusty method suitable for the specific plaster or compound, and capture dust at the tool where possible.
- Use a manufacturer-rated HEPA vacuum or dust extractor for dust collection and cleanup; a room air cleaner supplements, but does not replace, source capture.
- Do not dry sweep, shake dusty bags or filters, or use compressed air to clean dust.
- Keep children, pets, and respiratory-vulnerable occupants out of the work area until cleanup is complete.
Table of Contents
- Introduction
- Key takeaways
- Why Plaster Dust Matters — Health, Regulations, and Project Impact
- Planning the Containment Strategy Before You Start
- Barrier Setup — Best Practices for Plastic Sheeting and Temporary Walls
- HVAC, Vents, and Airflow Control
- Tools and Methods to Minimize Dust at the Source
- Active Air Cleaning and Filtration During and After Work
- Daily and Final Cleanup Workflows That Keep Cleanup Time Short
- Common Mistakes and Troubleshooting
- Conclusion
- FAQ
Why plaster dust matters
Plaster dust is messy, easily tracked, and readily stirred back into the air. The hazard depends on what is being disturbed, how much airborne dust is generated, and how long people are exposed. Do not assume every plaster repair has the same risk as silica-, lead-, or asbestos-containing material; identify the substrate, coatings, and repair product before you begin.
OSHA silica limits are employer requirements for occupational construction work, not a homeowner clearance test. They are still useful reminders that powered cutting, grinding, extensive demolition, and uncontrolled sanding can require stronger controls than a small patch repair. Keep dusty waste contained and follow the vacuum maker’s instructions when handling bags and filters; OSHA guidance likewise emphasizes handling collected dust in ways that minimize airborne release.
When DIY stops being the right scope
Stop and seek qualified help if you suspect asbestos, cannot identify a layered material that will be disturbed, expect substantial silica-generating work, cannot maintain containment, or have occupants with respiratory vulnerability who cannot stay away from the area. Also pause if you are unsure whether changing HVAC operation would affect combustion safety, required ventilation, freeze protection, or equipment operation.
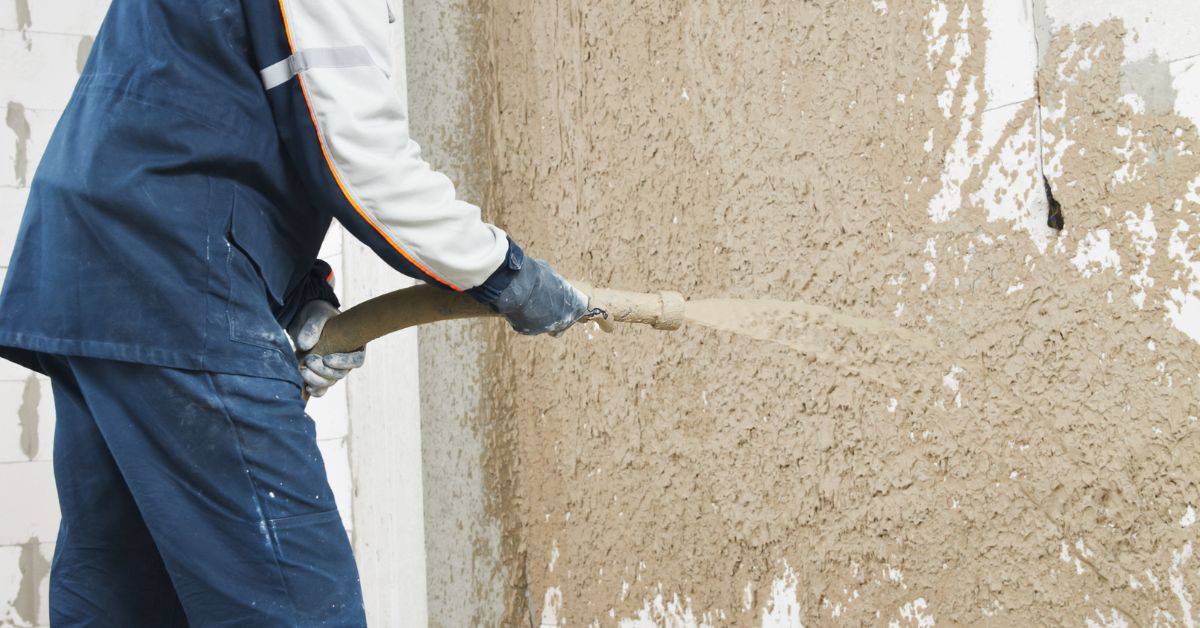
Plan the work zone before opening materials
Map the work room, travel route, nearby doors, gaps, and HVAC grilles. A small job means a localized repair in one contained room, with limited demolition and no need to work through occupied adjacent spaces. Decide where clean supplies enter, where debris leaves, and where you will clean tools so dust does not cross the barrier.
Gather supplies by phase
- Containment: plastic sheeting, tape, a zipper or temporary door barrier, floor protection, and a way to secure edges.
- Dust control: compatible vacuum-assisted tool attachment where available, plus a manufacturer-rated HEPA vacuum or dust extractor.
- Air management: a portable air cleaner sized by its stated airflow or CADR, or a controlled outdoor exhaust arrangement if conditions allow.
- Cleanup and waste: damp wipes or mop, compatible cleaning water, sealed bags or containers, and spare vacuum bags or filters.
- PPE: eye protection, gloves, protective clothing, hearing protection for power tools, and a NIOSH-approved respirator selected for the identified hazard.
Remove movable contents where possible; cover what must remain. Protect the floor past the immediate repair so dust does not transfer to clean flooring when you step away from the wall.
Set barriers before dust-generating work
Use plastic sheeting to isolate the room or repair zone, with a practical entry point such as a zipper door. Tape seams, corners, door edges, and the floor-to-wall joint. The important outcome is continuity: dust should not have an easy path around, under, or through the barrier. Use a sturdier temporary barrier when plastic cannot remain sealed around repeated access.
Before sanding, inspect every seam and threshold. If you are using controlled exhaust, hold a narrow strip of tissue at the closed-door gap: it should move gently toward the work area, not toward the clean area. This is a direction check only; it does not prove that a room is free of hazardous dust. Do not use smoke, incense, or deliberately created dust for this test.
Manage HVAC and airflow without creating another hazard
Do not automatically shut down HVAC or seal every opening. If it is safe for the equipment and the room, cover supply and return openings serving the work area to keep dust out of the duct system; homeowner lead-dust guidance also recommends sealing heating and cooling vents during renovation containment. Do not block combustion-air openings, flues, furnace or water-heater exhausts, dryer or bath exhausts, or any required ventilation opening. If you are unsure, follow the equipment instructions or consult an HVAC professional.
Use filtration or exhaust deliberately
A portable air cleaner recirculates room air through its filter; select it by the manufacturer’s stated room coverage and airflow, not by an HVAC MERV rating. Place it inside the contained work zone where it will not blow dust across the repair.
If exhausting outdoors, use one controlled discharge point, keep it away from outdoor-air intakes and neighbors, and provide a deliberate clean-air makeup path. A fan without replacement air may perform poorly; an incomplete enclosure may pull dust through gaps or adjacent rooms. A box fan facing outward is only a conditional aid, not a substitute for sealed barriers and a verified airflow direction.

Match the method to the material
Separate application from sanding and removal. Mixing dry material, scraping loose plaster, demolition, and sanding cured surfaces can generate airborne dust. Applying wet plaster generally creates less airborne dust, but still protect adjacent finishes and clean spills before they dry. Use hand tools or vacuum-assisted tools when they can achieve the repair without creating an unnecessary plume.
Sanding and PPE
For small touch-ups, work in small sections with steady strokes and collect dust frequently. Follow the plaster or repair-product instructions for abrasive choice and moisture. Damp-sponge sanding is an option for minimal drywall joint-compound sanding, but it is not intended to remove large amounts of material; it should not be generalized to every plaster system or water-sensitive substrate. Let material dry as directed and avoid saturating the wall.
A disposable N95 is not equivalent to a P100. Use a NIOSH-approved respirator appropriate to the identified particulate hazard and the task. Tight-fitting respirators need a user seal check every time they are worn, and facial hair in the sealing area can prevent a seal; workplace respirator programs also require medical evaluation and fit testing. Wear eye protection, and add hearing protection when using power tools.
Capture dust and keep filtration running through cleanup
Use a HEPA vacuum or dust extractor with compatible hose and tool attachments to capture dust at the source and from settled surfaces. HEPA describes filter performance under a test standard; it does not guarantee that every vacuum, air cleaner, or air scrubber will clean a room equally well. Airflow, tool capture, filter condition, and leakage around the enclosure all matter.
Run the portable cleaner or controlled exhaust while dust is being generated and during cleanup. There is no universal number of minutes or hours to run it afterward: room size, dust load, equipment airflow, and visible conditions vary. Inspect filters and airflow or pressure indicators, then replace filters as directed by the manufacturer or when loaded, damaged, or restricting performance. A consumer particle counter may show a trend, but it cannot identify silica, lead, or asbestos or certify a room as safe.
Clean before opening the barrier
Between work sessions
Leave containment in place. Collect larger debris inside the work area, place it directly into a bag or sealed container, and close the bag before moving it. Do not shake bags, sweep dry dust, or blow tools clean with compressed air. Vacuum floors, ledges, tools, and reachable horizontal surfaces, then damp-wipe compatible surfaces. Clean the soles of footwear or use dedicated work footwear before leaving the zone.
Final pass: surfaces, equipment, and checks
- Bag remaining debris inside containment and close each bag before transport; follow local disposal rules.
- HEPA-vacuum walls, ledges, floors, barriers, and tools from higher surfaces downward.
- Damp-wipe or damp-mop compatible surfaces after vacuuming. Change wipes or water when visibly dusty rather than spreading residue.
- Keep filtration operating during this work and afterward as conditions and equipment guidance warrant.
- Inspect adjacent rooms, door thresholds, and HVAC grilles for visible dust or tracking.
- Check that filters are intact and that the vacuum is cleaned according to its manufacturer’s bag and filter-removal instructions.
- Remove plastic carefully by folding contaminated surfaces inward; do not snap or shake it.
Reopen the room only when there is no visible settled dust on nearby horizontal surfaces, no dust outside the enclosure, clean grilles and thresholds, and no continuing dust release when ordinary movement resumes. These practical checks are not laboratory clearance for lead, asbestos, or silica.
Common containment failures
Dust escapes at the doorway or in the next room
Stop sanding. Check floor edges, plastic seams, door zippers, and the route used for supplies and waste. Repair gaps before resuming. If exhaust is running, repeat the tissue check; reverse or excessive airflow can draw dust through leaks rather than containing it.
The room is dusty despite filtration
Filtration cannot make up for poor source capture. Reduce sanding intensity, use a vacuum attachment where compatible, clean settled dust before it is walked through, and inspect the vacuum bag, filter, hose, and seals. Do not assume a higher fan speed alone solves an unsealed enclosure.
When to call a professional
Escalate for suspected asbestos, lead-painted surfaces in pre-1978 housing that will be substantially disturbed, extensive silica-generating work, large-area sanding or demolition, uncertain HVAC or combustion conditions, or any job where containment repeatedly fails. Postpone work when vulnerable occupants cannot be kept away from the area.

Keep the schedule in order
For a small plaster repair, spend the first 1–2 hours containing the room and checking airflow, keep dust capture and filtration active during the dusty phase, clean inside the barrier at the end of each session, and reserve 1–2 hours for the final pass. Do not remove the barrier until surfaces, thresholds, and grilles are visibly clean. If the material, airflow, or hazard is uncertain, stop rather than trying to clean up an uncontrolled dust release later. Related guidance: A Step-by-Step Guide: How to Remove Plaster Ceiling with Wire Mesh Safely and Efficiently.
FAQ
Should I seal every vent and turn off the HVAC system?
No. Cover supply and return openings serving the work area only when that is safe for the system and the home. Never block combustion air, flues, appliance exhausts, dryer or bath exhausts, or required ventilation. Ask an HVAC professional if shutdown or sealing could affect equipment safety or freeze protection.
What sanding method creates the least cleanup?
Use the least aggressive method that will finish the specific repair, work in small sections, and use vacuum-assisted sanding when compatible. Damp-sponge sanding can suit minimal drywall joint-compound touch-ups, but follow the plaster or product instructions and do not add moisture to a water-sensitive assembly.
How long should I run an air cleaner after sanding?
There is no fixed time that fits every room. Keep it running through cleanup and afterward based on the dust load, room size, equipment airflow, and visible conditions. Reopen the area only after the final vacuuming and wipe-down show no visible dust outside the contained zone.
What is the safest way to dispose of dusty debris?
Bag debris inside containment, close the bag before carrying it out, and avoid shaking bags or filters. Clean the vacuum and handle its bag or filter according to the manufacturer’s instructions, then follow local waste requirements.