Search Results for: finishing

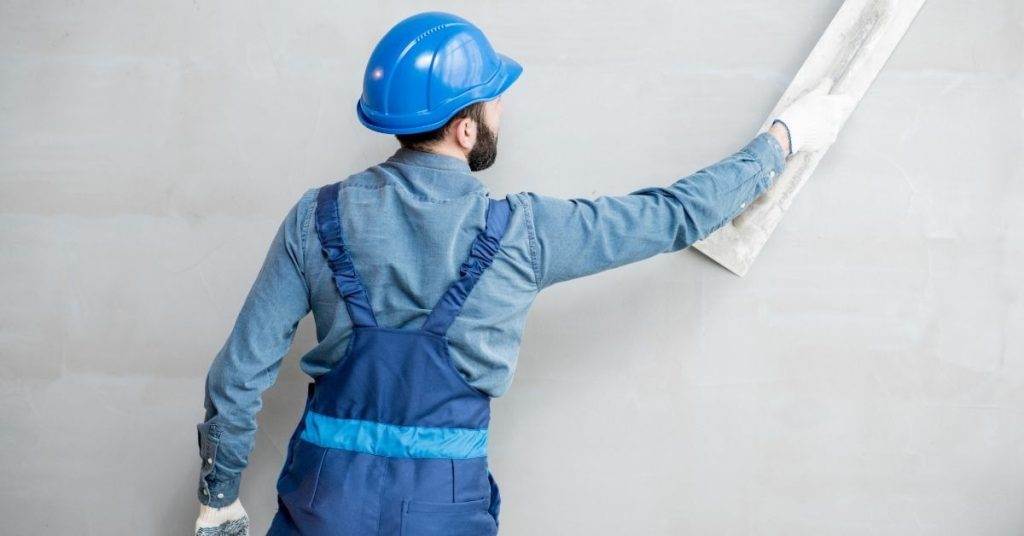
Construction worker smoothing plaster on wall wearing blue helmet

Repairing Polished Plaster Chips: Patch Blending Without Visible ‘Halos’

Introduction Repairing polished plaster chips means filling and feathering the damaged area so the patch matches surrounding sheen and texture without a visible ring. Start by cleaning and undercutting loose edges, use compatible repair material, and build thin layers that are troweled and polished to blend into the existing finish. Check product labels and manufacturer […]

Repairing Polished Plaster Chips: Patch Blending Without Visible ‘Halos’ Read More »

white plaster wall with uneven textured surface

Venetian Plaster Over Existing Texture: When to Skim, When to Sand, and When to Remove

Introduction Venetian plaster over existing textured walls means deciding whether to skim, sand, or remove that texture so the final finish looks smooth and bonds properly. In plain jobsite terms: skim if the texture is shallow and solid, sand if it’s flaky or slightly high, and remove if it’s loose, highly uneven, or has adhesion

Venetian Plaster Over Existing Texture: When to Skim, When to Sand, and When to Remove Read More »

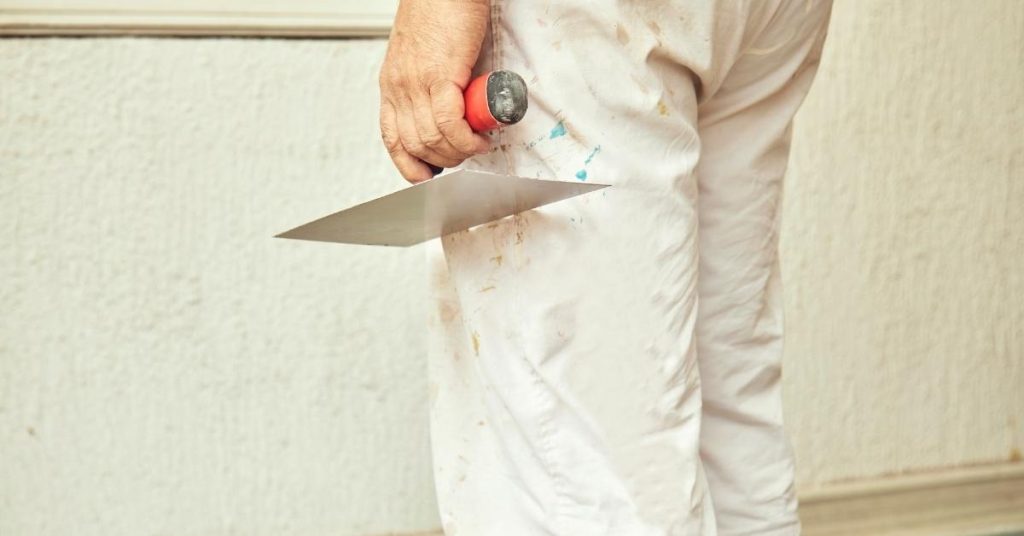
Hand holding plastering trowel against white wall background

Venetian Plaster Burnishing: Tool Choice, Timing, and How to Avoid Black Marks

Introduction Venetian plaster burnishing is the final rubbing of a polished plaster surface to compact and shine it using the right tools at the right moment. Pick flexible trowels or burnishers suited to your plaster type and check the product label for recommended tools, and make sure the base coat is dry and sound before

Venetian Plaster Burnishing: Tool Choice, Timing, and How to Avoid Black Marks Read More »

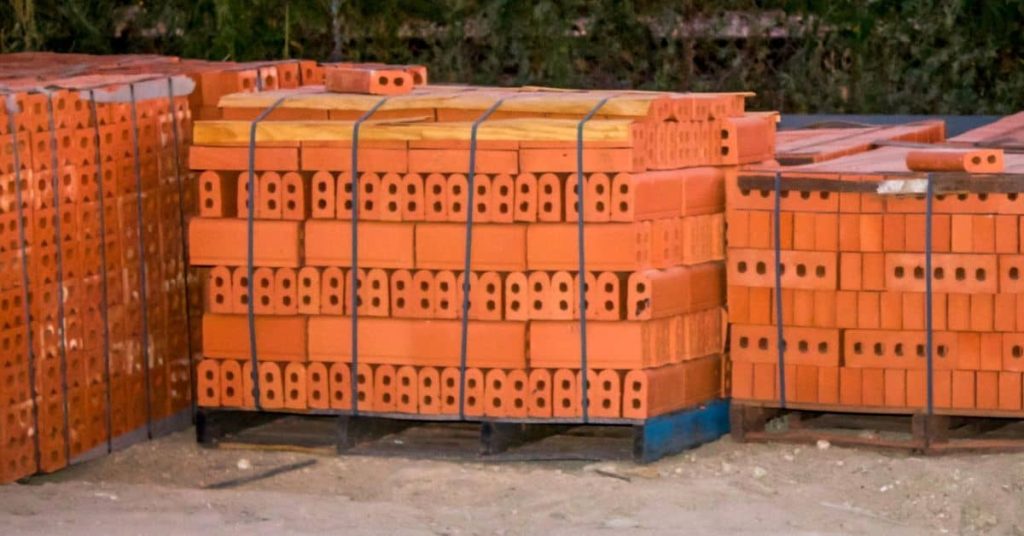
Stacks of orange hollow clay bricks on wooden pallets

Roman Clay Maintenance: Spot Repair, Re-Seal, and How to Avoid Shiny Patches

Introduction Roman Clay maintenance means keeping the finish patched, resealed, and matte where you want it, not shiny where you don’t — spot repairs and the right re-seal process fix most problems. This is a hands-on job: check the product label and manufacturer’s instructions for compatible patch mixes and sealers before you start. Expect to

Roman Clay Maintenance: Spot Repair, Re-Seal, and How to Avoid Shiny Patches Read More »

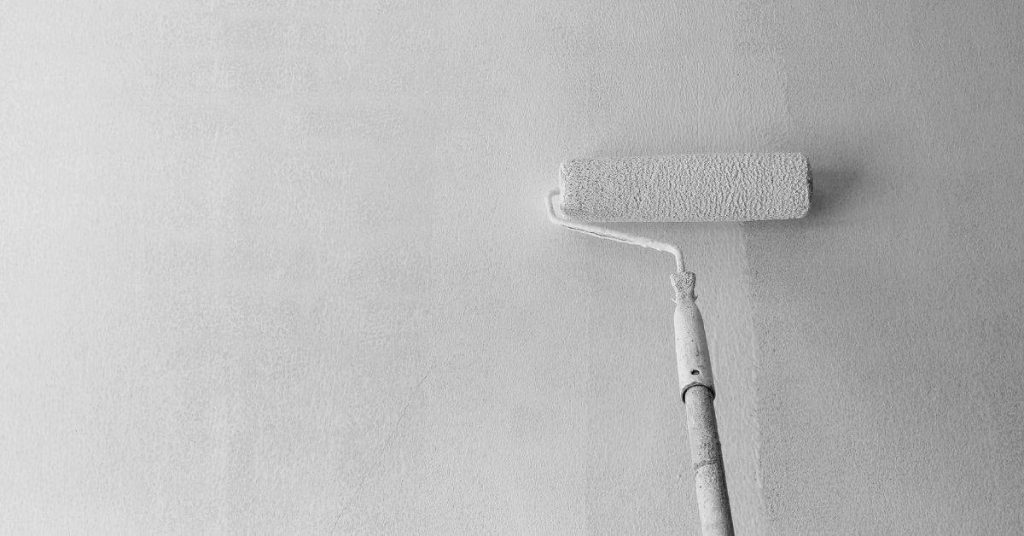
Paint roller applying white paint on wall

How to Create a Paint Sample Wall Without Ruining Drywall: Removable Boards and Film

Introduction Creating a paint sample wall without ruining drywall means putting paint on removable boards or using a temporary film so the wall itself stays clean. This is a hands-on DIY approach that keeps samples tidy and lets you move or change test spots without patching. Check product labels and manufacturer instructions for attachment methods

How to Create a Paint Sample Wall Without Ruining Drywall: Removable Boards and Film Read More »

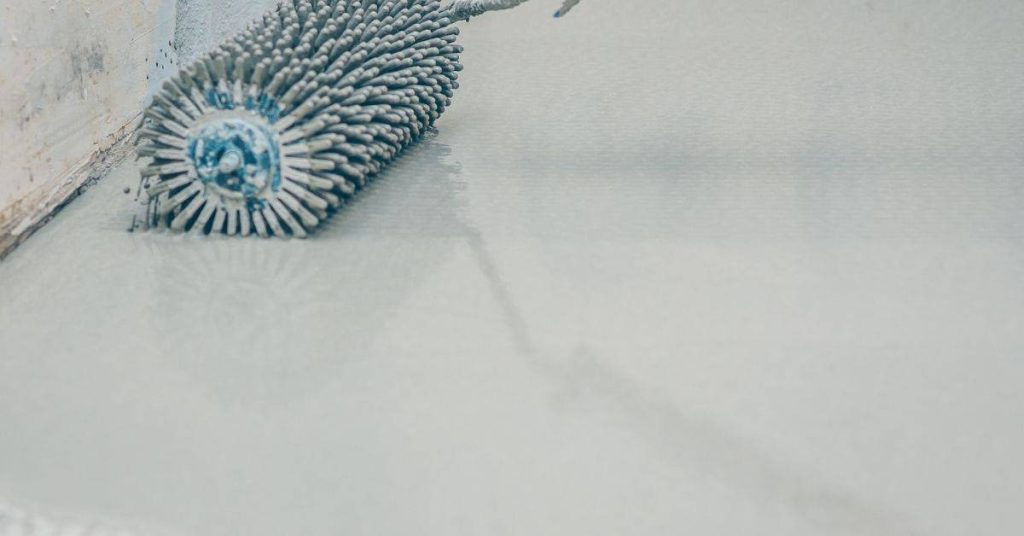
Spiked roller tool on wet floor coating surface

Polyaspartic Floor Coatings for DIY: Working Time, Odor, and Surface Prep Requirements

Introduction Polyaspartic floor coatings are fast-curing two-part coatings used to protect and finish concrete, and for a DIYer that means short working time, noticeable odor, and careful surface prep. Think like a tradesperson: plan your mixing and application in short, deliberate steps and check the product label for working time, recommended respirators, and substrate requirements.

Polyaspartic Floor Coatings for DIY: Working Time, Odor, and Surface Prep Requirements Read More »

Man painting exterior wall with roller paint brush

Dew Point Basics for Exterior Painting: Simple Checks That Prevent Blistering Overnight

Introduction Dew point is the temperature at which moisture in the air will condense on a cooler surface, and checking it helps prevent paint blistering overnight. In plain terms: if the wall is at or below the dew point when paint is curing, condensation can form and wreck the finish. Before you paint outside, check

Dew Point Basics for Exterior Painting: Simple Checks That Prevent Blistering Overnight Read More »

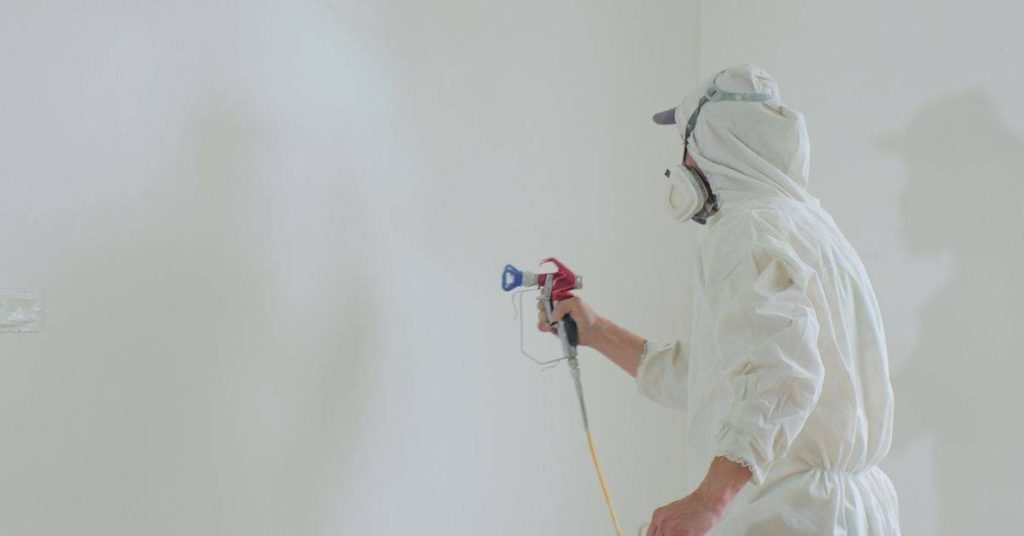
Worker spraying white paint on interior wall wearing protective suit

Back-Brushing and Back-Rolling After Spraying: When It Helps and When It Makes Things Worse

Introduction Back-brushing and back-rolling are hands-on techniques used after spray-applying coatings to work the material into the surface and even out coverage; in plain terms, back-brushing uses a brush and back-rolling uses a roller to finish what the sprayer started. They help when the surface texture, porosity, or overspray patterns need manual attention, but whether

Back-Brushing and Back-Rolling After Spraying: When It Helps and When It Makes Things Worse Read More »

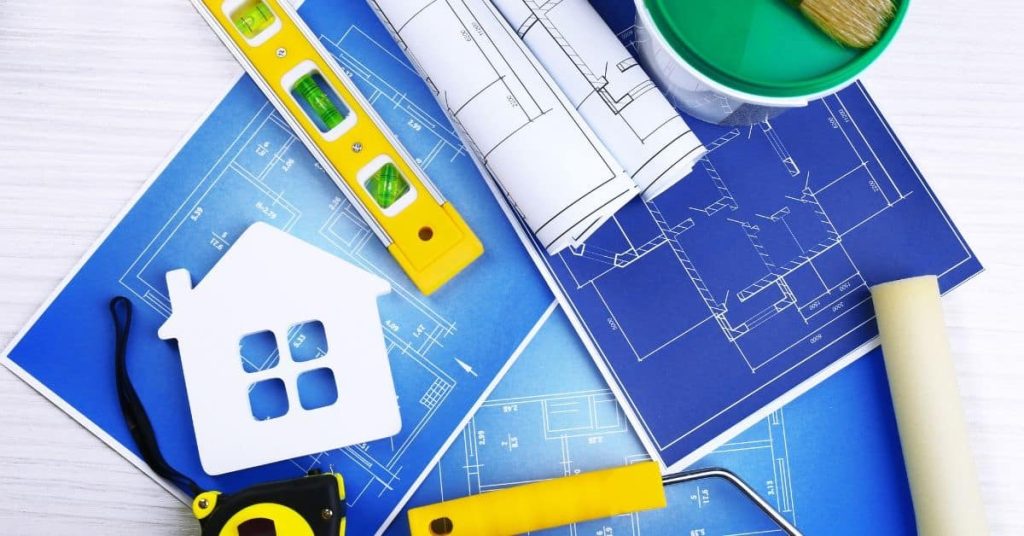
Blueprints with paint tools level tape measure and paintbrush

Airless Spray Tip Sizes Explained: Matching Tip, Pressure, and Paint for Clean Fan Patterns

Introduction Airless spray tip sizes are the matching of tip orifice, pump pressure, and paint thickness to produce a clean fan pattern for the job. In plain terms, pick a tip that can pass your paint at a pressure the sprayer can deliver, and test on scrap to confirm the fan is even and free

Airless Spray Tip Sizes Explained: Matching Tip, Pressure, and Paint for Clean Fan Patterns Read More »

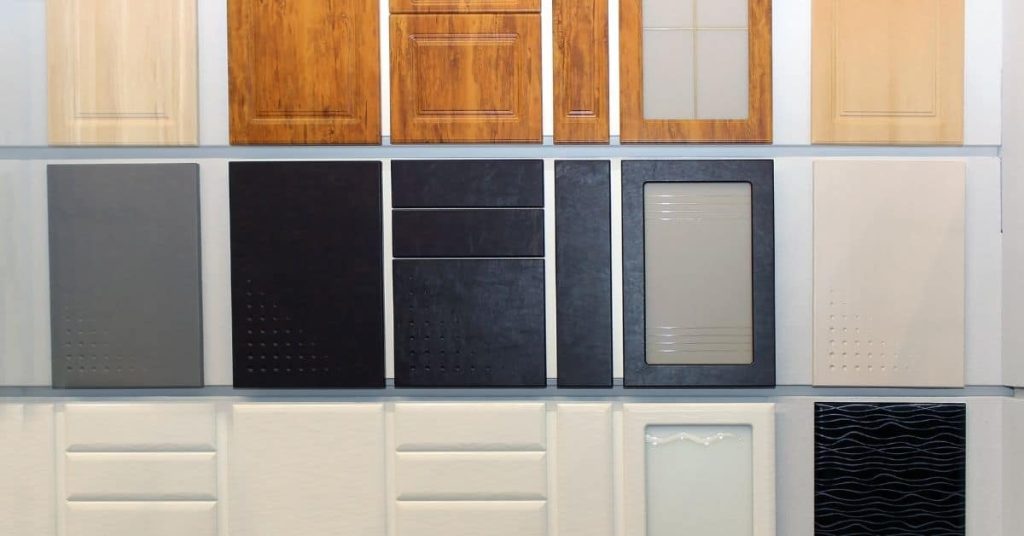
Various painted cabinet door samples in multiple colors and finishes

Furniture-Grade Painted Finishes: Grain Filling, Sanding, and Topcoat Choices

Introduction Furniture-grade painted finishes means getting a smooth, filled grain surface that takes paint like shop work so your piece looks professional; it’s done by filling open grain, sanding flat, and choosing the right topcoat. This is a hands-on sequence: pick a grain filler compatible with your paint, sand progressively to remove filler and level

Furniture-Grade Painted Finishes: Grain Filling, Sanding, and Topcoat Choices Read More »