Search Results for: finishing

Wooden boathouse on stilts over calm water at dusk

Choosing brick joint profiles: concave, flush, struck—how each sheds water

Introduction Brick joint profiles are the shapes formed where bricks meet mortar, influencing water shedding from a wall. Understand how each profile behaves in wet conditions to make an informed choice based on your climate and maintenance routine. Concave joints: Shed water along the mortar surface. Flush joints: Sit flat, providing a smooth finish but […]

Choosing brick joint profiles: concave, flush, struck—how each sheds water Read More »
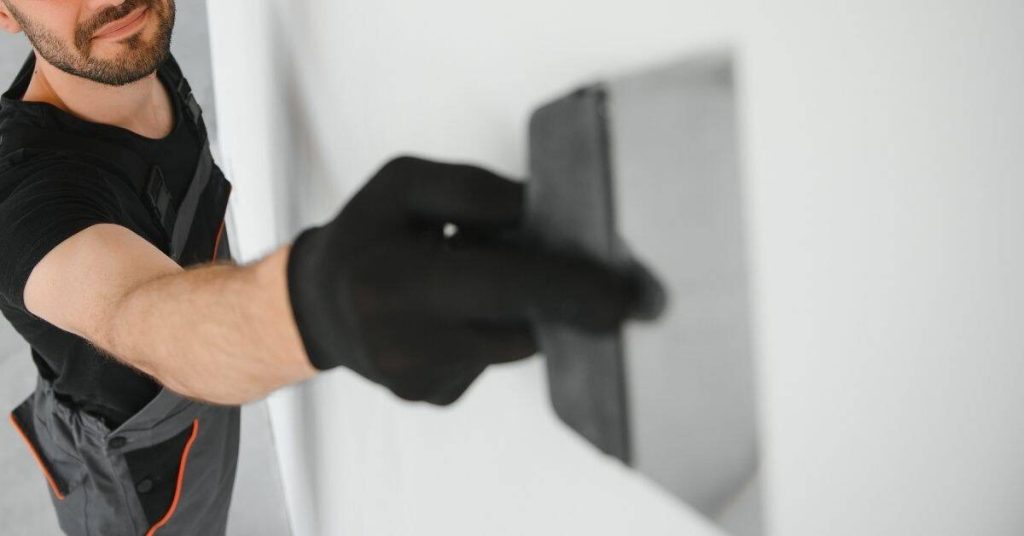
Plaster worker smoothing wall with trowel wearing black glove

Common rookie plaster mistakes: overwatering, overworking, and chasing perfection too soon

Introduction Rookie plaster mistakes are doing too much water, overworking the mix, and chasing a perfect finish before it’s ready. These habits can cause cracks, shrinkage, and a surface that won’t hold paint. Take a steady, practical approach: mix only what you need, apply in damp coats, and let each layer set. During a shifting

Common rookie plaster mistakes: overwatering, overworking, and chasing perfection too soon Read More »

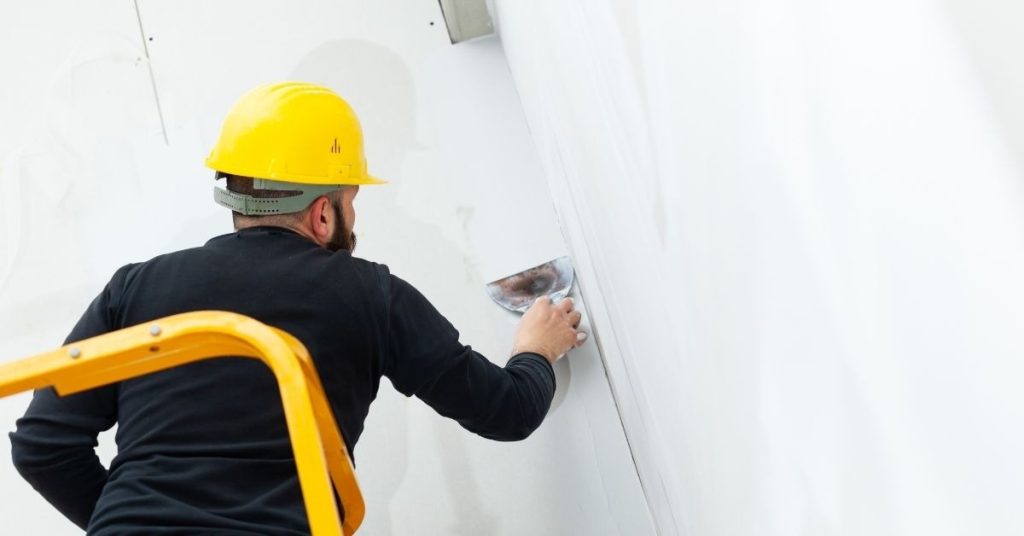
Worker in yellow helmet applying plaster on white wall

Blending sheen on polished plaster finishes: spot repair vs full-wall rework

Introduction Spot repair and full-wall rework are two approaches to restore or adjust sheen on polished plaster finishes. This article compares when to use each method and what you should expect in terms of result and effort. It keeps the focus practical, with plain-language guidance you can follow on a real job. Polished plaster has

Blending sheen on polished plaster finishes: spot repair vs full-wall rework Read More »

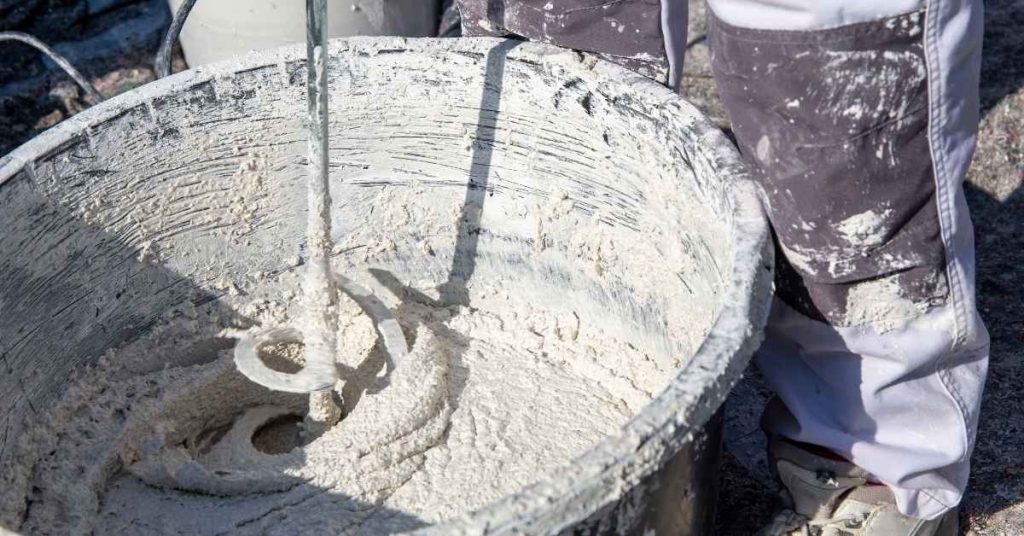
Close-up of plaster being mixed in a large bucket with a drill mixer

Mixing small plaster batches: setting time control without weakening the finish

Introduction Setting time control for small plaster batches means managing how fast plaster hardens without compromising surface quality. Keep an eye on temperature and humidity, since they influence cure speed and finish. Use small, workable batches and follow the manufacturer’s guidance for mixing and setting, then adjust for environmental conditions in your space. If you

Mixing small plaster batches: setting time control without weakening the finish Read More »

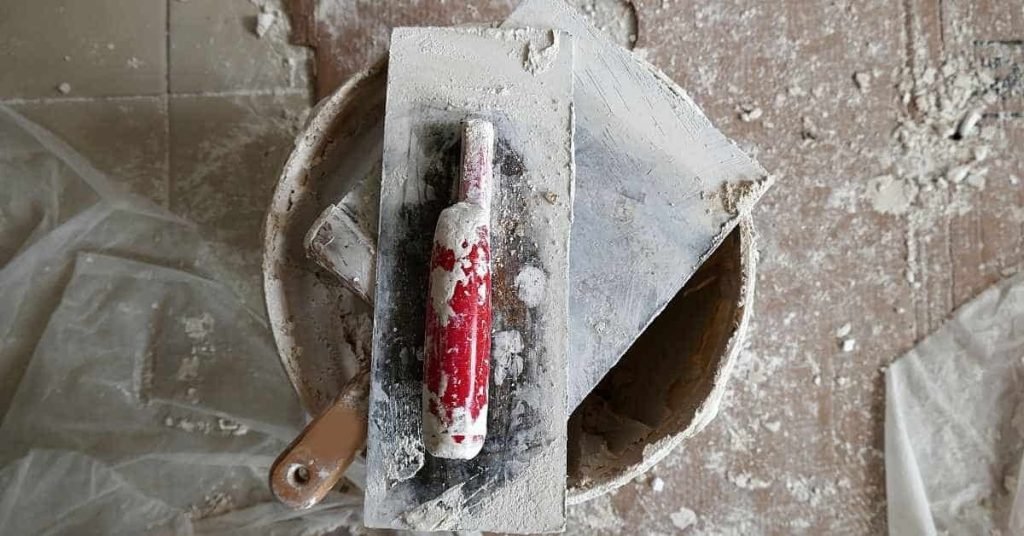
Plastering trowel with red handle on bucket filled with plaster

Best trowel angles for beginner plasterers: avoiding gouges and lap marks

Introduction The best trowel angles for beginner plasterers are the angles that keep the blade nearly flat against the surface to reduce gouges. Maintain a steady, light pressure and smooth motion to minimize digging into the plaster. Start with small, even passes and check your work as you go. Different trowel types and edge shapes

Best trowel angles for beginner plasterers: avoiding gouges and lap marks Read More »

Hand pressing foam insulation board against plaster wall

Adding insulation behind plaster: approaches that don’t destroy historic trim

Introduction Adding insulation behind plaster is placing insulation in the wall cavity behind the plaster to improve warmth while preserving historic trim. It aims to balance preservation with better energy use using approaches that keep trim intact. You’ll work with methods that minimize damage to plaster surfaces and trim during installation. Common options for historic

Adding insulation behind plaster: approaches that don’t destroy historic trim Read More »

Person painting white window frame with brush

Painting over fresh plaster repairs: timing, pH issues, and primer selection

Introduction Painting Over Fresh Plaster Repairs Painting over fresh plaster involves applying paint to repaired plaster surfaces once they have cured sufficiently. This guide covers when to start painting after plaster repairs and what to check beforehand. Timing: Allow the plaster to cure according to its type and room conditions. Paint only when the surface

Painting over fresh plaster repairs: timing, pH issues, and primer selection Read More »

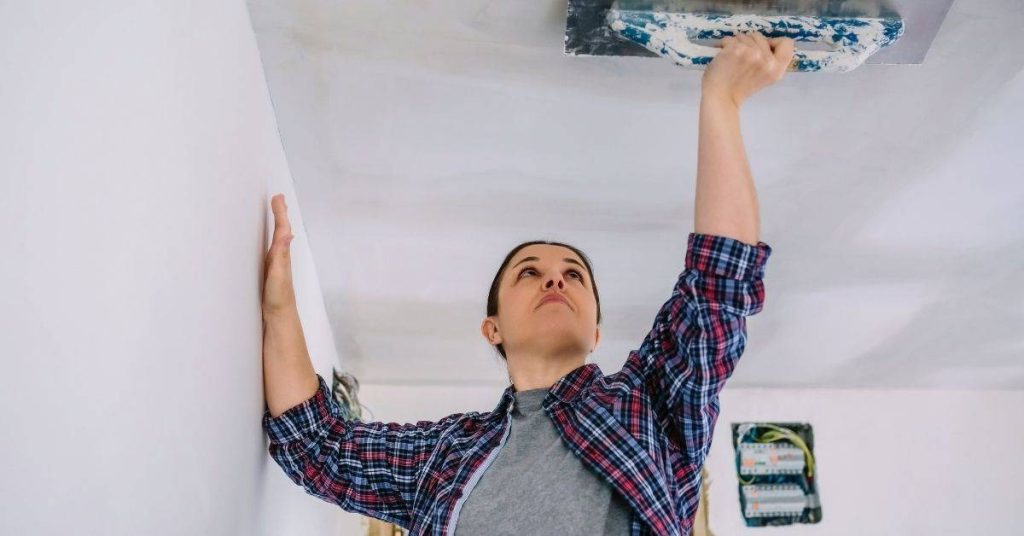
Person smoothing plaster on ceiling with trowel

Repairing plaster coves and cornices: simple molds and patch materials

Introduction Repairing plaster coves and cornices means restoring damaged decorative plaster trims by patching and reshaping them to match the original profile. It’s a hands-on DIY task that starts with careful assessment, clean work areas, and choosing the right patch materials. Take your time to match texture and edge lines before the material sets. Plan

Repairing plaster coves and cornices: simple molds and patch materials Read More »

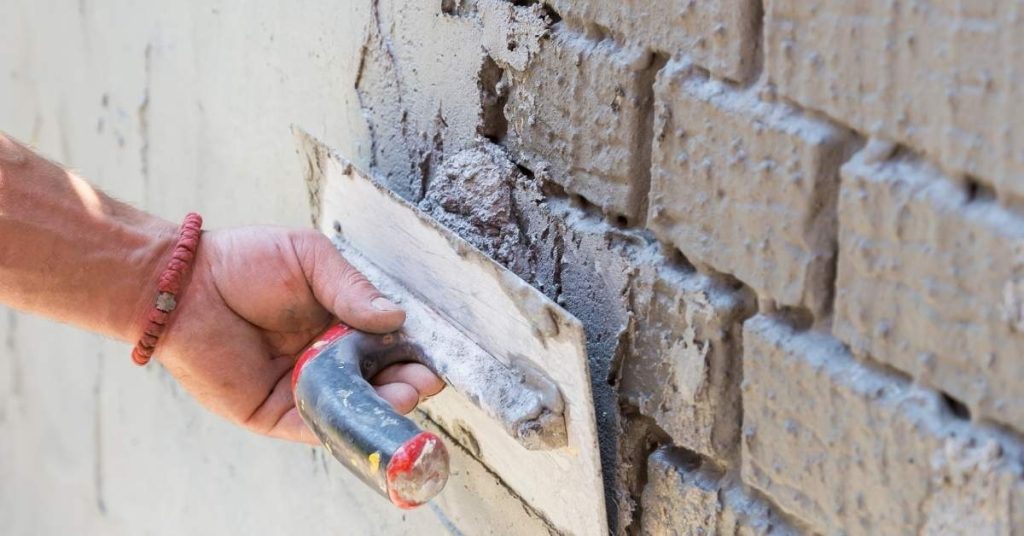
Hand applying plaster to brick wall with trowel

Cracks along baseboards in plaster walls: seasonal movement fixes and caulk choices

Introduction Cracks along baseboards in plaster walls are gaps that form where the wall shifts with seasons. These gaps are common where plaster settles or expands and contracts with humidity. Addressing them requires understanding movement and choosing a breathable sealant. Causes include seasonal movement of the plaster, framing, and humidity changes. For sealing, choose caulk

Cracks along baseboards in plaster walls: seasonal movement fixes and caulk choices Read More »

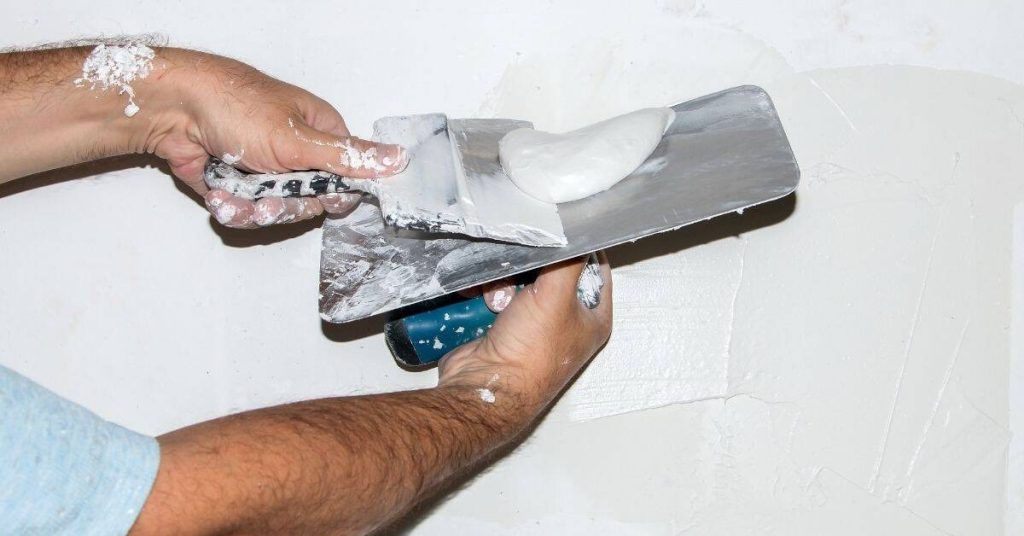
Hands applying plaster on white wall with trowel and hawk

Plaster over painted surfaces: adhesion tests and when to scuff vs strip

Introduction Adhesion of plaster to painted surfaces depends on paint type and surface condition, and you should test adhesion before proceeding. A simple adhesion check lets you decide whether you can plaster over the paint as is, need to scuff the surface, or must strip the paint first. If the surface shows good grip after

Plaster over painted surfaces: adhesion tests and when to scuff vs strip Read More »