Search Results for: efflorescence

close-up of textured plaster wall with subtle sheen

Primers for Plaster Before Paint: What Stops Suction and Gives Uniform Sheen

Introduction Primers for plaster before paint are coatings that seal the surface and even out suction so paint goes on smoothly. In plain words, you dampen any dry areas, fill small flaws, and create a uniform base. Choose a primer labeled for plaster and follow the label for surface prep and drying times. Prepare the […]

Primers for Plaster Before Paint: What Stops Suction and Gives Uniform Sheen Read More »

Hand applying plaster smoothly on wall with trowel

Preventing Future Cracks: Adding Movement Control Where Plaster Meets Different Materials

Introduction Movement control at plaster interfaces is the planned allowance for expansion and contraction where plaster meets wood, drywall, or masonry. Cracks often form when the different materials move differently over time, so knowing where to place joints helps. Using proper joints and careful bedded seams can keep transitions stable as conditions change. To manage

Preventing Future Cracks: Adding Movement Control Where Plaster Meets Different Materials Read More »

Worker smoothing plaster wall wearing blue overalls and helmet

Skim Coating over Painted Plaster: How to Test Adhesion Before Committing

Introduction Skim coating over painted plaster requires testing adhesion first to know if the surface will hold the skim. Start by making sure the painted layer is sound, clean, and free of wax, flaking paint, or dust, and plan any necessary surface preparation before you proceed. This quick check helps you decide whether to go

Skim Coating over Painted Plaster: How to Test Adhesion Before Committing Read More »

Worker smoothing plaster on wall with trowel wearing gloves and cap

Hardwall Plaster on Masonry: Achieving a Flat Plane Without “Waves”

Introduction Hardwall plaster on masonry is applying a cement-based coating to brick or block to create a flat, level surface. It means you’re sealing the rough masonry and guiding the plaster down to a true plane. Start by checking the wall for moisture and any loose material, then read the instruction on the product label

Hardwall Plaster on Masonry: Achieving a Flat Plane Without “Waves” Read More »

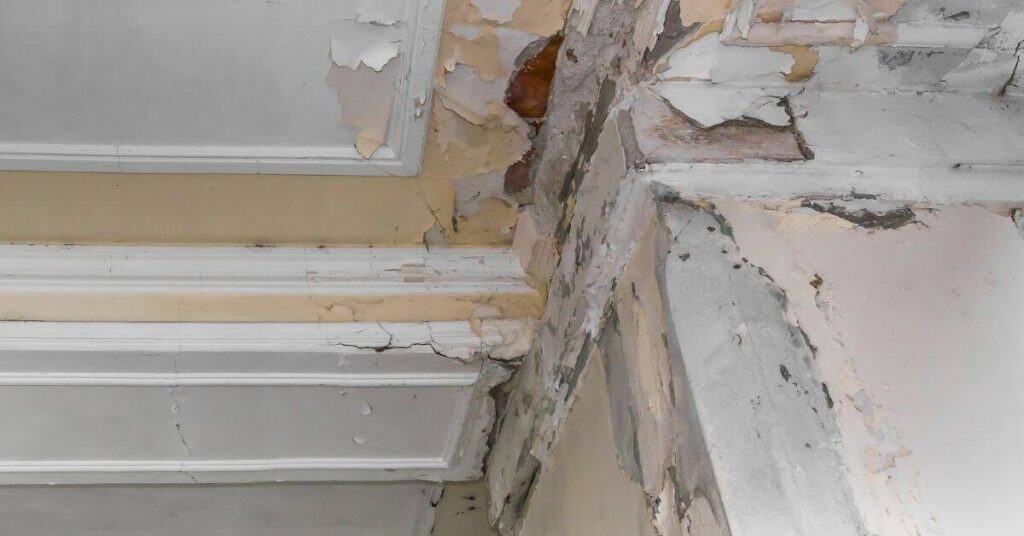
Cracked and peeling plaster near ceiling and crown molding

Repairing Water-Damaged Plaster: Drying Steps and What Must Be Cut Out

Introduction Repairing water-damaged plaster means removing the wet, compromised material and drying the area before patching. You should cut out all obviously damaged plaster and lath, and then dry the wall cavity with ventilation and heat as needed. Stay alert for mold, structural clues, and electrical hazards, and follow safe practices on the job site.

Repairing Water-Damaged Plaster: Drying Steps and What Must Be Cut Out Read More »

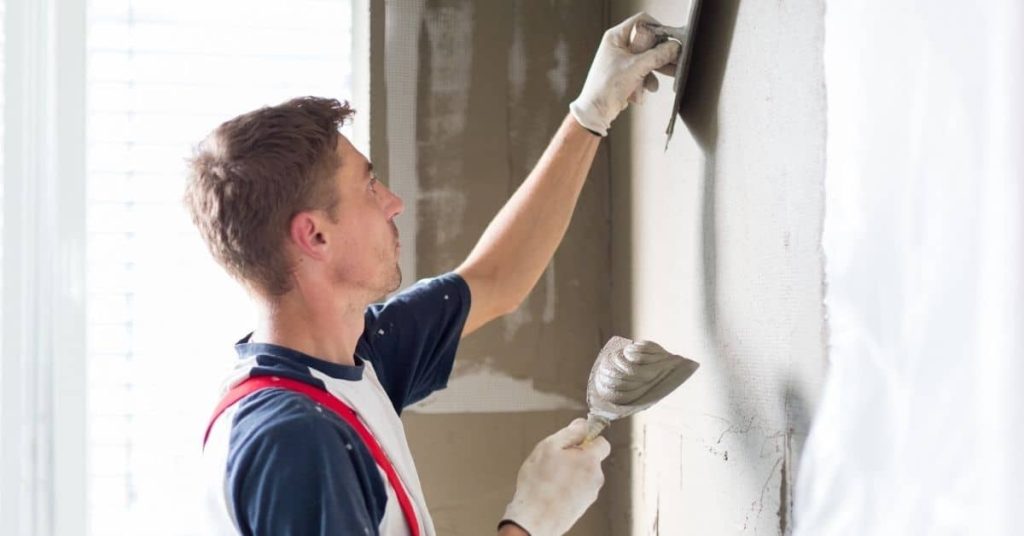
Man applying plaster to interior wall with trowel

Plaster Repairs in High Humidity Rooms: How to Prevent Powdery Finishes

Introduction Plaster repairs in high humidity rooms require moisture-aware prep and material choices to stop powdery finishes. Start by preparing the walls carefully, removing loose material and cleaning the surface before patching. Choose materials and patching methods suited for humid conditions, and verify any limits on use with the product label or manufacturer instructions. Mix

Plaster Repairs in High Humidity Rooms: How to Prevent Powdery Finishes Read More »

Person applying plaster to wall near window corner

Repairing Cracks at Door and Window Corners: Reinforcement Methods That Stay Invisible

Introduction Invisible reinforcement methods for cracks at door and window corners involve strengthening the surrounding frame and substrate without visible patching. This article covers practical, stay-in-place techniques you can do yourself to keep a tight, long-lasting seal. You’ll identify crack types and choose a method that doesn’t alter the look of the opening. Identify crack

Repairing Cracks at Door and Window Corners: Reinforcement Methods That Stay Invisible Read More »

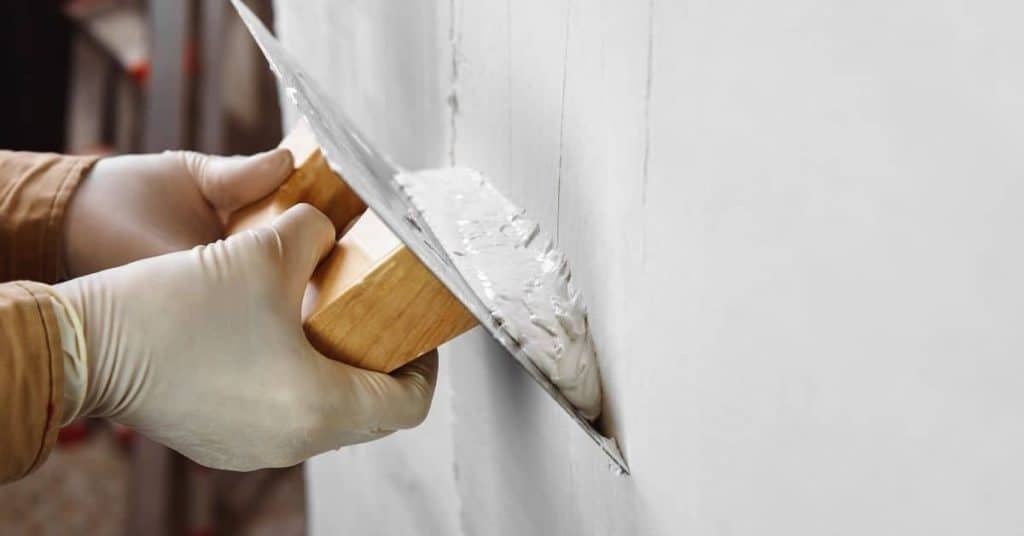
Hands in gloves applying plaster with a flat trowel

Lime Vs Gypsum Patching: Why Mismatched Materials Cause Future Failure

Introduction Mismatched patching materials can fail later due to incompatible chemistry. Lime and gypsum set and breathe differently, so using the wrong combo can lead to cracks, dusting, or damp spots. Stick to a patching mix that matches what’s already on the wall for best results. When patching, verify that the material is compatible with

Lime Vs Gypsum Patching: Why Mismatched Materials Cause Future Failure Read More »

Worker applying plaster to wall with trowel and hawk

Plaster and Vapor: Where Breathability Matters in Older Walls

Introduction Breathable plaster and finishes are materials that allow moisture to move through walls while still providing a solid, decorative surface. In practical DIY terms, that means choosing coatings that don’t seal the wall airtight, so old walls can dry out after moisture events. This matters most on older homes with lime or clay components

Plaster and Vapor: Where Breathability Matters in Older Walls Read More »

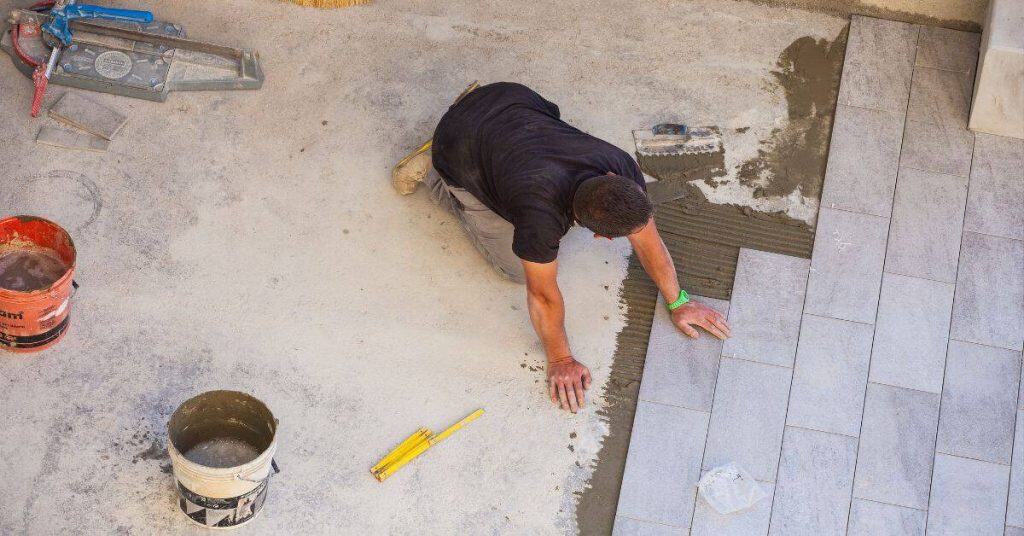
Man kneeling installing rectangular floor tiles

Preventing Hollow Tiles: Spotting Poor Bond Early and Correcting Course

Introduction Hollow tiles occur when the bond between the tile and the substrate fails, leaving empty space behind. You can spot it early by tapping tiles and listening for a dull thud, or feeling movement underfoot. Look for inconsistent grout lines or tiles that crack easily under light load. Correcting course means improving surface prep,

Preventing Hollow Tiles: Spotting Poor Bond Early and Correcting Course Read More »