Search Results for: drywall op

Brick chimney with smoke emitting against blue sky

Chimney Stucco Failures: Heat, Cracks, and Repair Choices

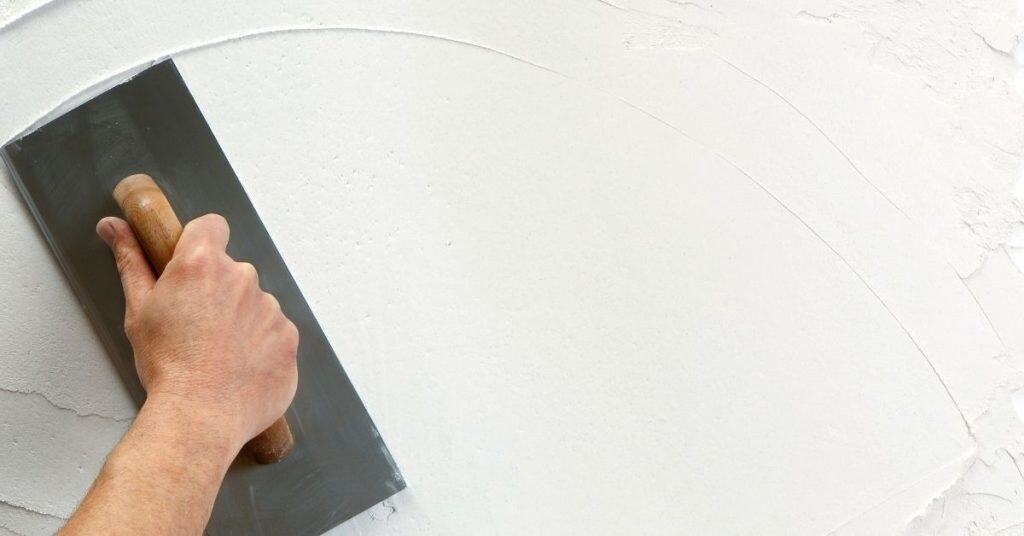
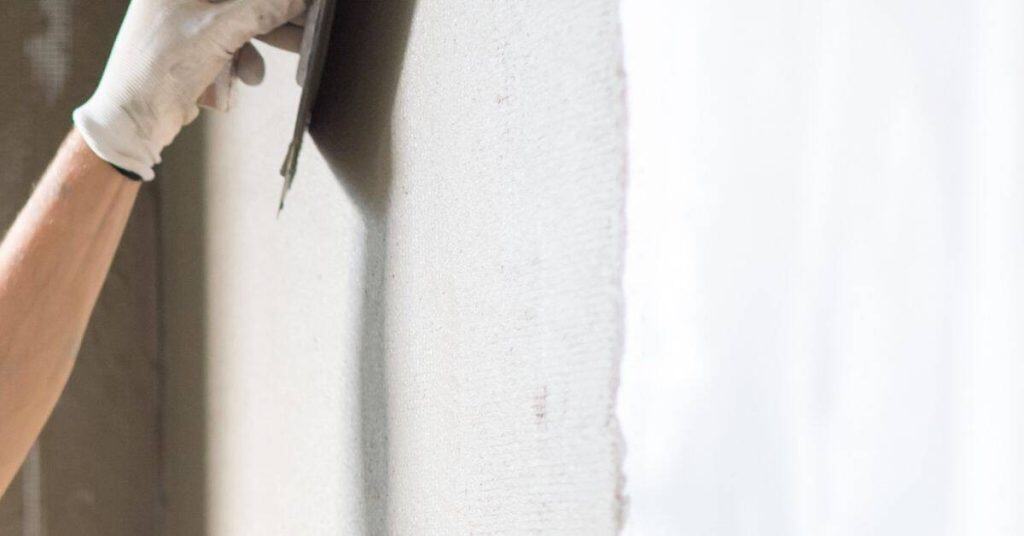
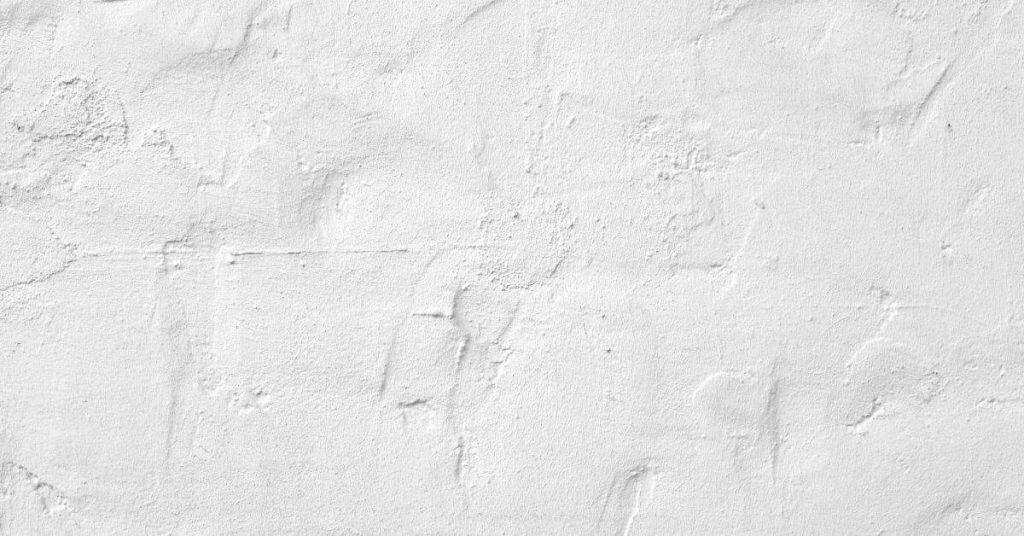
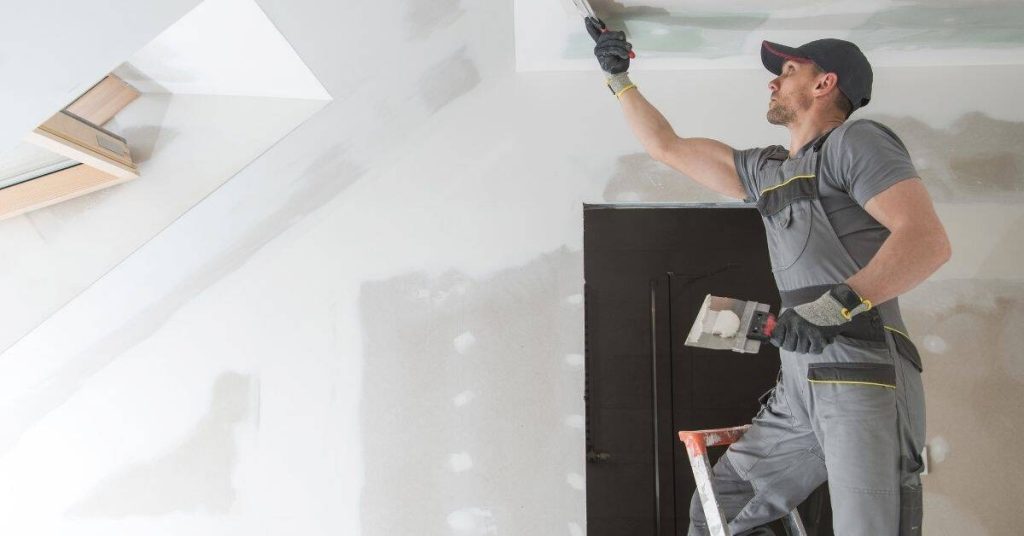
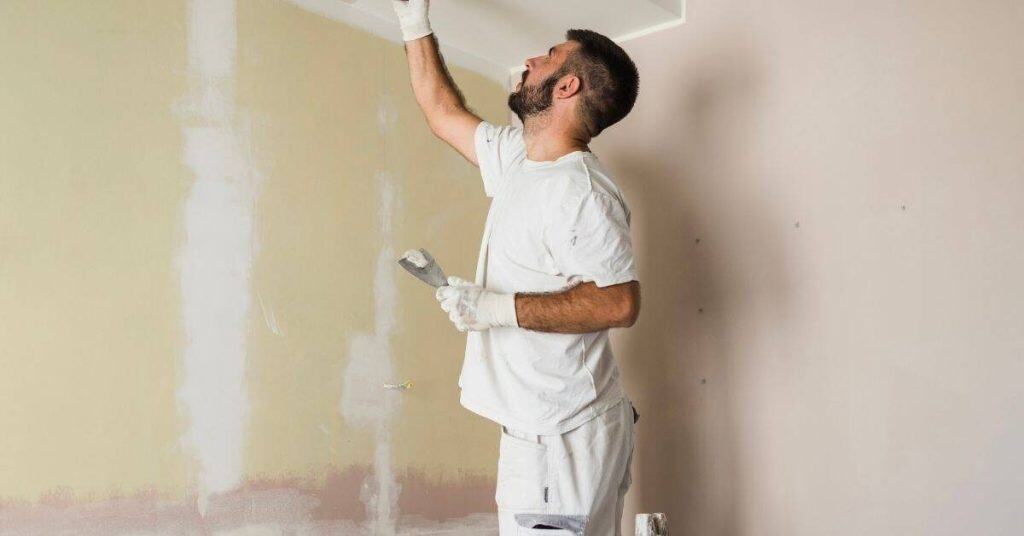
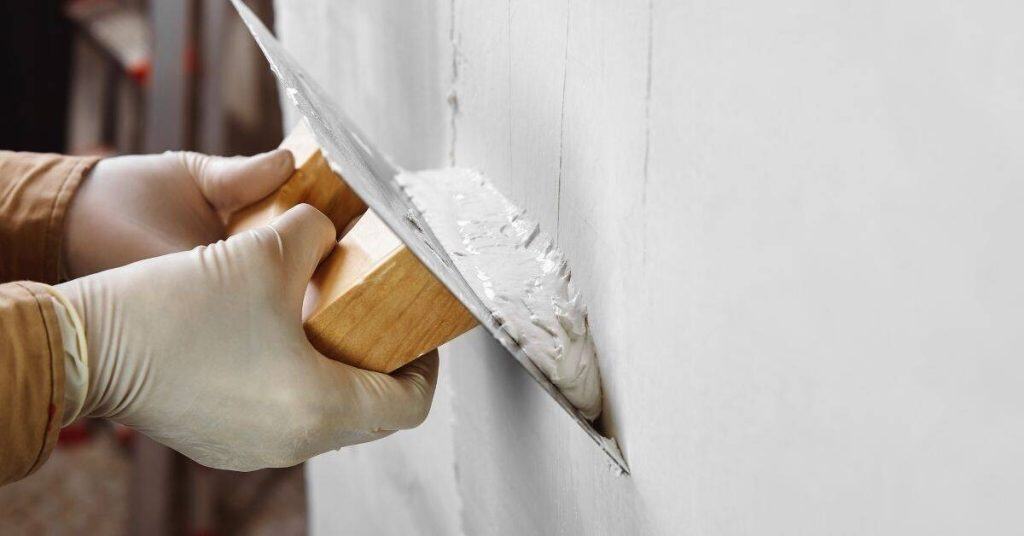
Introduction Chimney stucco failures are cracks and deterioration in the exterior plaster caused by heat exposure, moisture, and movement. These issues show up as hairline cracks, spalling, or texture changes that let water in. Addressing them early keeps water out and protects the brick or block behind the finish. To start, inspect for cracks that […]

Chimney Stucco Failures: Heat, Cracks, and Repair Choices Read More »

Hand sanding a plaster wall with a sanding sponge

Plaster Sanding Mistakes: When Sanding Ruins the Finish and What to Do Instead

Introduction Sanding plaster can ruin the finish if you over-sand or use the wrong grit for the surface. This article explains how to spot the signs and what to do instead. You’ll learn practical, hands-on steps you can take without turning a simple job into a bigger mess. Start by avoiding heavy, broad motions and

Plaster Sanding Mistakes: When Sanding Ruins the Finish and What to Do Instead Read More »

Hand holding trowel smoothing plaster on wall

Plaster Crack Repair That Lasts: Stabilize Movement Before You Patch

Introduction Stabilizing movement before patching means stopping the wall from shifting so the patch can stick. This is a hands-on job, not a quick cover-up. You’ll address the underlying cause first, then patch. Start by locating what’s moving in the wall and take steps to stop it. Secure loose framing with basic fixes and let

Plaster Crack Repair That Lasts: Stabilize Movement Before You Patch Read More »

Blue ladder in room with patched and primed drywall walls

Movement Control at Material Changes: Preventing Cracks Where Walls Meet

Introduction Movement control at material changes means allowing tiny shifts where different building materials meet to prevent cracks. Key takeaways Align movement joints at material change lines to control crack paths. Use proper backing and sealant systems suited to substrate movement. Follow manufacturer guidelines and local codes for joint spacing and materials. Backer rods prevent

Movement Control at Material Changes: Preventing Cracks Where Walls Meet Read More »

Close-up of white plaster wall with textured surface

Matching Old Plaster Texture: Brushing, Sponging, and Feathering Tricks

Introduction This guide explains how to match old plaster texture using brushing, sponging, and feathering techniques. You’ll learn simple, hands‑on steps to blend new patches with the surrounding wall. Keep in mind the look varies with light and the original finish. Start by inspecting the current texture to guide your brush, sponge, or feathering choice.

Matching Old Plaster Texture: Brushing, Sponging, and Feathering Tricks Read More »

Man patching interior wall with plaster using putty knife

Lime Plaster Compatibility Rules: Patching Old Walls Without Future Failure

Introduction Lime plaster compatibility means using a mix that can bond to existing walls without trapping moisture. It requires considering the old wall material and ensuring the new plaster can move with it. Always check the wall for moisture or stability before patching. To patch, clean and roughen the surface, then apply a lime-based plaster

Lime Plaster Compatibility Rules: Patching Old Walls Without Future Failure Read More »

Hands applying wet plaster on wall with trowel

Creating a Smooth Plaster Finish: Trowel Pressure and Timing Basics

Introduction A smooth plaster finish comes from controlled trowel pressure and proper timing. That means pressing evenly as you float or skim, and watching the set so you don’t pull or push too much. You’ll get a better look if you keep strokes consistent and work in small, overlapping sections. Check the plaster’s working time

Creating a Smooth Plaster Finish: Trowel Pressure and Timing Basics Read More »