Search Results for: control joint

Worker applying plaster to an interior wall

Plaster Patch Shrinkage: How to Reduce It with Layering and Timing

Introduction Plaster patch shrinkage is the small pullback and cracking that happens as a plaster patch dries. It occurs when the patch loses moisture and the set plaster contracts, often showing up as fine cracks or a mismatch in texture with the surrounding wall. Watch for hairline cracks, edges that pull away, or visible ridges […]

Plaster Patch Shrinkage: How to Reduce It with Layering and Timing Read More »
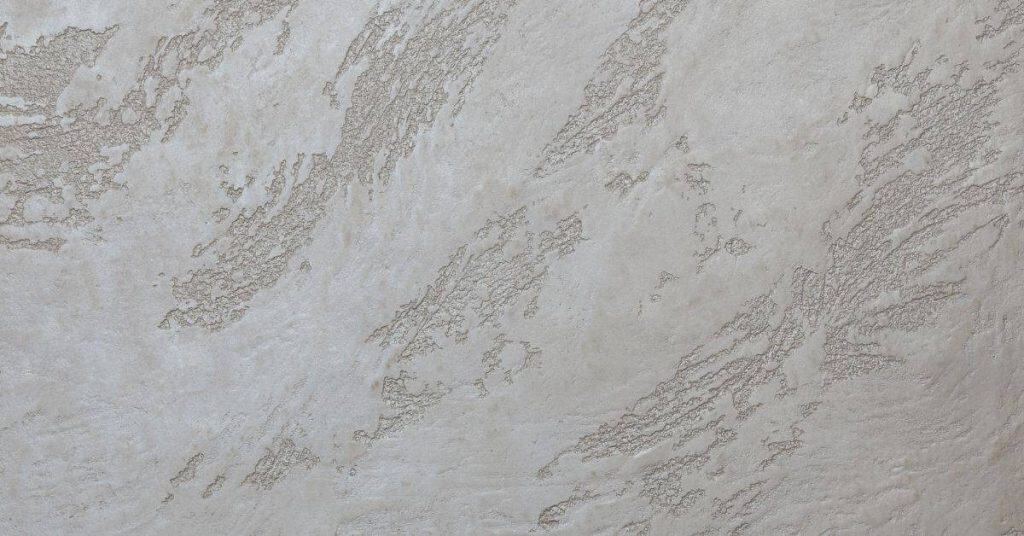
close-up of textured plaster wall with subtle sheen

Primers for Plaster Before Paint: What Stops Suction and Gives Uniform Sheen

Introduction Primers for plaster before paint are coatings that seal the surface and even out suction so paint goes on smoothly. In plain words, you dampen any dry areas, fill small flaws, and create a uniform base. Choose a primer labeled for plaster and follow the label for surface prep and drying times. Prepare the

Primers for Plaster Before Paint: What Stops Suction and Gives Uniform Sheen Read More »

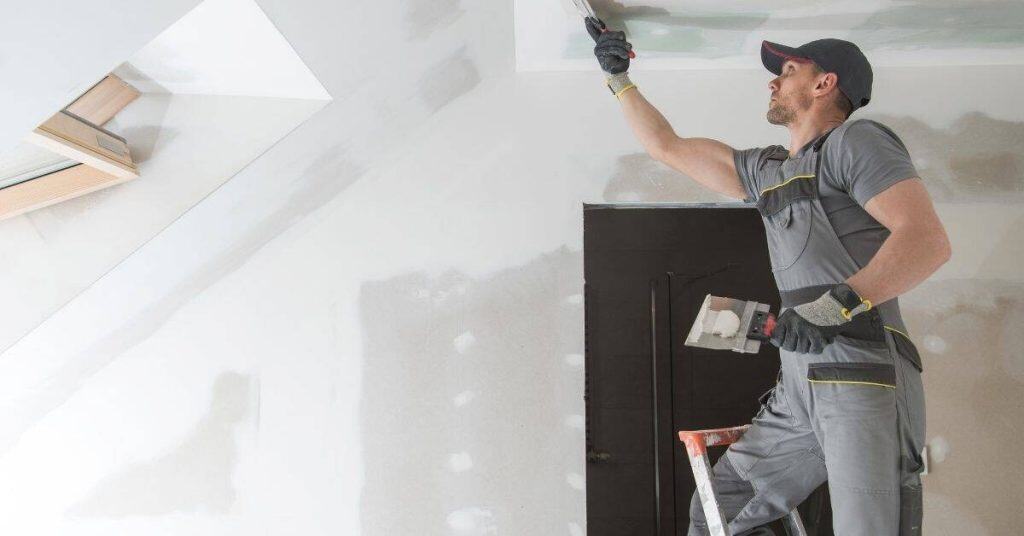
Worker applying plaster patch on ceiling using putty knife

Fixing Nail Pops in Plaster: Why They’re Different from Drywall and How to Lock Them Down

Introduction Nail pops in plaster are protruding fasteners that back out and push the plaster away from the wall surface. They’re different from drywall because plaster walls are typically thinner and thicker, with a different substrate and bond. In plain terms, you’re dealing with a plaster shell that’s moved and needs to be re-secured and

Fixing Nail Pops in Plaster: Why They’re Different from Drywall and How to Lock Them Down Read More »

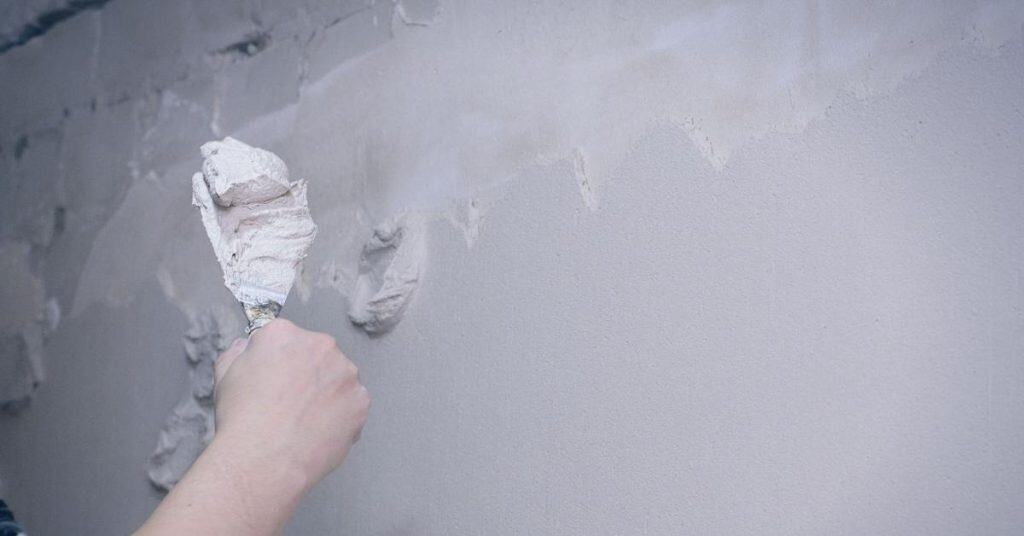
Close-up of blue plaster wall with rough texture

Matching Old Plaster Texture: Brushing – A Step-by-Step Timeline

Introduction The process of matching old plaster texture by brushing can seem daunting, but breaking it down into a clear timeline makes it manageable. This step-by-step guide walks you through the entire process, from preparation to completion, with approximate time frames for each stage. Whether you’re repairing a small patch or restoring an entire room,

Matching Old Plaster Texture: Brushing – A Step-by-Step Timeline Read More »

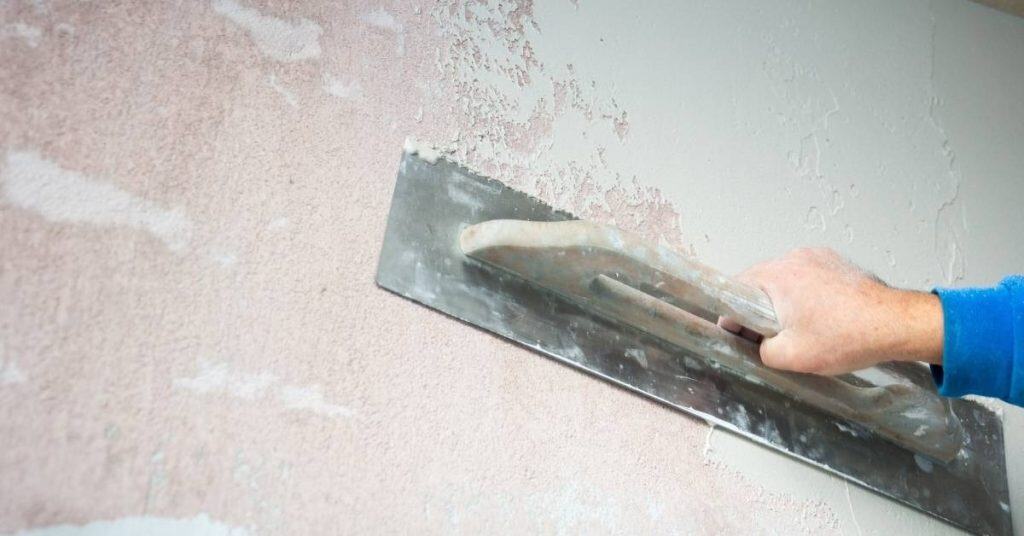
Hand using trowel to smooth plaster on wall

Creating Clean Inside Corners in Plaster: Corner Tools Vs Hand Technique

Introduction Creating clean inside corners in plaster means achieving sharp, smooth 90-degree joints on interior walls. Use either corner tools or careful hand technique to control the mud. Check that the edge stays true and adjust as you go. Corner tools can speed up a straight edge, but technique matters for a crisper look. With

Creating Clean Inside Corners in Plaster: Corner Tools Vs Hand Technique Read More »

Worker smoothing plaster wall wearing blue overalls and helmet

How to Test Painted Plaster Before Skim Coating

Introduction Before skim coating painted plaster, establish two separate things: whether the existing paint is firmly attached to the plaster, and whether your chosen skim product will bond to the prepared painted surface. A clean-looking wall can still have weak paint layers, contamination, gloss, moisture damage, or incompatible coatings. Related guidance: A Simple Test to

How to Test Painted Plaster Before Skim Coating Read More »

Hand applying plaster to wall with a trowel

Patching Plaster After Plumbing Access Holes: How to Keep the Patch from “Drumming”

Introduction Patching plaster after plumbing access holes means rebuilding the damaged wall so it won’t drum when you tap it. Start by carefully removing loose plaster around the hole and cleaning the edge so the patch bonds well. Check the backing and, if needed, install a thin scrim or patching plaster to create a solid

Patching Plaster After Plumbing Access Holes: How to Keep the Patch from “Drumming” Read More »

Decorative plaster corbel on exposed brick wall

Rebuilding Decorative Plaster Edges: Simple Molds You Can Make to Match Profiles

Introduction Rebuilding decorative plaster edges means making simple, handmade molds to reproduce the profile you want. You can shape the mold from clay or use basic flexible material to match the original edge, then set it up for casting. Check the profile on the piece and follow manufacturer instructions or local rules for materials and

Rebuilding Decorative Plaster Edges: Simple Molds You Can Make to Match Profiles Read More »

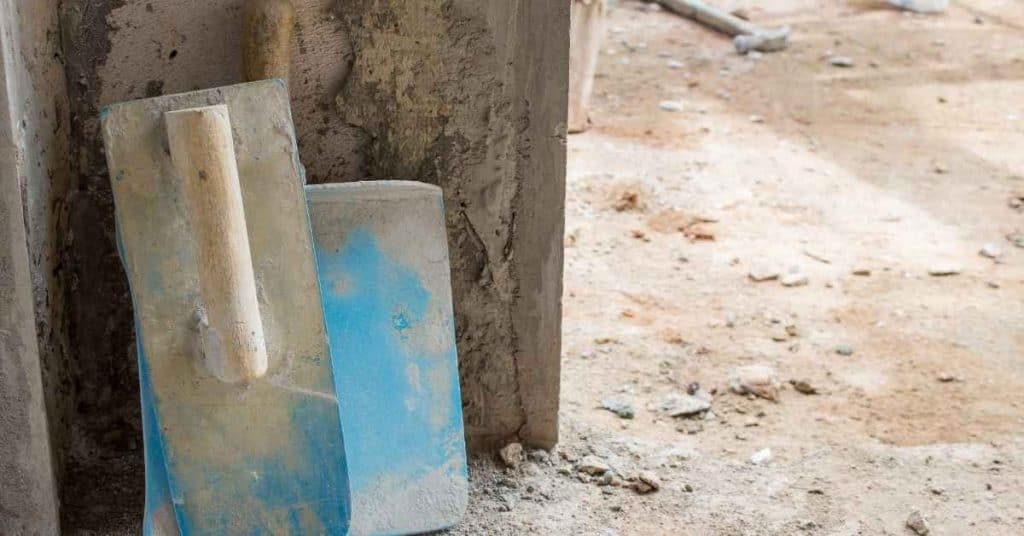
Two plaster trowels leaning against rough plastered wall

Fixing Plaster at Baseboards: Rebuilding the Bottom Edge Without Removing All Trim

Introduction This is fixing plaster at the baseboard by rebuilding the bottom edge while leaving the trim in place. It’s a hands-on repair that tightens up gaps and brittle edges along the wall line. Plan to clean, assess damage, and mix materials that suit your wall type and existing plaster. You’ll need to protect the

Fixing Plaster at Baseboards: Rebuilding the Bottom Edge Without Removing All Trim Read More »