Search Results for: control joint

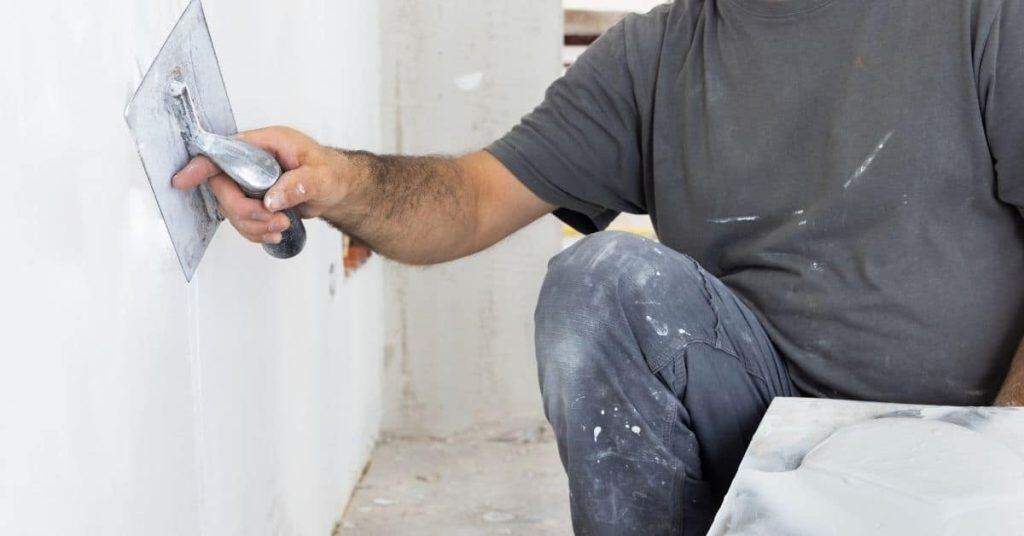
Man applying plaster to wall with trowel wearing black glove

How to Patch Deep Holes in Plaster Without Shrinkage (Layering Strategy)

Introduction Patching deep holes in plaster without shrinkage means building the fill in gradual layers so the patch stays level as it dries. Prepare the cavity, mix or choose a filler suitable for plaster, and apply in thin coats, letting each dry as you go. This layering approach helps bridge the depth and reduce cracking. […]

How to Patch Deep Holes in Plaster Without Shrinkage (Layering Strategy) Read More »

Hand applying plaster to mesh-covered wall with putty knife

How to Repair a Bulging Plaster Wall (Flatten, Replace, or Re-Key?)

Introduction Bulging plaster walls are plaster that has pushed outward from the lath or studs. This article explains how to assess the damage, decide on a flatten, replace, or re-key approach, and stay practical on the job. You’ll learn how to inspect the condition, identify loose edges, and plan your repairs before you touch the

How to Repair a Bulging Plaster Wall (Flatten, Replace, or Re-Key?) Read More »

Man applying plaster near window corner with trowel

How to Fix Plaster Cracks at Door and Window Corners (Reinforcement Choices)

Introduction This guide explains how to reinforce and fix plaster cracks at door and window corners. Key takeaways Identify plaster cracks at door and window corners early; note hairline vs structural. Assess damage and plan: remove loose plaster, check lath backing, choose reinforcement. Replacing damaged lath or backing may be required for solid repair. Apply

How to Fix Plaster Cracks at Door and Window Corners (Reinforcement Choices) Read More »

person smoothing white plaster on wall with trowel

How to Repair Cracked Plaster Without It Reappearing (Stabilize First)

Introduction Stabilizing the crack before patching is essential to keep plaster from reappearing. Identify the crack and check for signs of movement, moisture, or loose surrounding plaster before you start. Gather basic hand tools and the patching material you’ll use. Prepare the surface by cleaning away dust and loose material, and gently roughen slick edges

How to Repair Cracked Plaster Without It Reappearing (Stabilize First) Read More »

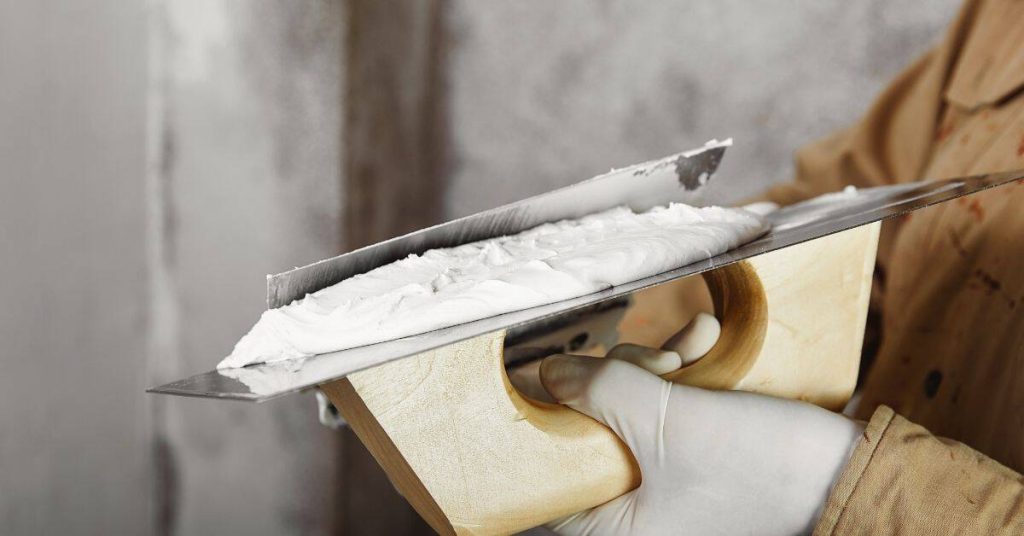
Hand holding plastering trowel with white mortar

How Long Does Plaster Injection Take? A Step-by-Step Timeline

Introduction The process of injecting adhesive behind loose plaster can be a time-consuming task, but understanding the timeline can help you plan your project more effectively. Here’s a step-by-step breakdown of how long each stage takes. Before we dive in, remember that the duration may vary depending on factors like the size of the affected

How Long Does Plaster Injection Take? A Step-by-Step Timeline Read More »

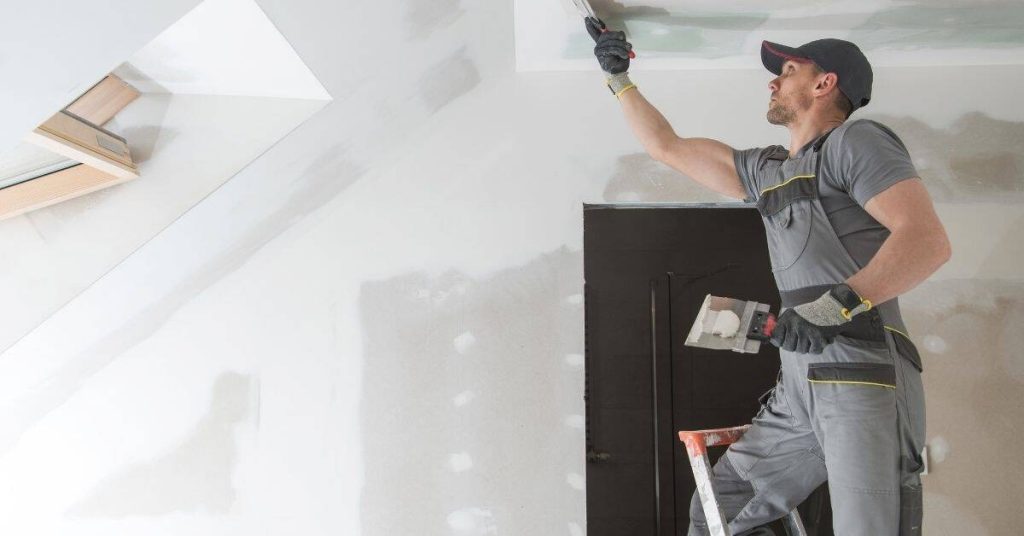
Worker applying drywall compound on ceiling with putty knife

How Long Does It Take to Reattach Loose Plaster with Washers? A Step-by-Step Timeline

Introduction Reattaching loose plaster with washers is a crucial repair task that requires careful planning and execution. Understanding the time commitment involved in each step helps you allocate your day effectively and ensures you complete the project successfully. This guide walks you through the process, breaking down the timeline so you know exactly how long

How Long Does It Take to Reattach Loose Plaster with Washers? A Step-by-Step Timeline Read More »

Exposed wooden lath behind damaged plaster wall surface

Plaster Keys Explained: How Lath-and-Plaster Actually Stays on the Wall

Introduction The age-old question among DIY enthusiasts is: how does lath and plaster stay on the wall? The answer lies in a simple yet ingenious technique called plaster keys. Let’s dive into this traditional method that has stood the test of time. Key takeaways Understand plaster keys are raised surfaces gripping the underlying lath to

Plaster Keys Explained: How Lath-and-Plaster Actually Stays on the Wall Read More »

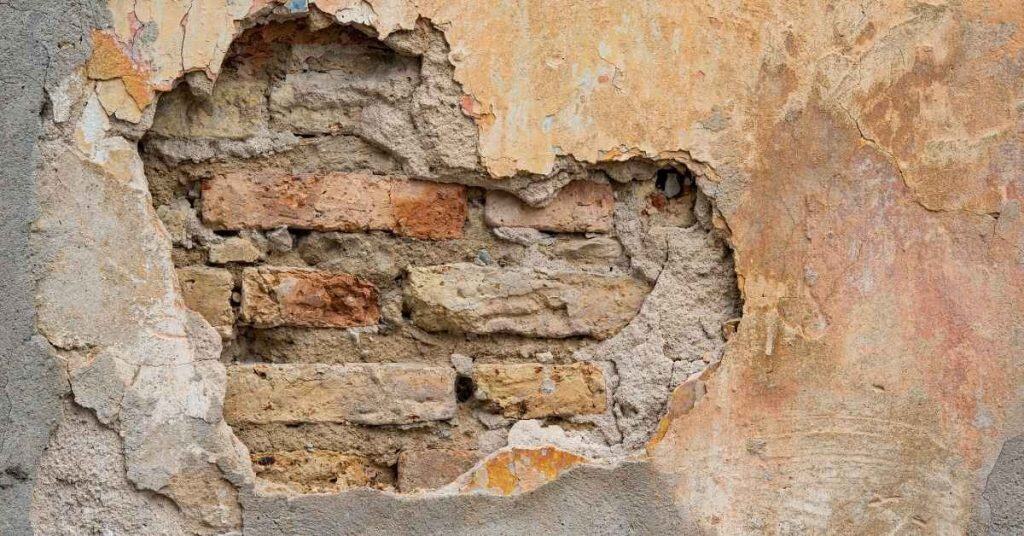
Damaged stucco with hollowed areas exposing brick underneath

How to Fix Loose or Hollow-Sounding Stucco (Delamination Repair)

Introduction Delamination in stucco occurs when the outer stucco layer loses its bond to the underlying substrate, creating a hollow or tinny sound when tapped. Visually, you’ll see cracks, bubbling, or patches that feel loose or wiggle under pressure. That combination signals a likely delamination that needs closer inspection. To assess it, gently probe suspected

How to Fix Loose or Hollow-Sounding Stucco (Delamination Repair) Read More »

Metal hose bib mounted on textured stucco wall

How to Repair Stucco Holes Around Pipes, Lights, and Hose Bibs

Introduction Repairing stucco holes around pipes, lights, and hose bibs means patching and sealing the open gaps in the exterior surface so water can’t seep in. Identify what caused the hole and what material surrounds it, since different hole types call for different patching approaches. Choose a cement-based patch that fits the hole type and

How to Repair Stucco Holes Around Pipes, Lights, and Hose Bibs Read More »

close-up of blue textured stucco wall surface

How to Patch Small Stucco Cracks That Keep Coming Back

Introduction Recurring small stucco cracks can be patched, but success depends on whether movement has stopped. Common DIY methods include caulking, meshing with reinforcement, or applying a new coat over the repaired area. Before you patch, assess how many cracks there are and whether they seem to be spreading, which guides your method. Expect patches

How to Patch Small Stucco Cracks That Keep Coming Back Read More »