Search Results for: control joint

Man drilling into drywall while another man observes

Solo Drywall Hanging Without Damage: Carry Techniques, Corner Protection, and Smarter Staging

Introduction Solo drywall hanging without damage means using carry techniques, corner protection, and staging strategies that let one person move, lift, and position panels while controlling edges and corners to avoid dents and cracks. I’ll show practical ways to carry sheets, shield vulnerable corners, and set up the work area so you can work alone […]
Solo Drywall Hanging Without Damage: Carry Techniques, Corner Protection, and Smarter Staging Read More »

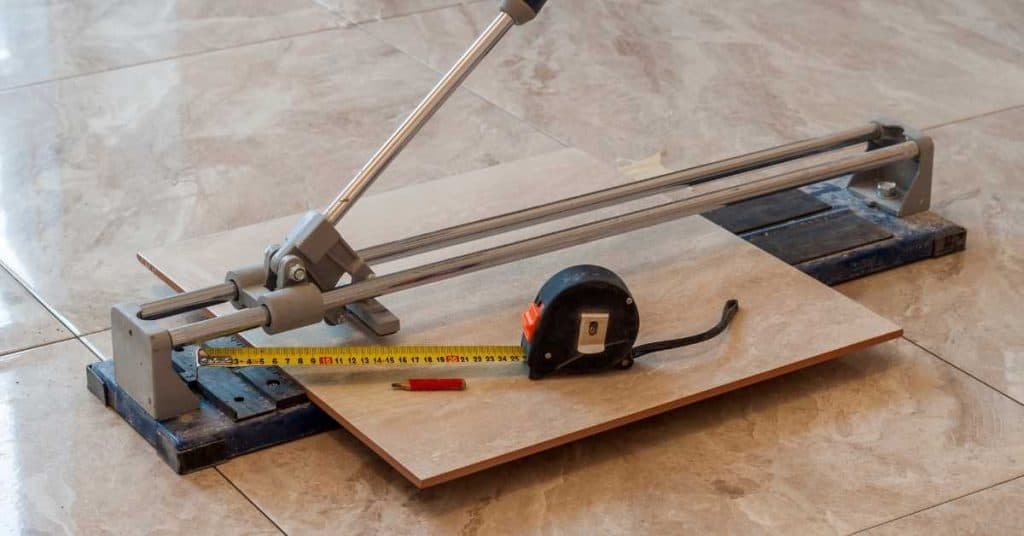
Tile cutter with tape measure and pencil on tiled floor

Tile Layout “Money Line” Mistakes: How to Avoid Skinny Cuts at Doorways, Niches, and Focal Walls

Introduction “Money line” in tile layout means the primary straight reference you use to place tiles so you avoid tiny, ugly slivers at doorways, niches, and focal walls. It’s the on-site line you snap, test-fit, and adjust before you mortar so your visible edges end up full and balanced. Think like a foreman: set the

Tile Layout “Money Line” Mistakes: How to Avoid Skinny Cuts at Doorways, Niches, and Focal Walls Read More »

Gloved hands connect electrical wires to a wall switch box.

Cutting Drywall for Electrical Boxes: Fast Templates, Router Settings, and How to Fix Overcuts Cleanly

Introduction Cutting drywall for electrical boxes means marking the box outline, cutting a neat opening, and adjusting if you nick too much so the box stays secure and the finish looks right. Think like a tradesperson: use a reliable method for layout, steady cutting tools, and check the box and device for fit before you

Cutting Drywall for Electrical Boxes: Fast Templates, Router Settings, and How to Fix Overcuts Cleanly Read More »

Pressure washer cleaning wooden deck surface

Painting After Pressure Washing: How to Tell When Siding and Masonry Are Truly Dry Enough to Prime

Introduction “Dry enough” means the surface has lost visible and tactile moisture and any trapped dampness that would prevent primer from bonding; test by touch, absorbency checks, and following product label guidance. Look for no surface sheen, no dark patches, and no water beading when you flick or blot the material, and when in doubt,

Painting After Pressure Washing: How to Tell When Siding and Masonry Are Truly Dry Enough to Prime Read More »

Radon Rough-In vs Full Mitigation Under New Slabs: Planning Vent Paths Before the Pour

Introduction Radon rough-in means running piping and electrical raceways into the slab area now so you can add a full mitigation fan and finish the system later; full mitigation means installing the active fan, routing the exhaust and testing after the slab and interior are complete. This gives you a choice at pour time: save

Radon Rough-In vs Full Mitigation Under New Slabs: Planning Vent Paths Before the Pour Read More »

Close-up of weathered wooden post with barbed wire and grass

Installing a Handrail Post in Concrete: A Step-by-Step Timeline

Introduction Installing a handrail post in concrete involves careful planning and execution to ensure durability and longevity. Understanding the timeline of this process is crucial for DIYers to allocate their time effectively and complete the project successfully. The entire installation process, from preparation to finishing, can take anywhere from a few hours to a couple

Installing a Handrail Post in Concrete: A Step-by-Step Timeline Read More »

Wooden concrete formwork with soil inside and wooden braces

Concrete Formwork for Curves: Timeline and Steps by Time

Introduction This procedure is limited to small, low-risk, nonstructural curved work: garden edging, planters, low decorative walls, and similar work with no significant soil pressure, traffic load, surcharge, structural load, or life-safety consequence. The working sequence is layout, select a documented form system or make a mock-up, install and inspect the form, place concrete in

Concrete Formwork for Curves: Timeline and Steps by Time Read More »

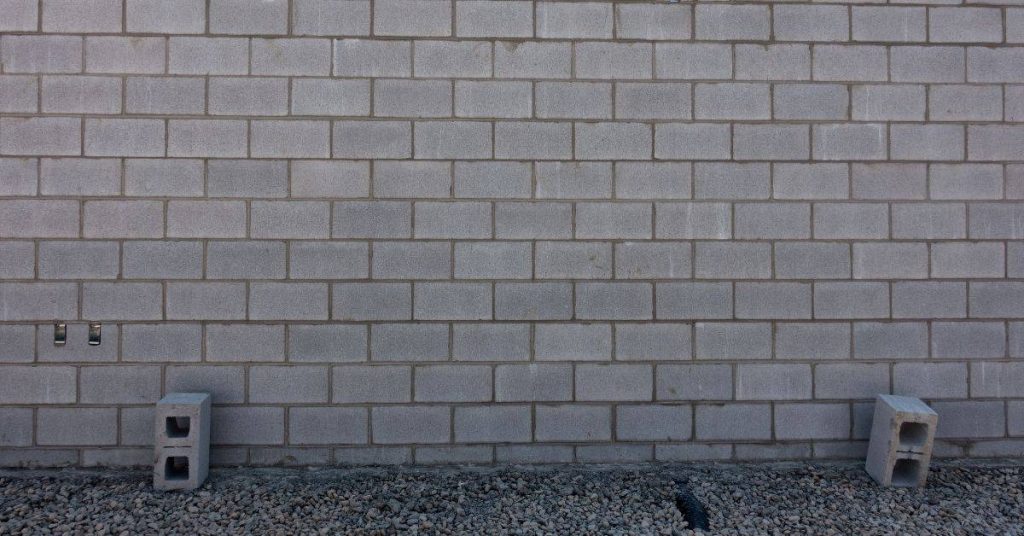
Concrete block wall above gravel ground surface

Concrete Capillary Breaks at Foundation Walls: Timeline & Duration for DIY Installation

Introduction The timeline and duration of installing concrete capillary breaks at foundation walls can vary depending on several factors. Understanding the process and its time commitments helps you plan effectively. This guide walks you through each step, from preparation to completion, ensuring you allocate sufficient time for a successful DIY installation. For the full guide,

Concrete Capillary Breaks at Foundation Walls: Timeline & Duration for DIY Installation Read More »

Concrete porch floor with chairs and small table

Water-Based Concrete Stains: Step-by-Step Timeline and Duration Guide

Water-Based Concrete Stain: DIY Timeline, Drying, and Sealing Steps A water-based concrete stain project is scheduled by product windows and surface readiness—not by a universal number of days. Plan hands-on work for testing, preparation, staining, sealing, and cleanup, then add protected drying and cure periods. Washing, moisture, extra coats, dense concrete, poor airflow, rain, and

Water-Based Concrete Stains: Step-by-Step Timeline and Duration Guide Read More »

Concrete beam and metal frame structure under clear blue sky

Choose Concrete and Masonry Anchors: Wedge, Sleeve, Drop-In, or Adhesive

Introduction Choose an anchor from the exact product data—not from a universal strength ranking. Wedge, sleeve, drop-in, and adhesive anchors can all be useful, but suitability depends on the actual substrate, load direction, concrete condition, embedment, spacing, edge distance, member thickness, exposure, and installation method. Anchor design also considers different failure modes in the steel

Choose Concrete and Masonry Anchors: Wedge, Sleeve, Drop-In, or Adhesive Read More »