Search Results for: control joint

Blue ladder in room with patched plaster walls

Baseboard Removal on Plaster: Patching without ripping out keys

Introduction Baseboard removal on plaster means carefully taking off the trim without damaging the plaster or its backing keys. It’s a hands-on task that requires gentle prying, small cuts with a utility knife, and patience. Plan to protect the wall surface and reuse or replace the trim as needed. Patching after removal focuses on backfilling

Baseboard Removal on Plaster: Patching without ripping out keys Read More »

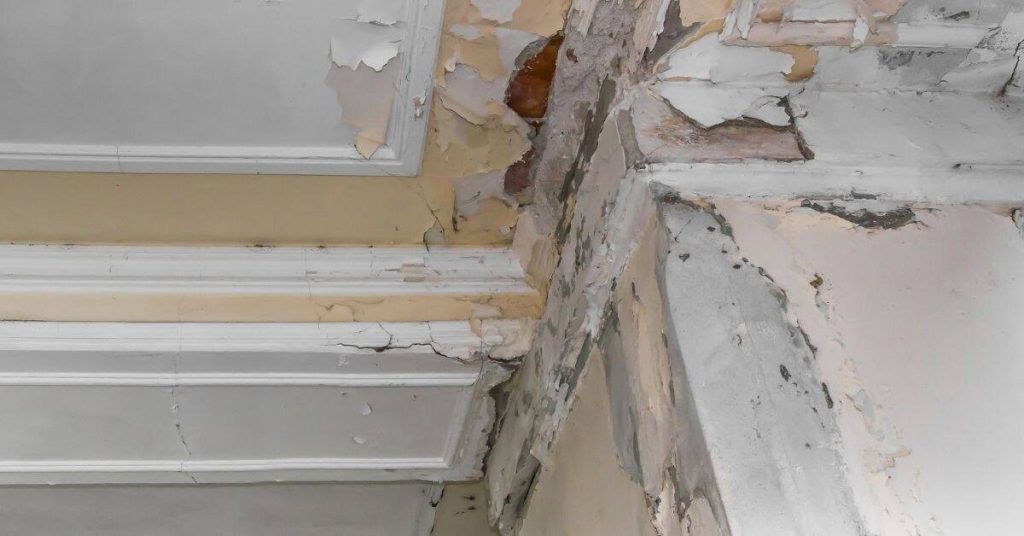
Close-up of cracked and peeling plaster ceiling with crown molding

Water-Damaged Plaster: What to remove, what to dry, and what to rebuild

Introduction Water-damaged plaster needs to be removed, dried, and rebuilt in a practical, step-by-step way. You’ll determine what to remove, what to dry, and what to replace based on how far the damage has spread. This article keeps the tone hands-on and avoids fluffy theory. Start by inspecting the area to judge how much material

Water-Damaged Plaster: What to remove, what to dry, and what to rebuild Read More »

Cracked plaster corner with yellow and white walls

Salt Damage in Plaster: Stopping recurring powder and flaking on masonry walls

Introduction Salt damage in plaster is when mineral salts from the masonry migrate into the plaster and cause powdering and flaking. This often happens as moisture moves through the wall and brings salts to the surface, weakening adhesion. The fix starts with locating the moisture source and choosing a repair approach that fits the wall

Salt Damage in Plaster: Stopping recurring powder and flaking on masonry walls Read More »

Smooth white plastered ceiling with single hanging light bulb

Blistering Plaster Finish Coats: Causes and a cleaner re-skim approach

Introduction Blistering plaster finish coats are finish layers that lift or bubble because moisture or poor adhesion gets trapped under the surface. In DIY work, heat, humidity, or applying a coat too thick can start blisters. A cleaner re-skim approach means removing the loose skin and reflowing the coat while following the product’s instructions. Begin

Blistering Plaster Finish Coats: Causes and a cleaner re-skim approach Read More »

paintbrush resting on yellow paint bucket with roller tray and colorful paint buckets

Limewash Streaks: Preventing lap marks and uneven color

Introduction Limewash streaks are uneven color patches that appear as lap marks when the coating dries. This article explains practical, hands-on steps to prevent them while you’re working with limewash. You’ll learn simple checks and common-sense methods you can do on a DIY project. Start by preparing the surface well and applying limewash in consistent

Limewash Streaks: Preventing lap marks and uneven color Read More »

Hand in yellow glove cleaning blue surface with cloth

Cleaning Venetian Plaster: Safe methods that don’t dull the sheen

Introduction Cleaning Venetian plaster is removing dirt without dulling the sheen. Start with mild, gentle cleaners and a soft cloth or sponge, and test any method on a small hidden area first. Use light pressure and rinse with clean water, then dry with a soft, non-abrasive towel; avoid harsh scrubbing or abrasive tools to protect

Cleaning Venetian Plaster: Safe methods that don’t dull the sheen Read More »

Hands applying plaster to wall with trowel and knife

Dark Trowel Lines in Polished Plaster: Why they appear and how to fix them

Introduction Dark trowel lines in polished plaster are color variations that show up where the finish was pushed or pulled during leveling. They happen when moisture movement, air pockets, or inconsistent setup affect pigment distribution. Keep in mind this is common in DIY work and can be corrected with careful technique. To fix them, work

Dark Trowel Lines in Polished Plaster: Why they appear and how to fix them Read More »

Worker smoothing plaster on wall with trowel

Tadelakt Maintenance: Keeping water resistance without constant rework

Introduction Tadelakt maintenance is the ongoing care of a lime plaster finish to preserve water resistance. It relies on keeping the surface clean, timely repairs, and periodic re-waxing or sealing as needed. If you notice water infiltration or dull spots, check the product labels and follow the manufacturer guidance. In practice, you can spot-treat small

Tadelakt Maintenance: Keeping water resistance without constant rework Read More »