Search Results for: concrete staining and sealing

Worker with sledgehammer demolishing interior wall

Hollow-Sounding Stucco: Tap Testing, Cut Windows, and When to Stop Spot-Patching

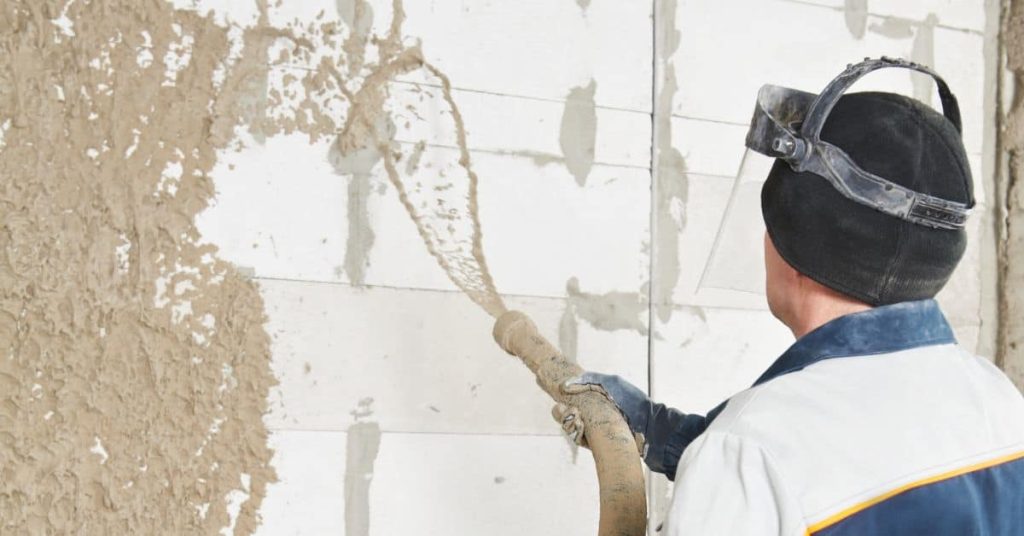
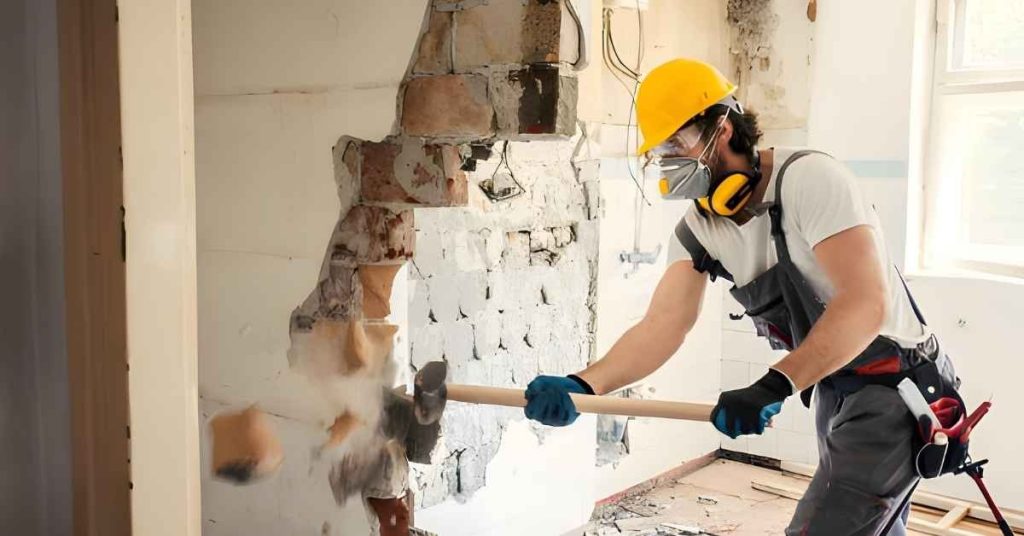
Introduction Hollow-Sounding stucco occurs when tapping the surface reveals a hollow or loose layer beneath the finish. It’s a signal that the underlying material or lath may be compromised. Listen and feel for soft spots, and note where the sound changes as you tap around the area. Start with surface preparation by removing loose material […]

Hollow-Sounding Stucco: Tap Testing, Cut Windows, and When to Stop Spot-Patching Read More »

Worker spraying wet stucco onto wall surface

Clear Breathable Sealers for Colored Stucco: When to Seal and When to Leave It Alone

Introduction Clear breathable sealers let moisture escape from stucco while preserving its color. As a DIYer, you want to understand when a finish is appropriate and when it’s better to skip it. This article gives a practical, hands-on view of sealing colored stucco without turning it into a mystery. Surface prep matters: clean, dry, and

Clear Breathable Sealers for Colored Stucco: When to Seal and When to Leave It Alone Read More »

Worker in blue helmet smoothing a light gray plaster wall

Roman Clay Wall Finishes: Substrate Picks, Burnish Timing, and Sealing Options

Introduction Roman clay wall finishes are traditional lime-based plasters applied to walls to create a natural, earthy, matte surface. They require a clean, sound substrate and proper priming before application. Burnish timing depends on conditions and should be tested on a scrap area to get the feel you want. These finishes work well in living

Roman Clay Wall Finishes: Substrate Picks, Burnish Timing, and Sealing Options Read More »

bucket with plastering tools on wet surface outdoors

Tadelakt for DIY Bathrooms: Burnishing, Waxing, and Details That Prevent Failure

Introduction Tadelakt is a traditional lime plaster finish used in bathrooms that you burnish and wax to create a smooth, water-resistant surface. This article covers the key steps you can do yourself, like burnishing and applying wax, and the details that help prevent failure. Keep in mind that proper preparation and careful curing are essential

Tadelakt for DIY Bathrooms: Burnishing, Waxing, and Details That Prevent Failure Read More »

Hand smoothing lime plaster on wall with trowel

Lime Plaster in Basements: Moisture Testing, Vapor Drive, and Paint Choices

Introduction Lime plaster in basements is a breathable plaster finish that helps manage moisture. It relies on lime’s chemistry to let vapor pass while providing a durable coat. This DIY approach requires careful moisture testing and proper surface prep. Moisture testing, understanding vapor drive, and choosing compatible paints matter for long-term performance. Check product labels,

Lime Plaster in Basements: Moisture Testing, Vapor Drive, and Paint Choices Read More »

Hand in blue glove cleaning white wall with green sponge

Cleaning and Resealing Polished Plaster: Soap Scum, Dull Spots, and Refresh Coats

Introduction Cleaning and resealing polished plaster means removing soap scum and dull spots and applying a fresh protective coat. This is a hands-on DIY job that restores the surface without tearing it out. Expect a light scrubbing, careful rinse, and a new sealant layer following the manufacturer’s instructions. Before you start, check the product labels

Cleaning and Resealing Polished Plaster: Soap Scum, Dull Spots, and Refresh Coats Read More »

Stone column bases and brick wall with light reflections

Brick Chimney Crown Repairs: Why Crowns Crack and How to Form Better Ones

Introduction A brick chimney crown is the concrete cap that sits on top of a brick chimney and keeps water out. Cracks show that the crown is failing and needs attention to prevent water damage. In this DIY guide, you’ll learn a practical, hands-on approach to inspecting, preparing, and forming a better crown. Always check

Brick Chimney Crown Repairs: Why Crowns Crack and How to Form Better Ones Read More »

Partially laid red brick pavers with sand base and tools

Rebuilding Loose Brick Steps: When to Reset vs Rebuild (and how to prep the base)

Introduction Resetting loose brick steps means stabilizing the stairs by cleaning the base, re-seating the bricks, and securing them so the steps are solid again. This article walks you through deciding when to reset versus rebuild and how to prep the base. You’ll find practical, hands-on tips for a DIY job without fancy gear. Start

Rebuilding Loose Brick Steps: When to Reset vs Rebuild (and how to prep the base) Read More »

Snow-covered precast concrete beams stacked outdoors

Clean Concrete Door Threshold Curbs: Isolation Joints and Waterproof Transition Details

Introduction A clean concrete door threshold curb is a raised, sealed transition at a doorway that isolates joints and redirects water. For installation, choose a waterproofing membrane that can bridge the joint between curb and slab, and follow the manufacturer’s surface prep and cure guidance. Architectural details matter—use proper edging, transitions, and compatible sealants, and

Clean Concrete Door Threshold Curbs: Isolation Joints and Waterproof Transition Details Read More »

Concrete driveway section blocked by yellow caution tape

Concrete Vapor Barrier Seams and Penetrations: Tape, Patches, and “Oops” Fixes

Introduction A concrete vapor barrier seam is the joined, airtight edge where barrier material meets itself or a patch. Tape and patches are used to seal these seams, and proper technique means clean surfaces, careful pressure, and following the material’s instructions. Penetrations like pipes or conduits must be sealed carefully at the edge where they

Concrete Vapor Barrier Seams and Penetrations: Tape, Patches, and “Oops” Fixes Read More »