Search Results for: cement based filler

Gloves paintbrushes putty knives and level covered in plaster dust

Plaster Repair on Curved Walls: Flexible Tools and How to Keep Profiles Smooth

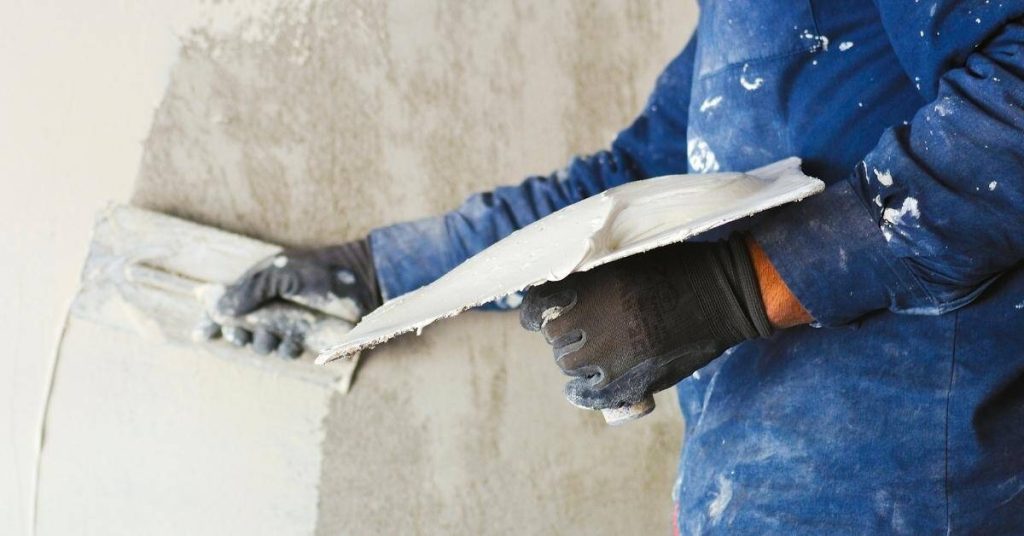
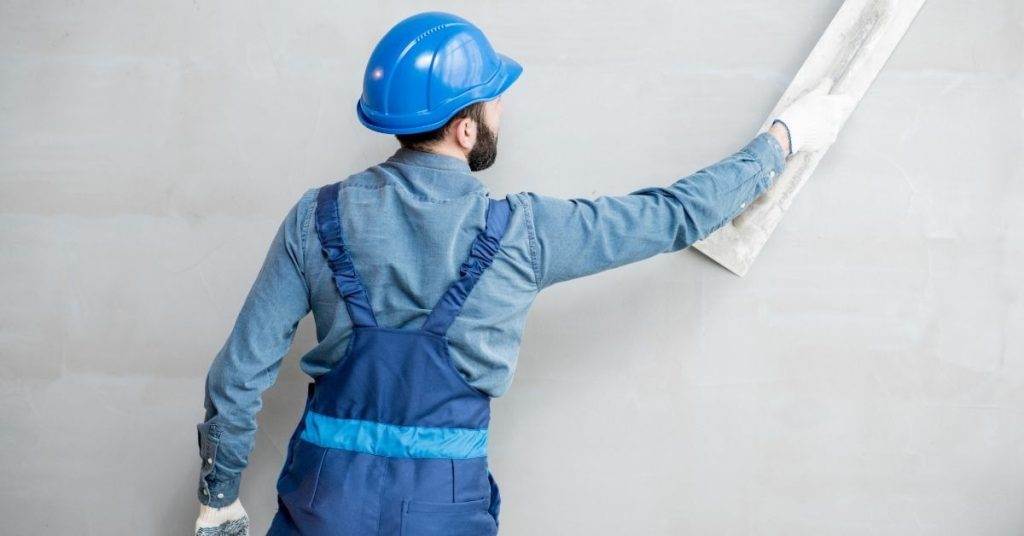
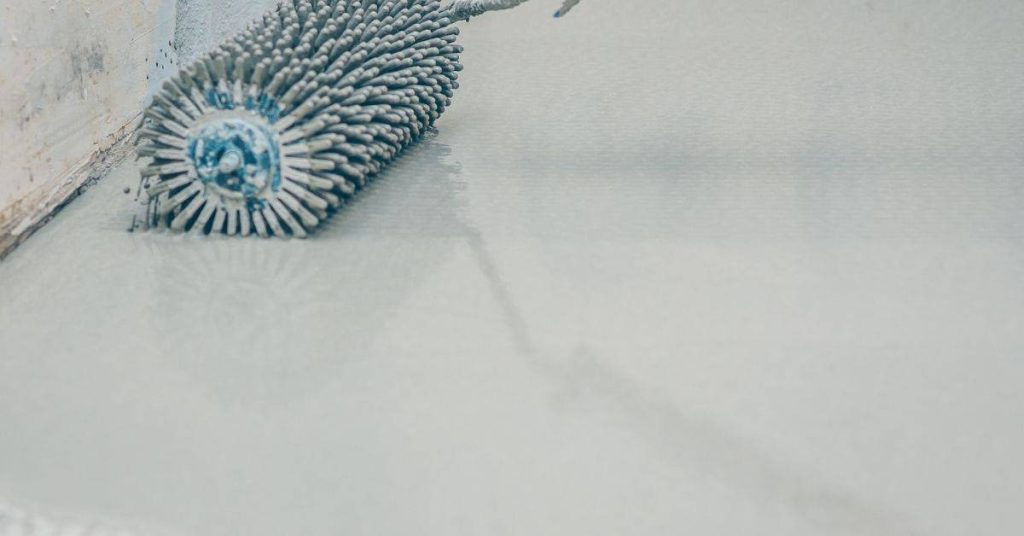
Introduction Plaster repair on curved walls means using flexible tools and techniques so the repair follows the wall’s arc without creating bumps or hollows. In practice that means choosing a flexible float or trowel, feathering edges, and working in thin passes until the profile blends with the surrounding surface. Keep expectations realistic and check product […]

Plaster Repair on Curved Walls: Flexible Tools and How to Keep Profiles Smooth Read More »

Person applying plaster to wall with trowel and hawk

Plaster Baseboard Dings and Gouges: Fast Patch Options That Don’t Shrink Back

Introduction Plaster baseboard dings and gouges are shallow to moderate damages along the plaster or drywall near the floor that you can tack quickly without later sinking or cracking. In plain terms: pick a stable, shrink-resistant patch material, prepare the area, and feather it to the surrounding surface so the repair bonds and stays flat.

Plaster Baseboard Dings and Gouges: Fast Patch Options That Don’t Shrink Back Read More »

Plaster wall niche with decorative dolphin and small pottery

How to Create a Plaster Shadow-Reveal Niche: Beads, Corners, and Crack Control

Introduction A plaster shadow-reveal niche is a recessed wall pocket finished with thin plaster edges that create a crisp, shadowed outline for shelves or display. It’s built by framing the cavity, setting straight beads and corner profiles, and planning for crack control where the plaster meets different materials. This is a hands-on job that rewards

How to Create a Plaster Shadow-Reveal Niche: Beads, Corners, and Crack Control Read More »

Construction worker smoothing plaster on wall wearing blue helmet

Repairing Polished Plaster Chips: Patch Blending Without Visible ‘Halos’

Introduction Repairing polished plaster chips means filling and feathering the damaged area so the patch matches surrounding sheen and texture without a visible ring. Start by cleaning and undercutting loose edges, use compatible repair material, and build thin layers that are troweled and polished to blend into the existing finish. Check product labels and manufacturer

Repairing Polished Plaster Chips: Patch Blending Without Visible ‘Halos’ Read More »

Spiked roller tool on wet floor coating surface

Polyaspartic Floor Coatings for DIY: Working Time, Odor, and Surface Prep Requirements

Introduction Polyaspartic floor coatings are fast-curing two-part coatings used to protect and finish concrete, and for a DIYer that means short working time, noticeable odor, and careful surface prep. Think like a tradesperson: plan your mixing and application in short, deliberate steps and check the product label for working time, recommended respirators, and substrate requirements.

Polyaspartic Floor Coatings for DIY: Working Time, Odor, and Surface Prep Requirements Read More »

Close-up of crack on textured stucco wall surface

Elastomeric Paint vs Masonry Paint: Thickness, Crack Bridging, and Recoat Timing

Introduction Elastomeric paint is a high-build, flexible coating designed to bridge small hairline cracks and move with the wall, while masonry paint is a thinner, protective finish for porous surfaces; choose by how much movement and build you need. In plain jobsite terms: elastomeric lays on thicker and stretches, masonry paint lays on thinner and

Elastomeric Paint vs Masonry Paint: Thickness, Crack Bridging, and Recoat Timing Read More »

Thick yellow paint strokes on a white surface

Mineral Paint vs Acrylic on Masonry: Breathability, Washability, and Best Use Cases

Introduction Mineral paint is a thin, breathable coating made from mineral binders that soaks into masonry while acrylic is a film-forming paint that sits on the surface and sheds water. For DIY use, think mineral paint where you need vapor permeability and historical compatibility, and acrylic where you need tougher washability and abrasion resistance. Check

Mineral Paint vs Acrylic on Masonry: Breathability, Washability, and Best Use Cases Read More »

Wall corner with visible mold and water damage stains

Repainting After Mold Remediation: Drying Targets, Primers, and Mildew-Resistant Topcoats

Introduction Repainting after mold remediation means waiting until the surface is fully dry, priming any repaired or stained areas, and finishing with a mildew-resistant topcoat chosen for the substrate. Do the drying check yourself and follow product label instructions for primer and paint compatibility. Treat it like a site repair: clean, dry, prime, then topcoat.

Repainting After Mold Remediation: Drying Targets, Primers, and Mildew-Resistant Topcoats Read More »

Stacked pressure-treated lumber boards with visible wood grain

Painting Pressure-Treated Lumber: Moisture Tests and When It’s Actually Ready

Introduction Painting pressure-treated lumber means waiting until the wood’s moisture content is low enough for paint or stain to stick and dry properly. In practice that means testing the wood or following the product label and letting the lumber weather or dry under cover until it feels and measures ready. Check the preservative label or

Painting Pressure-Treated Lumber: Moisture Tests and When It’s Actually Ready Read More »

Man working on pool deck installation using tools and safety glasses

Painting Pool Decks: Slip Resistance, Chlorine, and Cool-Deck Options

Introduction Painting pool decks means choosing a coating that resists slipping, stands up to chlorine and pool chemicals, and stays cooler underfoot; it’s a practical surface upgrade, not a decorative paint job. Think about slip additives, chemical resistance, and reflective or “cool” coatings when you pick products, and always check the label and manufacturer instructions

Painting Pool Decks: Slip Resistance, Chlorine, and Cool-Deck Options Read More »