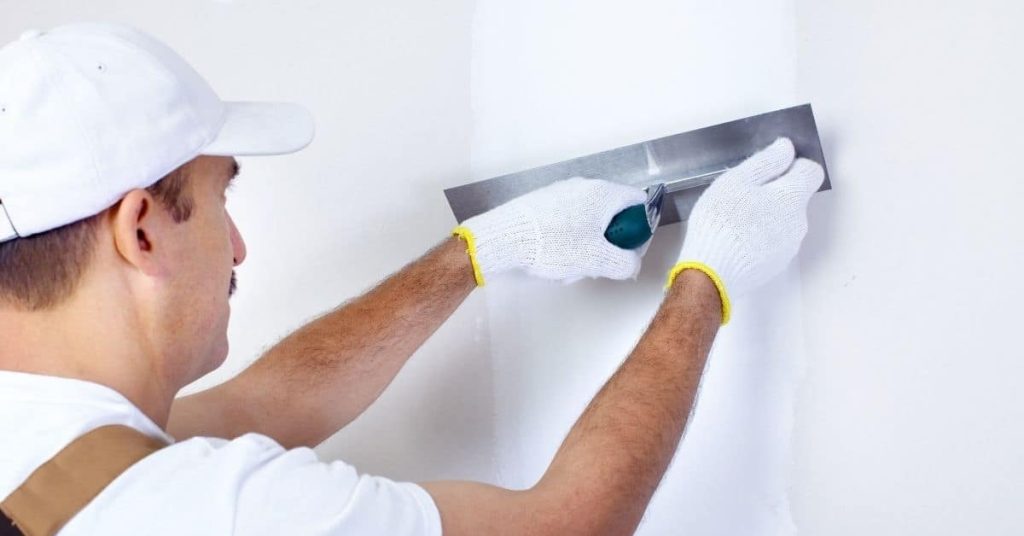
Repairing hairline plaster cracks: flexible fillers vs setting compounds
Introduction Hairline plaster cracks are small, fine fractures in plaster that generally indicate minimal movement. Choosing between flexible fillers and setting compounds depends on crack movement, plaster type, and the expected durability of the repair. This article treats the repair as a hands-on, practical task you can approach with basic preparation and care. Flexible fillers […]
Repairing hairline plaster cracks: flexible fillers vs setting compounds Read More »