Search Results for: bucket for rolling drywall compound

Person applying plaster over blue mesh on wall

Reinforcing Plaster at Material Transitions: Mesh Choices That Don’t Telegraphed Through

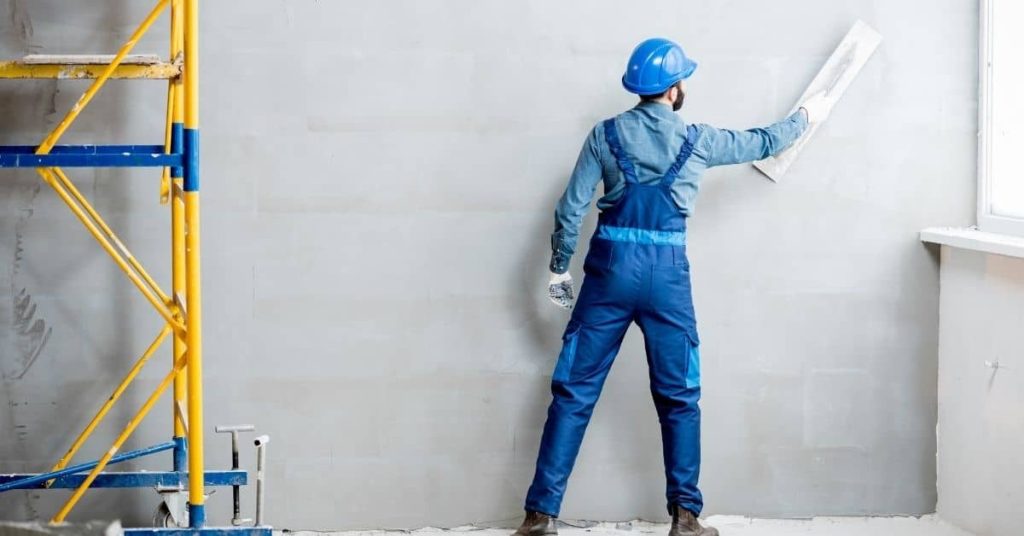
Introduction Reinforcing plaster at material transitions means embedding the right type of mesh or alternative so the joint won’t crack or show through once the plaster dries. Pick a mesh compatible with your plaster and substrate and follow the product label and common-sense joint detailing to avoid telegraphing. If you’re unsure which mesh to use, […]

Reinforcing Plaster at Material Transitions: Mesh Choices That Don’t Telegraphed Through Read More »

Person applying plaster to wall with putty knife

Adding Fibers to Plaster: Hemp, Cellulose, and Horsehair Alternatives Compared

Introduction Adding fibers to plaster means mixing natural fibers like hemp, cellulose, or horsehair into a lime or clay binder to improve crack resistance and tensile strength; choose the fiber type and preparation based on the binder and final exposure. From a DIY foreman’s view, hemp is strong and long fibers need chopping, cellulose is

Adding Fibers to Plaster: Hemp, Cellulose, and Horsehair Alternatives Compared Read More »

Stacks of orange hollow clay bricks on wooden pallets

Roman Clay Maintenance: Spot Repair, Re-Seal, and How to Avoid Shiny Patches

Introduction Roman Clay maintenance means keeping the finish patched, resealed, and matte where you want it, not shiny where you don’t — spot repairs and the right re-seal process fix most problems. This is a hands-on job: check the product label and manufacturer’s instructions for compatible patch mixes and sealers before you start. Expect to

Roman Clay Maintenance: Spot Repair, Re-Seal, and How to Avoid Shiny Patches Read More »

Worker smoothing wet plaster on a gray interior wall

How to Create a Zero-Lap-Mark Wall: Section Planning and Keeping a True Wet Edge

Introduction A zero-lap-mark wall is a layout and pour technique that keeps your fresh plaster or skimcoat from drying in visible steps where new material meets old. It means planning your sections and timing so each pass blends into the next while the edge is still workable. This is a hands-on job that needs steady

How to Create a Zero-Lap-Mark Wall: Section Planning and Keeping a True Wet Edge Read More »

Close-up of a pointed metal scratch tool tip wrapped in paper

Plaster Over Cement Board: Step-by-Step Timeline and Duration Guide

Introduction The process of plastering over cement board involves several steps that require careful timing to ensure a successful outcome. Understanding the timeline and duration for each stage is crucial for planning your project effectively. In this guide, we’ll walk you through the step-by-step timeline of plastering over cement board, helping you allocate the right

Plaster Over Cement Board: Step-by-Step Timeline and Duration Guide Read More »

Empty room with freshly plastered white walls and bare concrete floor

How Long Does It Take to Get Dead-Flat Plaster Walls: A Step-by-Step Timeline

Introduction Achieving dead-flat plaster walls is a meticulous process that requires patience and careful planning. Understanding the timeline involved in each step can help you manage your expectations and ensure a successful outcome. In this guide, we’ll break down the process into clear, time-specific steps to give you an accurate estimate of how long it

How Long Does It Take to Get Dead-Flat Plaster Walls: A Step-by-Step Timeline Read More »

hand with glove smoothing wet plaster on wall with trowel

How to Create a Zero-Lap-Mark Wall: Timing Your Sections for a True Wet Edge

Introduction The key to achieving a seamless, zero-lap-mark wall lies in meticulous timing and coordination. Every minute counts when you’re working with wet materials, so understanding the timeline is crucial. In this guide, we’ll break down the process into manageable timeframes, helping you plan your sections effectively and maintain that all-important true wet edge. For

How to Create a Zero-Lap-Mark Wall: Timing Your Sections for a True Wet Edge Read More »

Worker smoothing stucco on wall with hawk tool

Removing Loose Stucco Safely: Dust Control, Cut Lines, and How to Protect the WRB

Introduction Removing loose stucco safely means knocking out and replacing only the failing material while keeping dust off you and your house and protecting the weather-resistive barrier behind it. Start by finding the delaminated areas with a tap test and visual checks, then plan cuts and containment before you touch the wall. Use dust control

Removing Loose Stucco Safely: Dust Control, Cut Lines, and How to Protect the WRB Read More »