Search Results for: brown concrete

Person applying white plaster to wall with trowel and hawk

Plaster Undercoats on CMU: Step-by-Step Timeline and Duration Guide

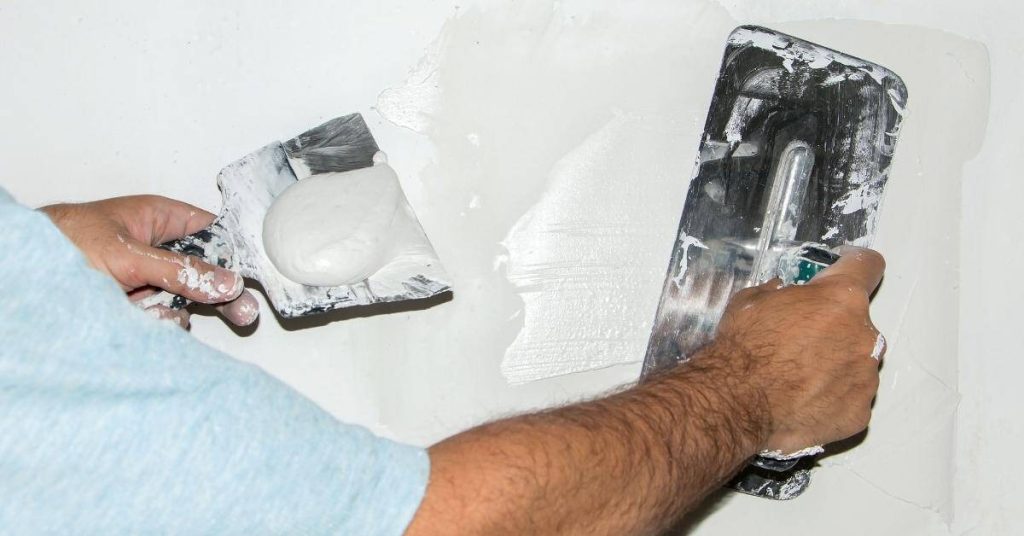
Introduction The timeline for applying plaster undercoats on concrete masonry units (CMU) is crucial to ensure a successful, durable finish. Understanding the duration of each step helps you plan your DIY project efficiently. From surface preparation to cure timing, this guide walks you through the process, helping you allocate sufficient time for each task and […]

Plaster Undercoats on CMU: Step-by-Step Timeline and Duration Guide Read More »

paint rollers paintbrush white gloves plastic buckets ladder

Plastering Over Old Calcimine Paint: A Step-by-Step Timeline for Successful Bonding

Introduction Plastering over old calcimine paint requires careful planning and timing to ensure a strong bond. This step-by-step timeline guide walks you through the process, from identification tests to final plaster application, helping you complete the project efficiently within your schedule. Understanding the duration of each stage is crucial for setting realistic expectations and ensuring

Plastering Over Old Calcimine Paint: A Step-by-Step Timeline for Successful Bonding Read More »

Hand holding paintbrush applying white paint on wooden dresser drawer

Back-Brushing and Back-Rolling After Spraying: Timing Techniques for Optimal Results

Introduction Timing is crucial when it comes to back-brushing and back-rolling after spraying. Do these techniques too early, and you risk ruining your freshly applied coating. Too late, and the material may not adhere properly. In this guide, we’ll walk you through the ideal timing for back-brushing and back-rolling, ensuring you achieve a smooth, even

Back-Brushing and Back-Rolling After Spraying: Timing Techniques for Optimal Results Read More »

Man painting exterior wall with roller and extension pole

Painting Exterior Cedar: A Step-by-Step Timeline for Tannin Blocking, Back-Priming, and Recoat Timing

Introduction Painting exterior cedar involves a series of steps that require careful timing to ensure a durable, long-lasting finish. From surface preparation to recoating, understanding the timeline is crucial for successful results. In this guide, we’ll walk you through each stage of painting exterior cedar, focusing on the time it takes for tannin blocking, back-priming,

Painting Exterior Cedar: A Step-by-Step Timeline for Tannin Blocking, Back-Priming, and Recoat Timing Read More »

Paint roller and putty knife on wooden surface

Heat Guns vs Infrared Paint Removal: Time-Saving Strategies and Project Timelines

Introduction When tackling paint removal projects, understanding the time commitment is crucial. Both heat guns and infrared paint removers speed up the process compared to manual scraping, but they differ in their time requirements. To help you plan your project effectively, let’s compare the timeline of using heat guns versus infrared paint removers, including prep

Heat Guns vs Infrared Paint Removal: Time-Saving Strategies and Project Timelines Read More »

Partially covered brick wall with stucco and exposed bricks

Stucco Termination at Brick or Stone: A Step-by-Step Timeline for DIY Success

Introduction The transition from stucco to brick or stone is a critical detail in any construction project, but it doesn’t have to be time-consuming. With the right planning and execution, you can complete this task efficiently. In this guide, we’ll break down the process into manageable steps, focusing on the timeline to help you understand

Stucco Termination at Brick or Stone: A Step-by-Step Timeline for DIY Success Read More »

Person painting yellow paint on stained wood with brush

Painting Over Stained Wood Without Bleed-Through: A Step-by-Step Timeline

Introduction Tackling a painting project over stained wood can seem daunting, especially when you’re worried about bleed-through. But with the right approach and understanding of the timeline, you can achieve a flawless finish. The key to success lies in proper preparation and timing. This guide walks you through each step, from assessing your wood to

Painting Over Stained Wood Without Bleed-Through: A Step-by-Step Timeline Read More »

Hands wearing gloves applying stucco with trowel on wall

Stucco at Roof Parapets: Coping, Drips, and How to Stop Water From Getting Behind

Introduction Stucco at roof parapets is the exterior finish where the wall meets the top of a low roof and needs proper coping and drip details to keep water from getting behind the finish. Do a hands-on inspection for gaps, cracked stucco, or missing backer and check product labels and local rules for flashing, sealants,

Stucco at Roof Parapets: Coping, Drips, and How to Stop Water From Getting Behind Read More »

Wooden stair stringers attached to deck framing outdoors

Deck Ledger Through Stucco: Retrofit Flashing Strategy That Preserves Drainage

Introduction Deck ledger through stucco means installing the ledger board and flashing so water shed from the deck doesn’t get behind the stucco; it’s a retrofit move to tie the ledger into the house while preserving the wall’s drainage plane. This usually involves removing a section of stucco and lath to access the sheathing or

Deck Ledger Through Stucco: Retrofit Flashing Strategy That Preserves Drainage Read More »

Close-up of weathered pink stucco wall texture

Making Stucco Sample Boards: Test Panels That Predict Color and Texture

Introduction Making stucco sample boards means applying small, finished panels that show how a specific mix, color, and texture will look on the real wall. These test panels let you see drying color shifts, surface texture, and how the base and finish layers interact before you commit to the whole job. Keep the process hands-on:

Making Stucco Sample Boards: Test Panels That Predict Color and Texture Read More »