Search Results for: bonding agent plaster

Worker applying plaster to an interior wall

Plaster Patch Shrinkage: How to Reduce It with Layering and Timing

Introduction Plaster patch shrinkage is the small pullback and cracking that happens as a plaster patch dries. It occurs when the patch loses moisture and the set plaster contracts, often showing up as fine cracks or a mismatch in texture with the surrounding wall. Watch for hairline cracks, edges that pull away, or visible ridges […]

Plaster Patch Shrinkage: How to Reduce It with Layering and Timing Read More »

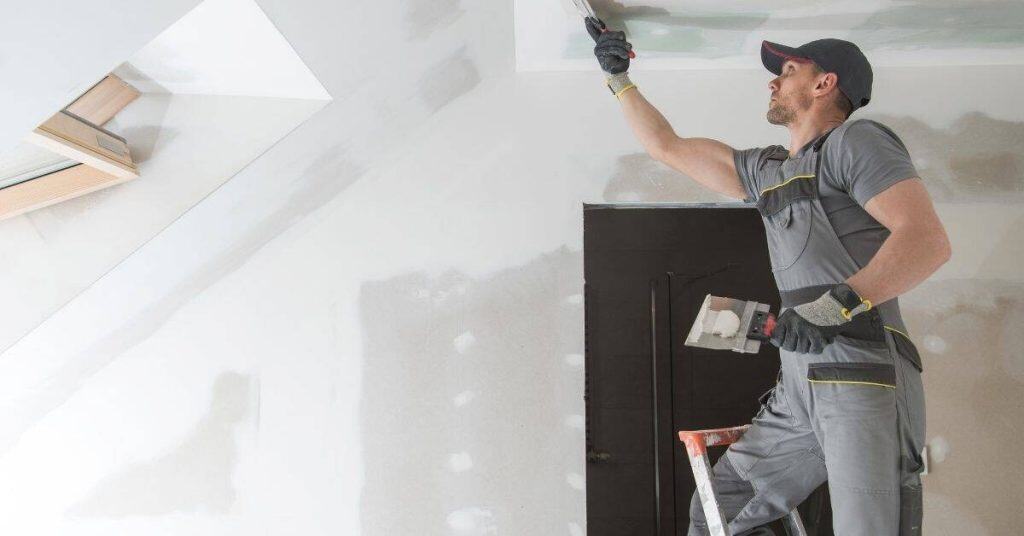
Worker applying plaster patch on ceiling using putty knife

Fixing Nail Pops in Plaster: Why They’re Different from Drywall and How to Lock Them Down

Introduction Nail pops in plaster are protruding fasteners that back out and push the plaster away from the wall surface. They’re different from drywall because plaster walls are typically thinner and thicker, with a different substrate and bond. In plain terms, you’re dealing with a plaster shell that’s moved and needs to be re-secured and

Fixing Nail Pops in Plaster: Why They’re Different from Drywall and How to Lock Them Down Read More »

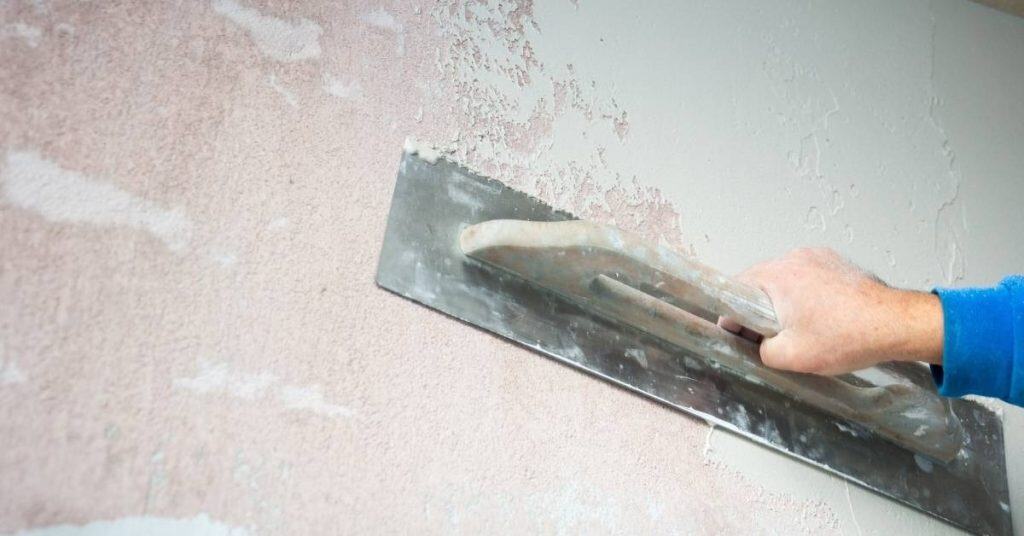
Hand using trowel to smooth plaster on wall

Creating Clean Inside Corners in Plaster: Corner Tools Vs Hand Technique

Introduction Creating clean inside corners in plaster means achieving sharp, smooth 90-degree joints on interior walls. Use either corner tools or careful hand technique to control the mud. Check that the edge stays true and adjust as you go. Corner tools can speed up a straight edge, but technique matters for a crisper look. With

Creating Clean Inside Corners in Plaster: Corner Tools Vs Hand Technique Read More »

Worker smoothing plaster wall wearing blue overalls and helmet

Skim Coating over Painted Plaster: How to Test Adhesion Before Committing

Introduction Skim coating over painted plaster requires testing adhesion first to know if the surface will hold the skim. Start by making sure the painted layer is sound, clean, and free of wax, flaking paint, or dust, and plan any necessary surface preparation before you proceed. This quick check helps you decide whether to go

Skim Coating over Painted Plaster: How to Test Adhesion Before Committing Read More »

Worker smoothing plaster on wall with trowel wearing gloves and cap

Hardwall Plaster on Masonry: Achieving a Flat Plane Without “Waves”

Introduction Hardwall plaster on masonry is applying a cement-based coating to brick or block to create a flat, level surface. It means you’re sealing the rough masonry and guiding the plaster down to a true plane. Start by checking the wall for moisture and any loose material, then read the instruction on the product label

Hardwall Plaster on Masonry: Achieving a Flat Plane Without “Waves” Read More »

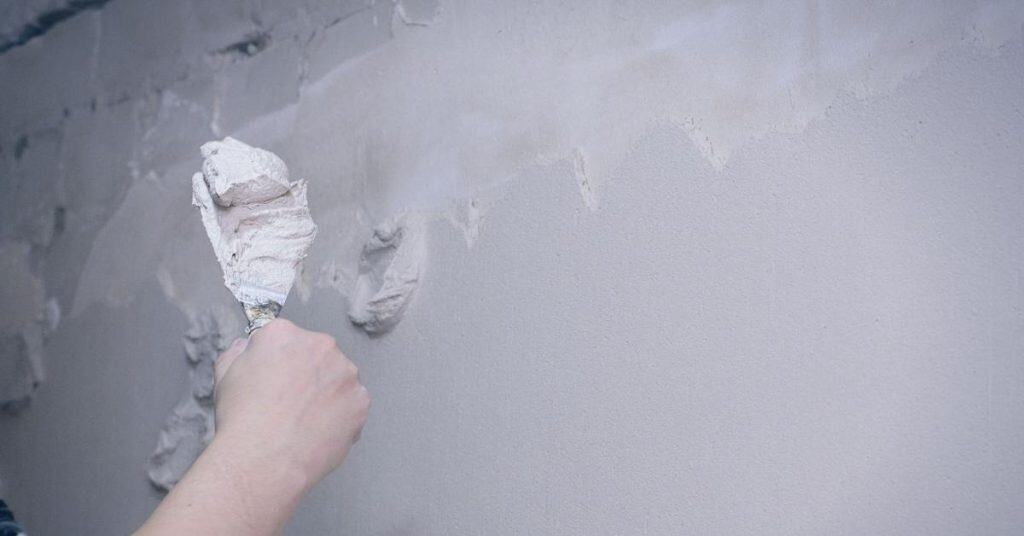
Hand applying plaster to wall with a trowel

Patching Plaster After Plumbing Access Holes: How to Keep the Patch from “Drumming”

Introduction Patching plaster after plumbing access holes means rebuilding the damaged wall so it won’t drum when you tap it. Start by carefully removing loose plaster around the hole and cleaning the edge so the patch bonds well. Check the backing and, if needed, install a thin scrim or patching plaster to create a solid

Patching Plaster After Plumbing Access Holes: How to Keep the Patch from “Drumming” Read More »

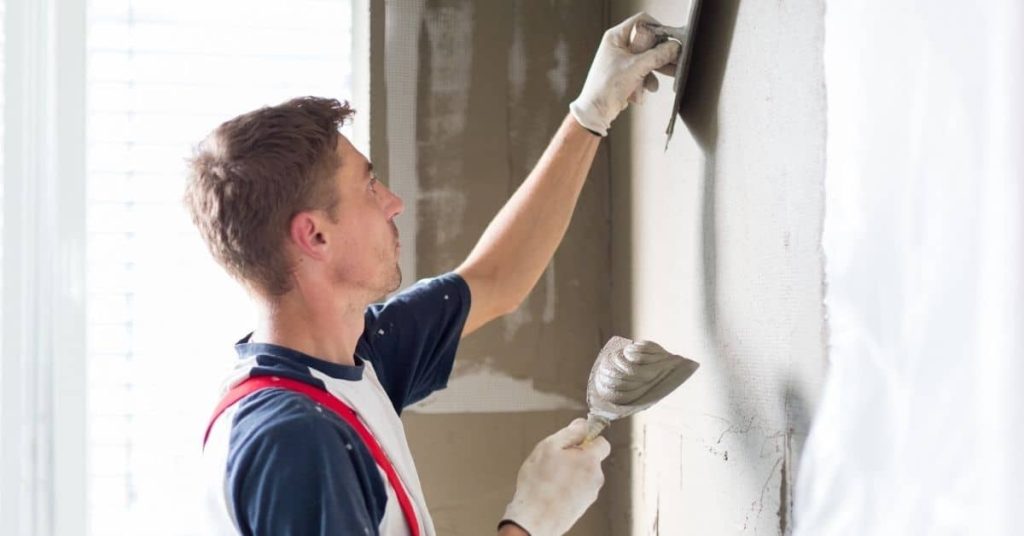
Man applying plaster to interior wall with trowel

Plaster Repairs in High Humidity Rooms: How to Prevent Powdery Finishes

Introduction Plaster repairs in high humidity rooms require moisture-aware prep and material choices to stop powdery finishes. Start by preparing the walls carefully, removing loose material and cleaning the surface before patching. Choose materials and patching methods suited for humid conditions, and verify any limits on use with the product label or manufacturer instructions. Mix

Plaster Repairs in High Humidity Rooms: How to Prevent Powdery Finishes Read More »

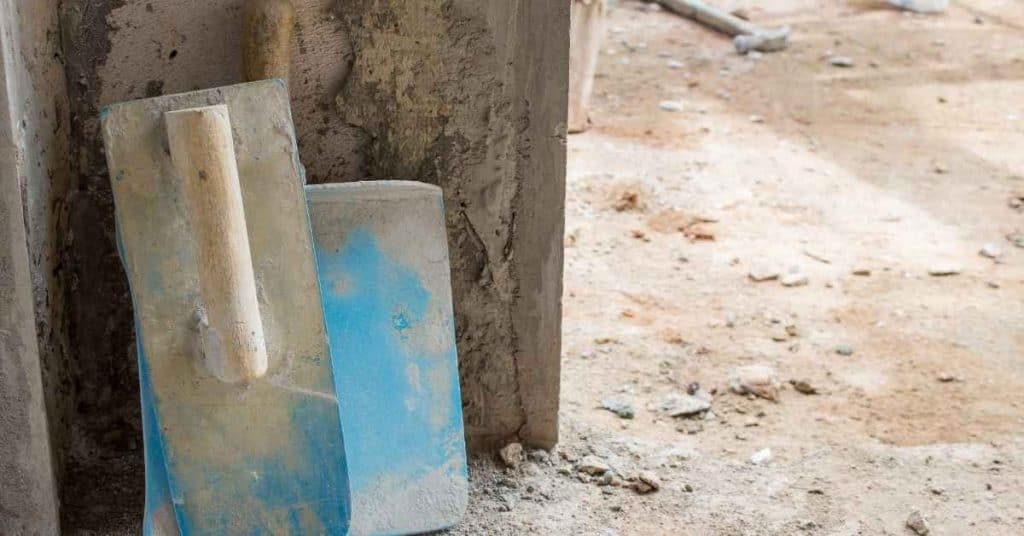
Two plaster trowels leaning against rough plastered wall

Fixing Plaster at Baseboards: Rebuilding the Bottom Edge Without Removing All Trim

Introduction This is fixing plaster at the baseboard by rebuilding the bottom edge while leaving the trim in place. It’s a hands-on repair that tightens up gaps and brittle edges along the wall line. Plan to clean, assess damage, and mix materials that suit your wall type and existing plaster. You’ll need to protect the

Fixing Plaster at Baseboards: Rebuilding the Bottom Edge Without Removing All Trim Read More »