Search Results for: 6 inch concrete form tube

Room with drywall installed and joint compound patches visible

Repairing Raveled Joints: Rebuilding joint edges without creating a weak strip

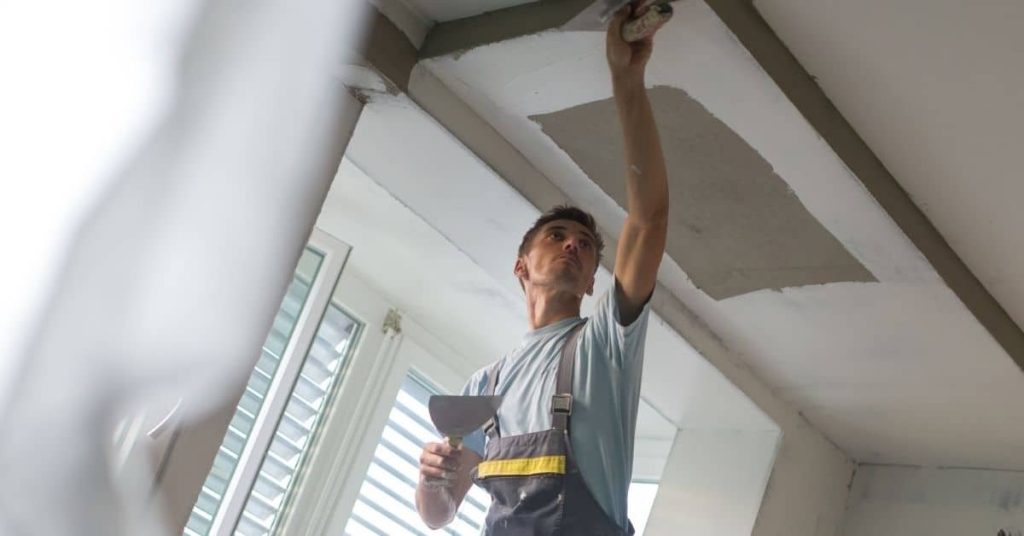
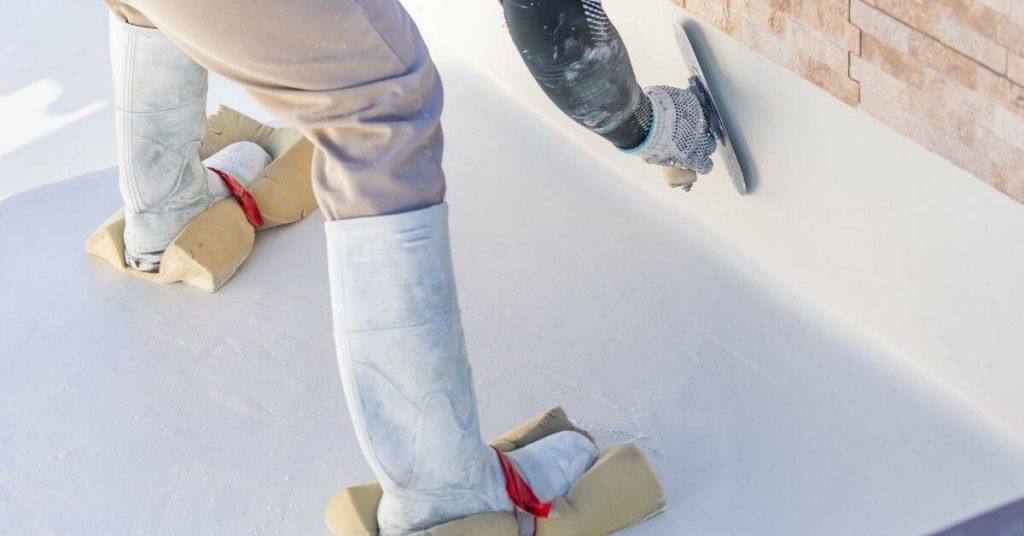
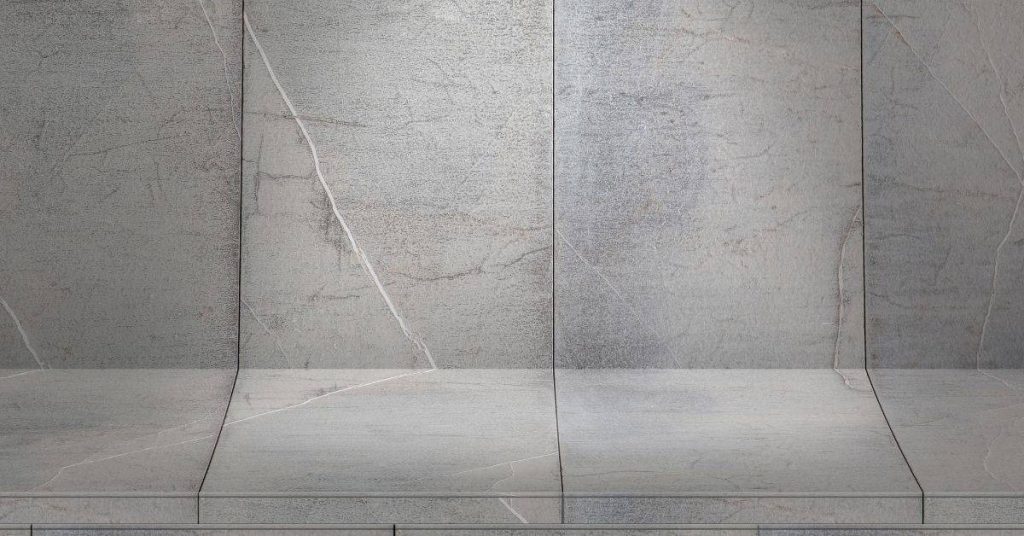
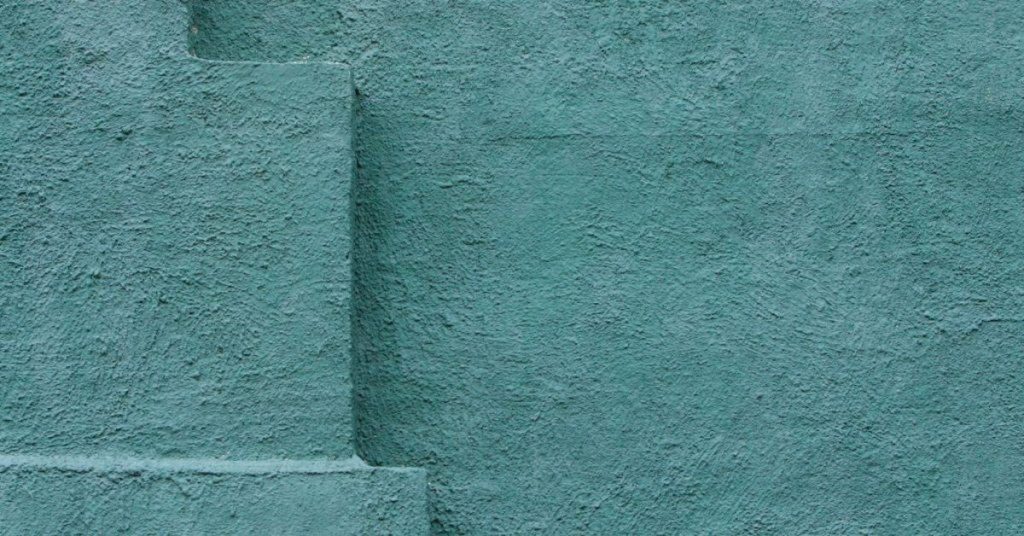
Introduction Repairing raveled joints means rebuilding the edge of a concrete joint where the surface material has torn loose, without creating a weak, thin strip. Raveling happens when the joint edge flakes or spalls and exposes loose material that won’t hold up under movement. This is a hands-on job: you’ll remove the loose stuff, clean […]

Repairing Raveled Joints: Rebuilding joint edges without creating a weak strip Read More »

close up of gray concrete surface with visible cracks

Routing and Sealing Cracks: When a “V-Groove” Helps and When It Doesn’t

Introduction Routing and sealing cracks means cutting a V-shaped groove along the crack and sealing it to prevent further movement. It’s a technique that can help when the crack is stable and the substrate is sound, but it isn’t right for every crack or situation. Consider crack size, movement, and the surrounding material before choosing

Routing and Sealing Cracks: When a “V-Groove” Helps and When It Doesn’t Read More »

Blue swimming pool water next to exposed aggregate concrete edge

Capillary Break Under Slabs: Materials, Foam-Glass Options, and Edge Details That Work

Introduction A capillary break under slabs is a layer or treatment that stops water from wicking from the soil into the concrete. In plain terms, it keeps moisture away from the slab to prevent dampness and cracking. Choose a method and materials that fit your climate and slab design. Foam-glass options can be used as

Capillary Break Under Slabs: Materials, Foam-Glass Options, and Edge Details That Work Read More »

Close-up of blue stucco wall texture

Diagnosing Moisture Behind Stucco: Basic Probe Holes, Borescopes, and What to Look For

Introduction Diagnosing moisture behind stucco means checking for where water has crossed the exterior and is wetting the wall assembly; that can be done with basic probe holes, borescopes, and non‑invasive tools to confirm wet areas. Start by looking for staining, soft or sagging finishes, efflorescence, or indoor musty odors that suggest intrusion, and use

Diagnosing Moisture Behind Stucco: Basic Probe Holes, Borescopes, and What to Look For Read More »

Hand applying stucco on brick wall with trowel

Stucco Termination at Brick or Stone: Transition Details That Don’t Crack or Trap Water

Introduction Stucco termination at brick or stone is the method of finishing and sealing the edge where stucco meets masonry so water is kept out and movement doesn’t crack the finish. Do the job with a clear gap for flashing, a solid backstop, and a termination trim that lets water drain; check product labels and

Stucco Termination at Brick or Stone: Transition Details That Don’t Crack or Trap Water Read More »

Man applying plaster around window casing with trowel

Repairing Plaster Around Window Casings: A Step-by-Step Timeline for Straight Returns and Crisp Corners

Introduction Tackling plaster repairs around window casings can seem daunting, but with a clear understanding of the timeline, you’ll find it’s a manageable project. This step-by-step guide breaks down the process into digestible stages, helping you complete your repair efficiently and effectively. From assessing damage to applying the final coat of paint, let’s explore how

Repairing Plaster Around Window Casings: A Step-by-Step Timeline for Straight Returns and Crisp Corners Read More »

paint roller with blue handle and paint tray on floor

Caulk and Paint Compatibility: A Step-by-Step Timeline to Prevent Cracking

Introduction The timeline of caulk and paint application is crucial for a durable, crack-free finish. Understanding the duration of each step helps you plan your project efficiently. From surface preparation to painting, follow this step-by-step timeline to ensure your sealant and paint work together seamlessly. For the full guide, see Caulk and Paint Compatibility: Choosing

Caulk and Paint Compatibility: A Step-by-Step Timeline to Prevent Cracking Read More »

blue stucco wall texture with varied surface depth

Sealing Penetrations Through Stucco (Vents, Linesets, Pipes): The ‘Sleeve + Flange’ Method

Introduction Sleeve + flange is a method to seal vents, linesets, or pipes where they pass through stucco. You install a sleeve through the opening, then attach a flange to seal against the wall and weather. This approach helps keep water out and makes future maintenance easier. Start by choosing a sleeve size that fits

Sealing Penetrations Through Stucco (Vents, Linesets, Pipes): The ‘Sleeve + Flange’ Method Read More »