Search Results for: 120 mortar

Mixing gray cement mixture in a bucket with drill paddle

Polymer-Modified Overlays: Mixing, Thickness, and Curing for Durability

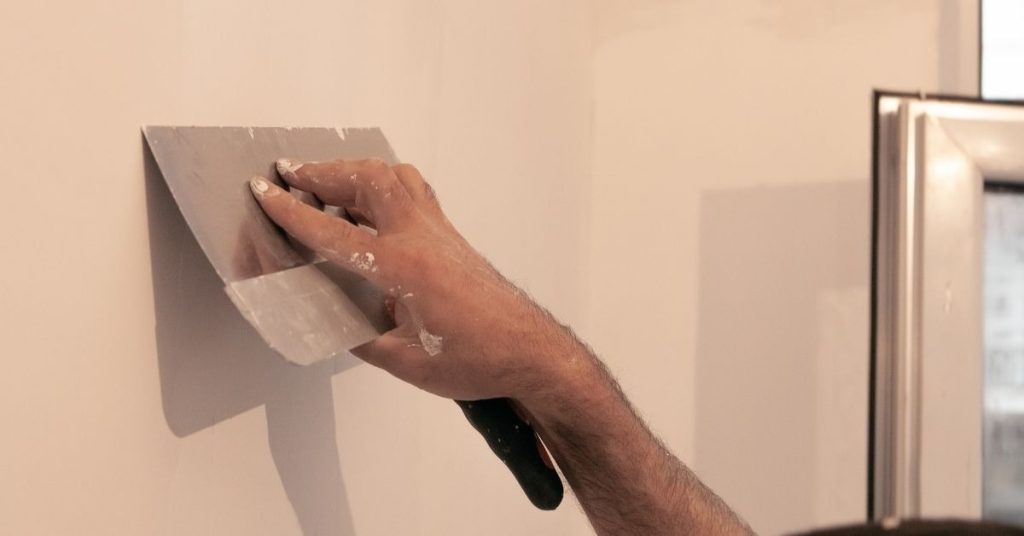
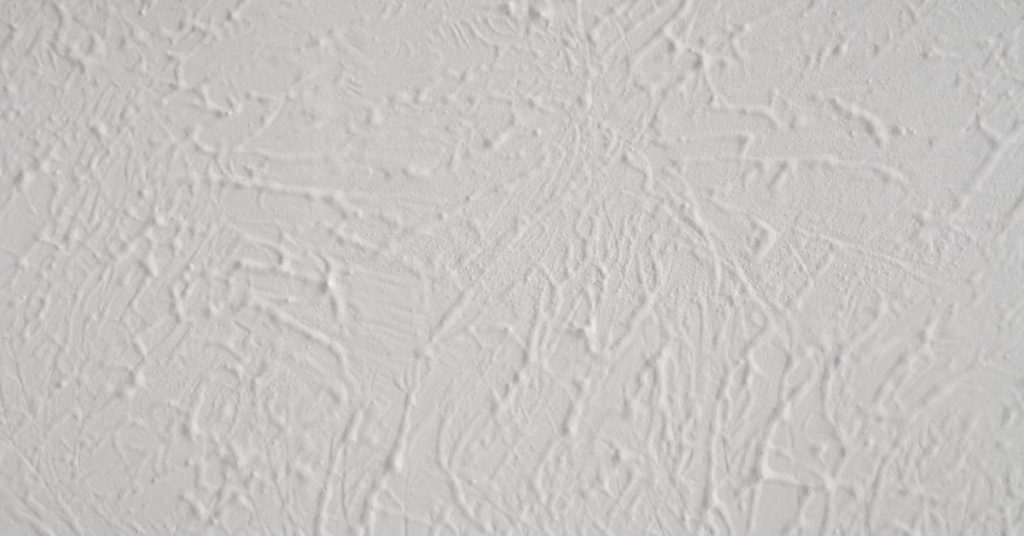
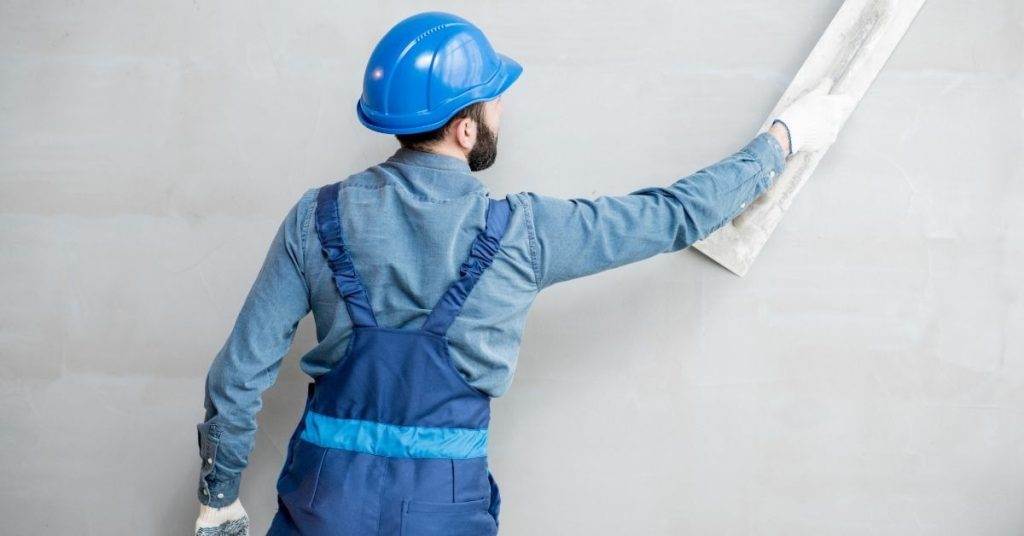
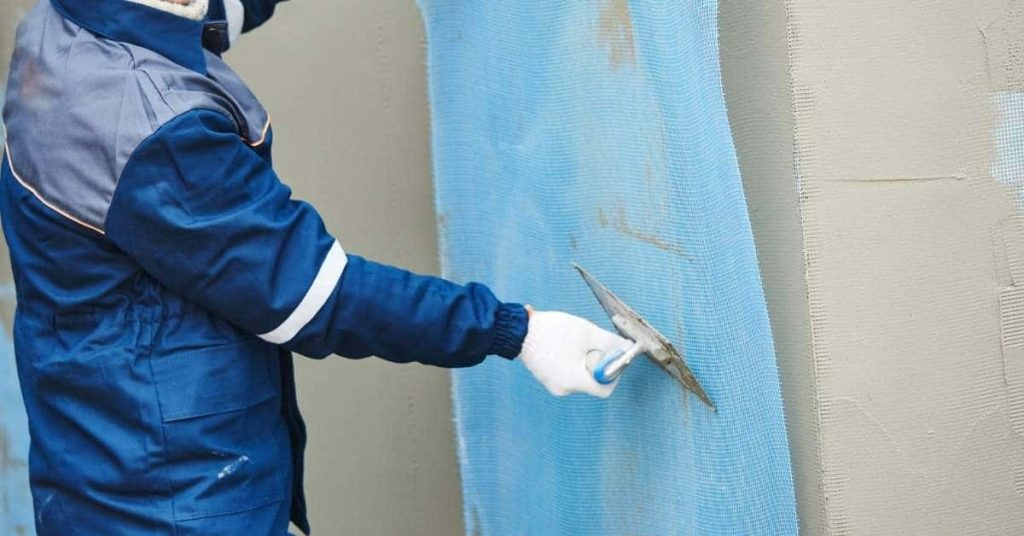
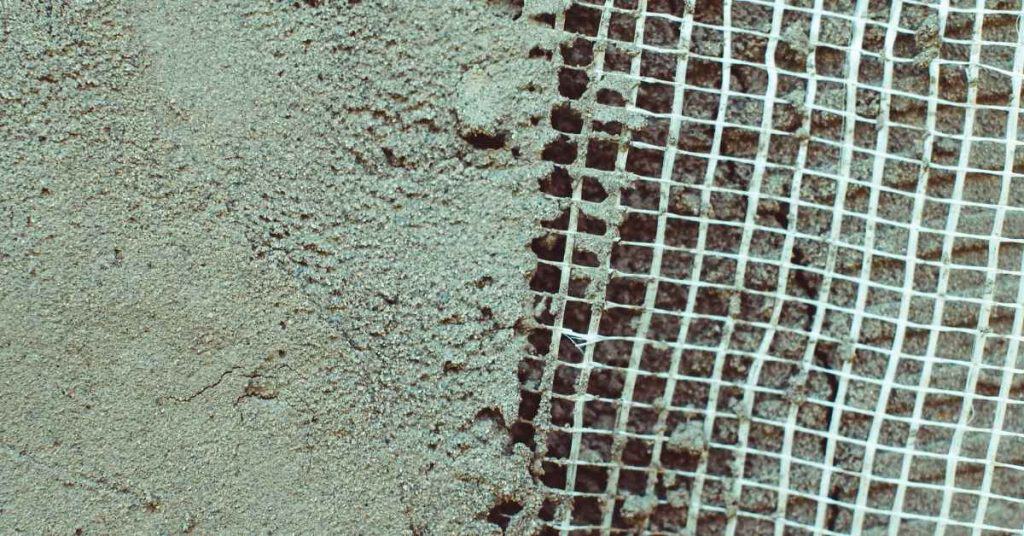
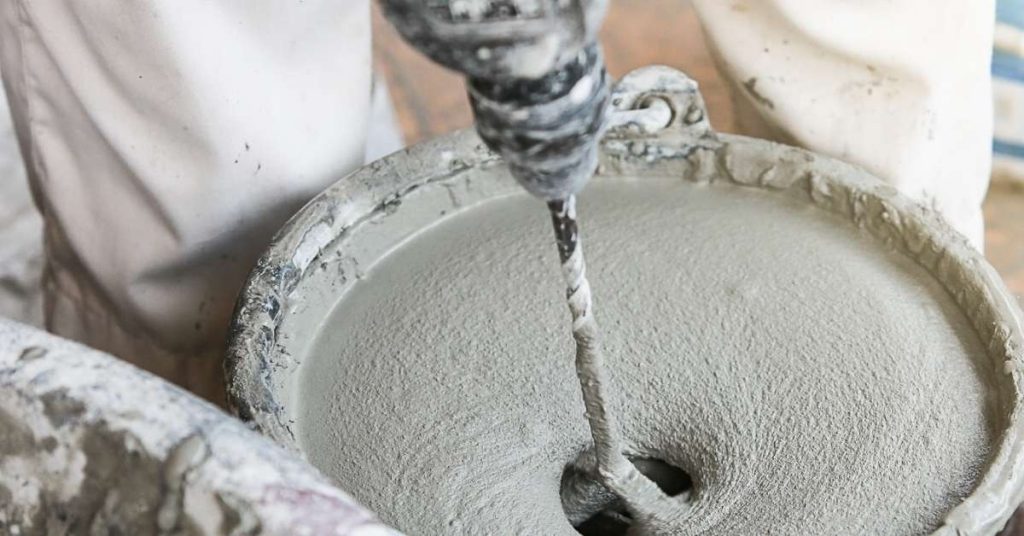
Introduction Polymer-modified overlays are thin concrete toppings that use polymer additives to improve adhesion and durability. Mix according to the product label and manufacturer instructions; mix until uniform. Apply in an even coat to the prepared surface, checking that the mixture stays workable. The right thickness and proper curing are key to long‑lasting results. Follow […]

Polymer-Modified Overlays: Mixing, Thickness, and Curing for Durability Read More »

Hand applying plaster smoothing wall with trowel

Plaster Over Blueboard: When Veneer Plaster Beats Joint Compound for Smooth Walls

Introduction Plaster over blueboard means applying a veneer plaster finish bonded to the paper-faced gypsum board rather than feathering multiple coats of joint compound; it’s a different material and technique used when a harder, smoother surface is wanted. Veneer plaster generally requires cleaner, keyed surfaces and different tools than joint compound, so check product instructions

Plaster Over Blueboard: When Veneer Plaster Beats Joint Compound for Smooth Walls Read More »

Close-up of textured white plaster wall finish

Plaster Feather Edges That Don’t Flake: Keying, Wetting, and Finish Timing

Introduction Plaster feather edges that don’t flake are thin finish edges keyed and bonded to the existing surface, wetted and timed correctly so the new plaster grabs without lifting. Check whether the area needs repair by tapping or scraping loose material and by checking for movement; if substrate is dusty, crumbling, or contaminated you must

Plaster Feather Edges That Don’t Flake: Keying, Wetting, and Finish Timing Read More »

Construction worker smoothing plaster on wall wearing blue helmet

Repairing Polished Plaster Chips: Patch Blending Without Visible ‘Halos’

Introduction Repairing polished plaster chips means filling and feathering the damaged area so the patch matches surrounding sheen and texture without a visible ring. Start by cleaning and undercutting loose edges, use compatible repair material, and build thin layers that are troweled and polished to blend into the existing finish. Check product labels and manufacturer

Repairing Polished Plaster Chips: Patch Blending Without Visible ‘Halos’ Read More »

Hand holding paint roller with orange paint above drop cloth

Painting Over Fresh Concrete: pH Testing, Wait Times, and Primer Selection

Introduction Painting over fresh concrete means making sure the slab is ready and won’t ruin your paint job; that starts with testing alkalinity, letting the concrete cure, and choosing a primer that matches the slab’s condition. In plain jobsite terms: test surface pH, wait the right amount of time based on the product you plan

Painting Over Fresh Concrete: pH Testing, Wait Times, and Primer Selection Read More »

Close-up of crack on textured stucco wall surface

Elastomeric Paint vs Masonry Paint: Thickness, Crack Bridging, and Recoat Timing

Introduction Elastomeric paint is a high-build, flexible coating designed to bridge small hairline cracks and move with the wall, while masonry paint is a thinner, protective finish for porous surfaces; choose by how much movement and build you need. In plain jobsite terms: elastomeric lays on thicker and stretches, masonry paint lays on thinner and

Elastomeric Paint vs Masonry Paint: Thickness, Crack Bridging, and Recoat Timing Read More »

Thick yellow paint strokes on a white surface

Mineral Paint vs Acrylic on Masonry: Breathability, Washability, and Best Use Cases

Introduction Mineral paint is a thin, breathable coating made from mineral binders that soaks into masonry while acrylic is a film-forming paint that sits on the surface and sheds water. For DIY use, think mineral paint where you need vapor permeability and historical compatibility, and acrylic where you need tougher washability and abrasion resistance. Check

Mineral Paint vs Acrylic on Masonry: Breathability, Washability, and Best Use Cases Read More »

Worker applying plaster over blue reinforcing mesh on wall

Reinforcing Plaster at Material Transitions: A Step-by-Step Timeline to Avoid Telegraphing

Introduction Embarking on a DIY plaster reinforcement project? Understanding the timeline is crucial for successful results. Reinforcing plaster at material transitions involves careful planning and execution, with each step building upon the last. To avoid common mistakes and ensure your finished surfaces don’t telegraph through, follow this comprehensive step-by-step timeline tailored to your specific transition

Reinforcing Plaster at Material Transitions: A Step-by-Step Timeline to Avoid Telegraphing Read More »

Worker plastering ceiling with trowel in orange outfit

Plastering Over Painted Masonry: A Step-by-Step Timeline for Optimal Bonding

Introduction The process of plastering over painted masonry can be time-consuming, but with a well-planned timeline, you can ensure a strong bond and professional-looking results. This step-by-step guide walks you through the entire process, from surface preparation to application, with an emphasis on how long each stage takes. Understanding the duration of each step is

Plastering Over Painted Masonry: A Step-by-Step Timeline for Optimal Bonding Read More »

White mesh lath grid adjacent to cement-coated surface.

Replacing Rusted Metal Lath in a Small Area: Patch Boundaries and Fastener Choices

Introduction Replacing rusted metal lath in a small area means cutting out the corroded section, fitting a matching piece of new lath, and fastening it so the patch ties into solid surrounding material. Identify the rotted or rust-stained parts and pick a replacement lath type that matches or is compatible; check product labels or manufacturer

Replacing Rusted Metal Lath in a Small Area: Patch Boundaries and Fastener Choices Read More »