

Key Takeaways
- Repairing interior plaster walls after electrical rewiring requires essential tools such as a plastering trowel, joint compound, and protective gear to ensure a seamless finish.
- Proper budgeting and project planning are crucial, factoring in costs for tools and materials, time investment, and a step-by-step guide to achieve a professional-quality repair.
- Key steps include thorough preparation, layered application of joint compound, sanding, priming, and painting, with attention to avoiding common mistakes for a durable and aesthetically pleasing outcome.
Introduction
Did you know that improper plaster repairs can lead to a 20% drop in your home’s valuation? After an extensive electrical rewiring, the last thing you need is to compromise your home’s worth with poorly patched walls. Mastering the art of seamlessly repairing interior plaster walls is both an investment in your home’s appearance and its market value.
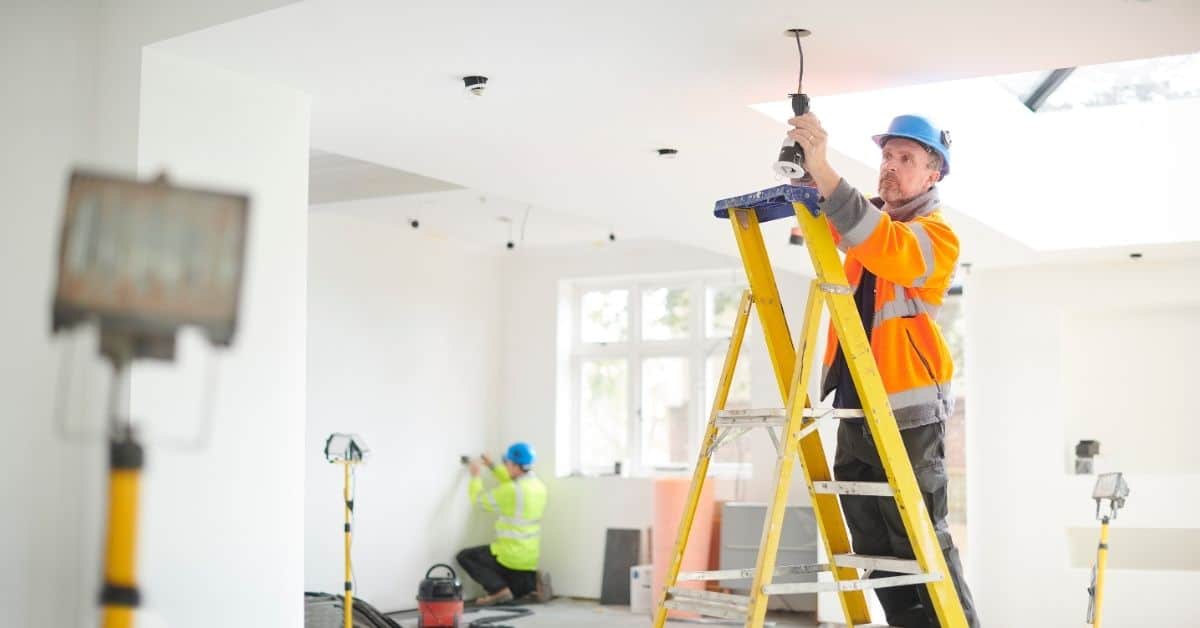
Imagine this: you’ve just had your home rewired, and the electricians have left behind a maze of tracks and holes in your once-pristine plaster walls. You might feel overwhelmed by the task of restoration, but fear not. With the right tools and techniques, patching these walls can be a rewarding DIY project, restoring both the aesthetics and integrity of your home.
Essential Tools and Materials
Repairing interior plaster walls after electrical rewiring requires a careful selection of tools and materials to ensure a seamless finish. Whether you are a seasoned DIY enthusiast or a novice, having the right equipment is crucial to achieve professional results. Here’s a comprehensive list of what you’ll need:
- Plastering Trowel: A high-quality plastering trowel is indispensable for applying and smoothing plaster. Look for one with a comfortable handle and a stainless steel blade for durability and ease of use. Prices range from $15 to $50, depending on the brand and quality.
- Joint Compound: This is essential for filling in gaps and smoothing over rough patches left by the rewiring process. Opt for a lightweight, easy-to-sand joint compound to simplify the finishing process. A 5-gallon bucket typically costs between $10 and $25. Consider alternatives like ready-mixed or setting-type joint compounds for different drying times and ease of use.
- Putty Knife: A putty knife is useful for applying joint compound into small cracks and crevices. A flexible blade will allow for better control and a smoother finish. These can be found for as little as $5, with more robust options costing up to $20.
- Sandpaper: Choose a range of grits, from coarse to fine, to sand down the joint compound after it dries. Sanding is crucial for achieving a smooth, even surface. A pack of assorted grits can cost between $5 and $15. Consider using a sanding block or an electric sander for larger areas.
- Primer and Paint: Once the wall is repaired, matching the paint color is vital for a seamless appearance. A good primer will ensure the new paint adheres well to the repaired surface. Primer prices start at $10 per quart, while paint can range from $20 to $50 per gallon, depending on the finish and brand.
- Drop Cloths and Protective Gear: Protect your floors and furniture with drop cloths. Don’t forget safety goggles and a dust mask to protect against dust from sanding. Drop cloths can be purchased for $10 to $30, while protective gear like masks and goggles are generally under $15.
- Measuring Tape and Level: These tools are essential for ensuring your repair is even and aligns with the rest of the wall. A reliable measuring tape and level can be found for $10 to $25 each.
- Utility Knife: Useful for cutting away any damaged plaster or drywall with precision. A basic utility knife costs around $5 to $15, with replacement blades available separately.
Having these tools and materials on hand before you begin will make the process more efficient and less frustrating. Investing in quality tools can make a significant difference in the outcome of your project, so choose wisely and consider the longevity of your tools if you plan to tackle more DIY projects in the future.
Key Points
- Plastering Trowel and Joint Compound for applying and smoothing plaster.
- Sandpaper and Primer & Paint for finishing and achieving a smooth, seamless appearance.
- Protective Gear and Measuring Tools for safety and precision during repairs.
Quick Facts
- Approx. Time: The time needed to complete the task of repairing interior plaster walls after rewiring can range from a few hours to a couple of days, depending on the extent of the damage and drying times for joint compound and paint.
- Potential Pitfalls: Using low-quality tools can lead to a poor finish and more work in the long run. Skipping protective gear can result in health issues due to dust inhalation during sanding.
- Best Practice: Invest in high-quality tools, such as a durable plastering trowel and easy-to-sand joint compound, to ensure a professional finish and reduce the likelihood of needing to redo the work. Always use protective gear, like dust masks and goggles, to safeguard your health during the repair process.
Note: Times, costs, and steps can vary based on local regulations. Always consult manufacturer instructions.
Cost Considerations and Project Planning
Before diving into the task of patching your interior plaster walls post-electrical rewiring, it’s crucial to develop a comprehensive plan that includes a budget. Understanding the cost implications and planning your project meticulously will save both time and money in the long run.
Budgeting for Tools and Materials:
The initial expense will largely depend on whether you already own some of the essential tools. For those starting from scratch, investing in high-quality tools might seem costly upfront, but they are a worthwhile investment for future projects. Consider the following estimated costs:
- Plastering Trowel: $15-$30
- Joint Compound: $10-$20 per tub
- Putty Knife: $5-$15
- Sandpaper (various grits): $10-$20 for a pack
- Primer and Paint: $20-$50 per gallon
- Drop Cloths and Protective Gear: $10-$30
- Measuring Tape and Level: $10-$25
- Utility Knife: $5-$15
Time Investment:
Time is another critical factor. Assess how much time you can realistically dedicate to the project. Patching plaster can be a weekend project for a small area, but larger sections may require several weekends.
Factor in drying times for the joint compound and paint, as these will add to the overall duration of the project.
Step-by-Step Planning:
Start by assessing the extent of the damage caused by the rewiring. Determine whether it’s a small patch-up job or if entire sections of the wall need repair. A well-defined plan will help you decide the order of operations, from prepping the area to the final coat of paint.
Consider drawing up a schedule that outlines each phase of the project. This can include timelines for removing old plaster, applying joint compound, sanding, and painting. If you are coordinating with electricians or other contractors, ensure their timelines align with yours to avoid delays.
Contingency Planning:
Always include a contingency in your budget and timeline. Unexpected issues such as discovering additional damage or needing more materials than anticipated can arise. Allocating extra time and funds will reduce stress and keep the project on track.
Proper planning and budget management are essential components of a successful DIY project. By considering these factors upfront, you’ll be better equipped to handle challenges and ensure your plaster repair project proceeds smoothly.
Detailed Step-by-Step Guide
Embarking on the task of patching an interior plaster wall after electrical rewiring can seem daunting. However, with a detailed, step-by-step guide, this project can be approached with confidence and precision. Here’s how to achieve a seamless repair:
Step 1: Preparation
Begin by preparing the area:
- Clear the space of any furniture or decor items to prevent damage or obstruction.
- Lay down drop cloths or plastic sheeting to protect flooring from dust and debris.
- Ensure good ventilation to minimize dust accumulation and enhance safety.
- Wear protective gear such as goggles and a dust mask to guard against dust and debris.
Step 2: Assess and Remove Damaged Plaster
Inspect the wall to identify any loose or damaged plaster:
- Gently tap the wall to listen for hollow sounds indicating loose plaster.
- Use a utility knife to cut away damaged sections, ensuring you create clean, straight edges.
- Remove debris and dust from the exposed area to ensure a clean surface for the new plaster.
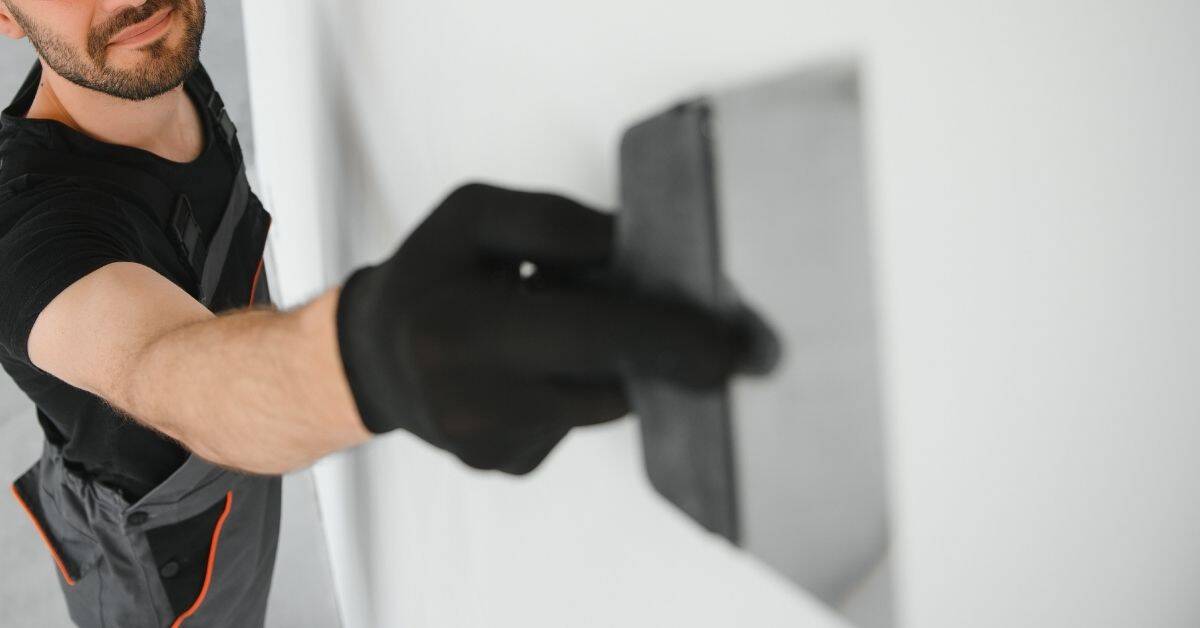
Step 3: Apply Joint Compound
With a putty knife, apply a layer of joint compound to the damaged area:
- Mix the joint compound according to the manufacturer’s instructions for optimal consistency.
- Start from the center and work outward, using smooth, even strokes.
- Feather the edges to blend with the surrounding wall, minimizing the appearance of the patch.
- Allow the compound to dry completely before proceeding, typically 24 hours depending on the product.
Step 4: Sand the Surface
Once the joint compound is dry, sand the surface:
- Use medium-grit sandpaper to smooth out any major imperfections.
- Follow with a fine-grit sandpaper to achieve a perfectly even finish.
- Wipe the area with a damp cloth to remove any dust, ensuring a clean surface for the next coat.
Step 5: Apply a Second Coat
For a professional finish, apply a second, thinner coat of joint compound:
- Repeat the feathering technique to ensure a smooth transition between the patch and the existing wall.
- Use light pressure to avoid removing too much compound while sanding.
- Sand lightly once dry to maintain the smoothness achieved in the previous step.
Step 6: Prime the Area
Apply a coat of primer to the repaired area:
- Choose a primer suitable for plaster and the type of paint you plan to use.
- Apply evenly, covering the entire patched area and slightly overlapping onto the existing wall.
- Allow the primer to dry according to the manufacturer’s instructions, typically several hours.
Step 7: Paint
Finally, paint the repaired area:
- Use a high-quality paint that matches the existing wall color for best results.
- Blend the paint with the rest of the wall, using a brush or roller for even coverage.
- Consider painting the entire wall if the existing paint is old or faded to ensure color uniformity.
- Apply a second coat if necessary for full coverage and a polished look.
By following these steps carefully, you can achieve a seamless and durable repair that will stand the test of time. Each step is designed to ensure that the patch is not only visually appealing but also structurally sound, making it a reliable solution for post-electrical rewiring repairs.
Key Points
- Begin by preparing the area and removing damaged plaster to create a solid base for new plaster.
- Apply and sand joint compound in layers, ensuring a smooth and even finish before priming.
- Finish by painting the repaired area to blend with the rest of the wall, ensuring color uniformity.
Quick Facts
- Approx. Time: The entire process may take approximately 1 to 2 days, allowing for drying times between applying joint compound, primer, and paint.
- Potential Pitfalls: Rushing the drying process of the joint compound or primer can lead to a poor finish. Failing to properly feather the edges of the joint compound can result in visible lines or bumps after painting.
- Best Practice: Allow sufficient drying time as specified by the manufacturer for each layer of joint compound and primer before proceeding to the next step. Use a feathering technique with the putty knife and sandpaper to ensure the edges of the joint compound blend seamlessly with the surrounding wall.
Note: Times, costs, and steps can vary based on local regulations. Always consult manufacturer instructions.

Common Mistakes and How to Avoid Them
While patching an interior plaster wall after electrical rewiring can be a rewarding DIY project, it’s not without its potential pitfalls. Here are some common mistakes to be aware of and tips on how to avoid them:
1. Skipping the Preparation:
One of the most frequent mistakes is neglecting the preparation stage. Failing to remove dust, debris, or loose plaster can result in poor adhesion of the joint compound. Always start with a clean, prepared surface to ensure a successful repair.
2. Applying Too Much Joint Compound:
Less is more when it comes to joint compound. Over-application can lead to uneven surfaces and extended drying times. Apply thin, even layers, and build up gradually if needed, sanding between each coat for a smooth finish.
3. Inadequate Sanding:
Sanding is crucial for achieving a smooth, seamless finish. Many DIYers rush this step, resulting in visible edges or an uneven surface. Use progressively finer grits of sandpaper, and take your time to ensure a flawless finish.
4. Ignoring Primer:
Skipping primer can lead to paint not adhering properly or uneven color distribution. Primer ensures that the paint bonds well with the wall, providing a uniform surface for painting. Always prime after applying the joint compound.
5. Mismatched Paint:
Matching paint can be challenging, especially with older walls. Test paint samples in a discreet area first to ensure a good match, and consider painting the entire wall if necessary to avoid a patchy appearance.
6. Rushing the Process:
Patience is key to a successful repair. Rushing through steps, especially drying times for compound and paint, can compromise the quality of the repair. Plan for ample drying time between each step.
7. Overlooking Safety Measures:
Finally, don’t neglect safety. Always wear protective gear such as goggles and a dust mask, especially when sanding, to protect against airborne particles.
By being aware of these common mistakes and taking steps to avoid them, you can improve the quality of your plaster wall repair. A careful, methodical approach will yield the best results, ensuring your wall looks as good as new after the rewiring project.
Why This Method Works Best
Choosing the right method to patch interior plaster walls after electrical rewiring is crucial to ensuring a seamless and durable repair. The approach outlined here is highly effective for several reasons:
1. Comprehensive Preparation:
The method begins with thorough preparation, which sets the foundation for a successful repair. By cleaning the surface and removing any loose plaster, you ensure that the joint compound adheres properly and the final finish is smooth and secure.
2. Layered Application:
Applying the joint compound in thin, successive layers allows for greater control and precision. This technique minimizes the risk of over-application, reduces drying times, and ensures each layer is properly sanded before the next is applied, resulting in a flawless surface.
3. Emphasis on Sanding:
Sanding between each layer is emphasized in this method, which is key to achieving a seamless finish. By using progressively finer sandpaper, you can eliminate ridges and imperfections, ensuring the patched area blends perfectly with the existing wall.
4. Importance of Priming:
The inclusion of a primer step is critical. Primer not only helps paint adhere better but also ensures color consistency and a professional appearance. This step is often overlooked, but it plays a vital role in the longevity and aesthetic quality of the repair.
5. Flexibility in Paint Matching:
This method allows for flexibility when it comes to paint matching. By emphasizing the importance of testing paint samples and potentially repainting entire walls, it ensures that the final appearance is cohesive and visually appealing.
6. Consideration of Common Mistakes:
By addressing common pitfalls and providing solutions, this method helps avoid issues that can compromise the repair. This proactive approach not only enhances the quality of the work but also builds confidence in those undertaking the project.
In summary, this method combines thorough preparation, careful application, and attention to detail, which are all crucial elements in achieving a professional-quality repair. It is designed to be accessible to DIYers while ensuring that the final outcome is both durable and aesthetically pleasing. By following these guidelines, you can confidently restore your interior plaster walls to their original condition, even after the disruption of electrical rewiring.
Quick Facts
- Approx. Time: The method described may take several days to complete due to the need for drying time between each layer of joint compound and for the primer and paint to properly set. Expect to spend a few hours each day actively working on the project, with waiting periods in between.
- Pitfalls: Over-application of joint compound, which can lead to uneven surfaces and extended drying times. Skipping the primer step, which can result in poor paint adhesion and inconsistent color.
- Tip: Apply joint compound in thin layers and allow each layer to dry completely before sanding and applying the next. This minimizes the risk of over-application and ensures a smooth finish., Always use primer before painting to ensure proper paint adhesion and a consistent finish.
Note: Times, costs, and steps can vary based on local regulations. Always consult manufacturer instructions.
Extra Advice and Alternative Methods
While the outlined method for patching interior plaster walls after electrical rewiring is effective, there are always alternative approaches and additional tips that can enhance the process. Here’s some extra advice to consider:
1. Use of Plaster Patch Kits:
If you’re looking for a more straightforward solution, consider using a plaster patch kit. These kits come with pre-mixed plaster, and tools specifically designed for small repairs, making them ideal for minor damage.
2. Consider Hiring a Professional:
For those who are uncomfortable with DIY repairs or have extensive damage, hiring a professional might be the best course of action. Professionals have the experience and tools needed to ensure a high-quality finish, particularly for large-scale projects.
3. Use of Mesh Tape:
To reinforce the joint compound, especially in larger areas, consider using mesh tape. Apply the tape over the joints or seams before applying the compound to add strength and prevent cracking.
4. Textured Finishes:
For those who want to match a textured wall finish, there are specific techniques and tools that can replicate various textures. Experiment with sponges, brushes, or special rollers to achieve the desired effect.
5. Eco-Friendly Materials:
Consider using eco-friendly materials that are low in VOCs (volatile organic compounds), which are better for both your health and the environment. Many brands now offer green alternatives for joint compounds and paints.
6. Advanced Techniques:
For the more adventurous DIYer, there are advanced techniques such as Venetian plaster or lime plastering, which can offer unique finishes and effects. These techniques often require additional tools and expertise but can be rewarding for those willing to invest the time to learn.
7. Continuous Learning:
Lastly, consider taking a workshop or watching detailed tutorials online. Continuous learning can improve your skills and confidence, making future projects even more successful.
While the standard method is reliable and effective, exploring these additional tips and alternative methods can provide flexibility and personalization to your project. Whether you opt for a simple patch kit or delve into advanced techniques, there’s a solution to fit every skill level and aesthetic preference. The key is to choose the method that best aligns with your capabilities and desired outcome.
Conclusion
In conclusion, successfully patching interior plaster walls after electrical rewiring requires a strategic approach that encompasses preparation, precision, and patience. By gathering the right tools and materials, such as a plastering trowel, joint compound, and protective gear, you lay the foundation for a professional-quality repair. The outlined method emphasizes the importance of thorough preparation, layered application of materials, and careful sanding to achieve a seamless finish.
These steps not only ensure the durability of your repair but also maintain the aesthetic integrity of your living space.
Creative solutions, such as using mesh tape for reinforcement or exploring textured finishes, can enhance the outcome, offering both strength and visual appeal. Additionally, considering eco-friendly materials contributes to a healthier environment and aligns with modern sustainability practices. These insights allow for a personalized touch, catering to individual preferences and project requirements.
The process, while straightforward, demands attention to detail and adherence to each step to avoid pitfalls like uneven surfaces or mismatched paint.
Despite its apparent simplicity, this project is not without challenges. Potential pitfalls include over-application of joint compound, inadequate sanding, or neglecting the priming step, all of which can compromise the final result. Rushing through drying times can also lead to poor adhesion and finish, emphasizing the need for patience.
Moreover, matching paint colors, especially on older walls, requires careful selection and testing to ensure a consistent appearance. These challenges, while daunting, are surmountable with methodical planning and execution.
For those less confident in their DIY skills, alternative methods such as using plaster patch kits or hiring professionals offer viable solutions. These options ensure a high-quality finish without the stress of potential mistakes. Engaging in continuous learning through workshops or online tutorials further enhances skill development, making future projects more successful.
By embracing these resources and insights, you can mitigate challenges and achieve a repair that upholds both form and function.
Ultimately, this project empowers homeowners to take control of their living spaces, transforming potential eyesores into seamless features. As you embark on your plaster wall repair, remember to prioritize safety, consult local codes if necessary, and adhere to manufacturer instructions. Consider the outlined method not just as a task, but as an opportunity to enhance your home’s aesthetic and structural integrity.
Take action today, and enjoy the satisfaction of a job well done, knowing you’ve not only repaired a wall but also gained valuable skills for future home improvement endeavors.
Quick Facts
- Time Needed: Approximately 1 to 2 days, accounting for drying times between applying joint compound, primer, and paint.
- Common Pitfalls: Over-application of joint compound leading to uneven surfaces, skipping the primer step resulting in poor paint adhesion, and mismatched paint colors.
- Best Practice: Ensure each layer is applied thinly and dries completely before proceeding, and always use primer before painting to achieve a seamless and durable finish
FAQ
Question 1: What tools are essential for patching an interior plaster wall after rewiring?
To patch an interior plaster wall, you’ll need a plastering trowel, joint compound, putty knife, sandpaper, primer, and paint. Additional items like a utility knife, measuring tape, and protective gear are crucial for precision and safety.
Question 2: How much time should I allocate for the entire repair process?
The repair process typically takes 1 to 2 days, considering the drying times needed for joint compound, primer, and paint. It’s important to allow each layer to dry completely before proceeding to the next step to ensure a quality finish.
Question 3: What are common mistakes to avoid during the repair?
Common mistakes include skipping the preparation stage, over-applying joint compound, inadequate sanding, and ignoring the primer step. Each of these can lead to poor adhesion, uneven surfaces, and a lackluster finish, so take care to follow each step thoroughly.
Question 4: Is hiring a professional necessary for this type of repair?
While many DIY enthusiasts can successfully complete this repair, hiring a professional may be beneficial for extensive damage or if you lack confidence in your skills. Professionals can ensure a high-quality finish, especially for larger-scale projects