

Key Takeaways
- Concrete sealer and diamond polishing pads are essential for protecting and achieving a smooth finish on a concrete fireplace.
- Key milestones in renovating a fireplace include assessment, design, material procurement, structural modifications, and final touches.
- A polished concrete fireplace offers durability, low maintenance, and versatility, making it a cost-effective and eco-friendly choice for modern homes.
Introduction
Concrete, traditionally associated with industrial environments, has found its way into home design as a fashionable choice for fireplace finishes. Imagine unwinding in your living room, where the gentle dance of flames is mirrored by a smooth, polished concrete surface. This refined appearance enhances visual allure while offering durability and low maintenance.
Whether you’re converting a raw, gray structure into a contemporary showpiece or choosing a design that’s both practical and stylish, mastering the art of polishing a vertical concrete fireplace can infuse an elegant touch into any home.
Essential Materials for a Sleek Concrete Fireplace
Achieving a modern, polished finish on your vertical concrete fireplace requires a precise set of materials and tools. This selection is critical not only for achieving a sleek finish but also for ensuring your fireplace’s longevity and durability. Here’s the list you need:
- Concrete Sealer: A high-quality sealer is essential to protect your polished surface from stains and moisture. Opt for a penetrating sealer for better protection and longevity.
- Diamond Polishing Pads: These are vital for creating a smooth, glossy finish. Ensure you have various grit levels, from coarse to fine, to progressively polish the concrete surface. A typical range might include 50-grit, 100-grit, 200-grit, 400-grit, 800-grit, and 1500-grit.
- Grinders or Polishers: A handheld concrete grinder or polisher is necessary for effectively applying the polishing pads. Opt for a variable-speed model for better control, which can cost anywhere from $100 to $300 depending on the brand and features.
- Protective Gear: Safety goggles, dust masks, and gloves are vital to protect yourself from dust and debris during the polishing process. Look for dust masks rated N95 or higher for adequate protection.
- Concrete Filler or Patching Compound: Useful for repairing any imperfections or holes in the concrete before you begin polishing. A small tub can cost around $10 to $20.
- Microfiber Cloths: For cleaning and wiping down surfaces to remove dust and polish residue. These are typically inexpensive, around $5 to $10 for a pack.
Gathering these materials sets the stage for a successful and satisfying DIY project, resulting in a stunning concrete fireplace finish. Note: Times, costs, and steps can vary based on local codes. Always follow manufacturer instructions.
Sourcing and Cost Details
- Sourcing: Most of these materials can be sourced from local hardware stores, home improvement centers, or online retailers. For specialty items like diamond polishing pads, consider looking at stores that specialize in masonry or stonework supplies.
- Cost Details: The overall cost for materials can vary widely based on the size of the fireplace and the quality of materials chosen. A rough estimate might be:
- Concrete Sealer: $30 to $50 per gallon
- Diamond Polishing Pads: $50 to $150 for a set
- Grinders or Polishers: $100 to $300
- Protective Gear: $20 to $50
- Concrete Filler: $10 to $20
- Microfiber Cloths: $5 to $10
Alternative Materials
- Alternative Sealers: If a high-gloss finish is not desired, consider using a matte or satin finish sealer for a more subdued look.
- Eco-friendly Options: Look for eco-friendly or low-VOC sealers and fillers to reduce environmental impact.
- Polishing Alternatives: If the budget is a concern, manual polishing pads can be used instead of powered polishers, though they require more labor and time.
Key Points
- Concrete Sealer for protection against stains and moisture.
- Diamond Polishing Pads for a smooth, glossy finish with various grit levels.
- Grinders or Polishers for applying polishing pads, preferably variable-speed for better control.
Quick Facts
- Approx. Time: The time required to complete a sleek concrete fireplace project can vary based on experience and the complexity of the design, but generally, it might take several days to a week to ensure proper curing, polishing, and sealing.
- Pitfalls: Common pitfalls include not allowing sufficient curing time for the concrete, using the wrong grit level on polishing pads leading to an uneven surface, and neglecting to apply a high-quality sealer which can result in moisture damage.
- Tip: Ensure all surfaces are properly prepared and any imperfections are filled before polishing. Use a range of diamond polishing pads, starting from coarse to fine, for a uniform finish. Always wear protective gear to prevent inhalation of dust and protect against debris.
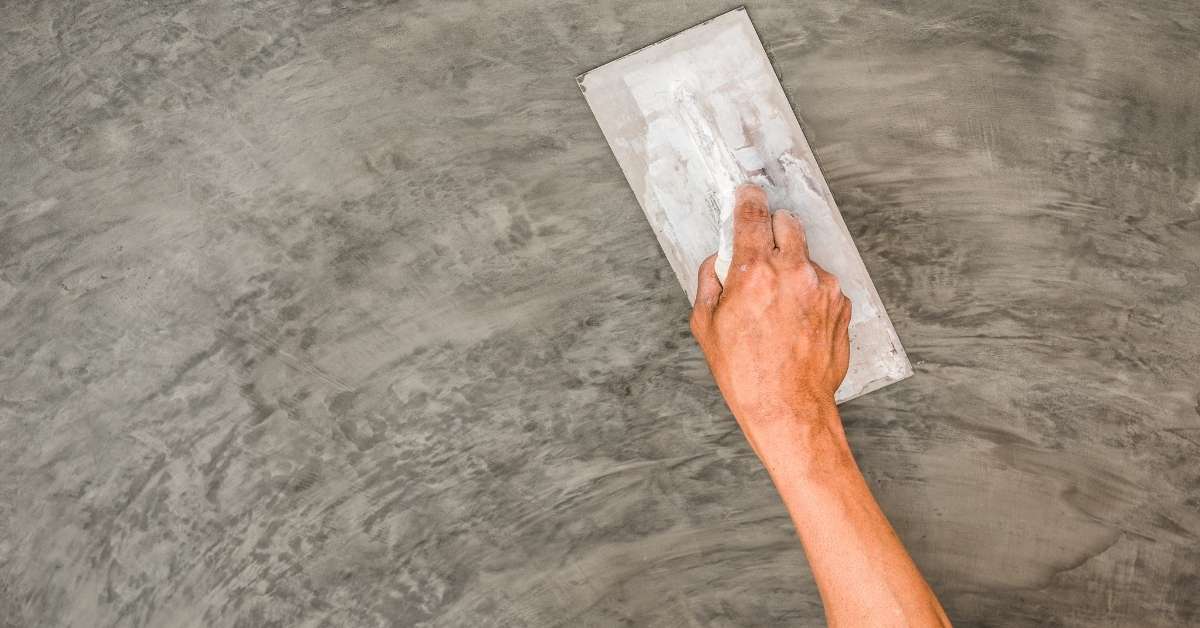
Key Milestones in Your Fireplace Renovation Journey
Starting a fireplace renovation is both exciting and challenging. To make sure a smooth journey, identifying and planning for key milestones is important. These guideposts will keep you on track and help you achieve the desired outcome for your modern vertical concrete fireplace.
- Assessment and Planning: Begin by assessing the current condition of your fireplace. Identify any structural issues or design changes you wish to make. Planning is crucial at this stage; decide on the style, materials, and budget.
- Design and Conceptualization: Visualize the final look. Consider whether you want a minimalist design or something more elaborate. Create sketches or mood boards to clarify your vision.
- Material Procurement: Gather all necessary materials and tools. Ensure you have everything on hand before starting the renovation to prevent delays.
- Structural Modifications: If your renovation involves changes to the structure, such as resizing or reshaping, address these early in the process.
- Concrete Application and Curing: If applying new concrete, ensure proper application and curing. This step is vital for achieving a sturdy and smooth surface.
- Polishing and Finishing: With the concrete cured, begin the polishing process. Progress through different grits to achieve the desired finish.
- Final Touches and Inspection: Apply the sealer and inspect your work for any imperfections. Touch up as necessary to ensure a flawless finish.
By keeping these milestones in mind, your fireplace renovation will be a rewarding project that adds value and aesthetic appeal to your home.
Step-by-Step Guide to a DIY Concrete Fireplace Polish
Polishing a vertical concrete fireplace yourself can be a fulfilling project, transforming a simple fixture into a centerpiece of modern elegance. Here’s a step-by-step guide to help you achieve a professional polish:
- Preparation:
- Begin by removing any furniture or items around the fireplace to ensure a clear workspace.
- Thoroughly clean the fireplace surface using a stiff brush and a vacuum to eliminate dust and debris.
- If the surface is greasy or has stubborn stains, apply a degreaser and scrub with a nylon brush.
- Rinse with clean water and allow the surface to dry completely. This step is crucial to ensure that the polish adheres properly.
- Patch and Repair:
- Inspect the concrete for any visible cracks, holes, or imperfections.
- Use a concrete filler or patching compound to fill these areas. Follow the manufacturer’s instructions for mixing and application.
- Allow the patching material to dry as per the recommended time, typically 24 hours, to ensure a stable surface for polishing.
- Initial Grinding:
- Equip a grinder with a coarse diamond pad (around 30-40 grit) to start smoothing the surface.
- Work in small sections, applying even pressure to avoid gouging the concrete.
- Check the surface regularly to ensure uniformity and address any remaining rough patches.
- Progressive Polishing:
- Switch to a medium grit pad (around 80-120 grit) and continue polishing the entire surface.
- Move methodically across the fireplace, maintaining consistent pressure and overlapping passes to ensure even coverage.
- Gradually progress to finer grit pads (200, 400, 800, etc.), making sure to thoroughly polish with each grit level before moving to the next.
- Final Polishing:
- For the final polish, use the finest grit pad available (1500 grit or higher).
- Focus on bringing out the natural shine and texture of the concrete, highlighting its beauty.
- Inspect the surface under good lighting to ensure no areas are missed.
- Sealing:
- Once satisfied with the polish, apply a high-quality concrete sealer using a roller or sprayer.
- Ensure even application, avoiding puddles or drips. This step protects the surface from stains and enhances the finish.
- Allow the sealer to cure as per the manufacturer’s instructions, usually 24-48 hours.
- Buffing:
- Finally, buff the sealed surface with a microfiber cloth or a power buffer.
- This step adds an extra layer of shine and smoothness, enhancing the overall appearance of the fireplace.
By following these steps, you’ll be able to create a polished concrete fireplace that adds a sophisticated touch to your living space.
Key Points
- Begin by thoroughly cleaning the fireplace surface, repairing any cracks with concrete filler, and ensuring it is dry before polishing.
- Use a grinder with progressively finer grit pads for polishing, starting with a coarse diamond pad and moving to the finest grit for a smooth finish.
- Seal the polished concrete to protect it and enhance the glossy finish, then buff with a microfiber cloth for added luster.
Quick Facts
- Approx. Time: The entire process of polishing a concrete fireplace can take several hours to a full day, depending on the size of the fireplace and the condition of the concrete.
- Potential Pitfalls: Common pitfalls include not cleaning the surface thoroughly before starting, neglecting to repair cracks or holes, skipping grit levels during polishing, and failing to apply a sealer after polishing which can lead to stains and a lackluster appearance.
- Best Practice: Ensure thorough cleaning and drying of the surface before starting. Follow a systematic approach with progressive grit pads, and apply a quality sealer to protect the finish. Lastly, buffing with a microfiber cloth enhances the glossy appearance.
Note: Time