
Introduction
Priming “problem woods” means using the right sealer or primer and prep so knots, sap, and pitch in pine and cedar don’t bleed through your finish. In plain terms: clean, sand, spot-treat bleeding areas, then use a primer compatible with the topcoat and with stain-blocking properties; check the product label and manufacturer’s instructions for compatibility. This keeps your paint or varnish from discoloring and failing later.
Think of it like patching a leaky roof before you paint—do the prep work or the finish won’t last. If you see fresh sap, dark knot stains, or sticky areas, test an approach on scrap and follow product directions or consult local guidance for best results.
Key takeaways
- Identify knots, sap, and pitch bleed early to plan priming routes.
- Use blocking primers designed for knotty woods to reduce stain migration.
- Surface prep matters: clean, dry, seal knots; wear PPE during work.
- Exterior projects require breathable sealers to balance moisture and bleed risk.
- Follow manufacturer instructions for primers, and verify local code compliance.
- If pitch bleeds through, stop, reseal, and reassess substrate before repaint.
Table of Contents
- Introduction
- Key takeaways
- Understanding Knots, Sap, and Pitch: What Makes Pine and Cedar Problem Woods
- How Pitch Bleed and Knots Interfere with Priming and Paint Performance
- Primer Selection: Blocking Products and Trade-Offs
- Surface Preparation: Cleaning, Sanding, and Sealing Knots
- Step-by-Step Priming Workflow for Interior and Exterior Projects
- Troubleshooting Pitch Bleed After Priming and Painting
- Long-Term Prevention and Maintenance Strategies
- Testing, Visual Checkpoints, and Real-World Case Studies
- Conclusion
- FAQ
Understanding Knots, Sap, and Pitch: What Makes Pine and Cedar Problem Woods
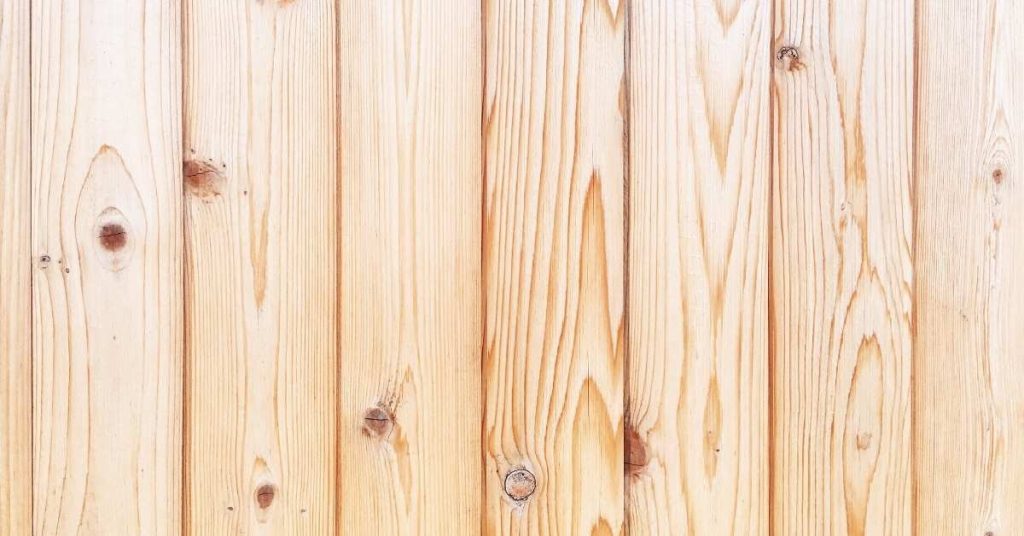
Knots, sap pockets, and pitch are parts of a tree’s anatomy where branches met the bole or where resin accumulated; their structure and chemistry differ from the surrounding heartwood and sapwood. These differences affect how liquids and coatings interact with the wood, so a knot often behaves like a separate material under paint.
The amount and activity of sap and pitch vary with species, season, and how the timber was milled and stored, so two boards of the same nominal species can perform very differently. When in doubt, inspect the piece and consult the lumber supplier or product information to understand likely behavior before choosing a finish approach.
What knots are and how they affect finishes
Knots aren’t just decorative features; they’re where branches once grew. They can move or release oils, causing issues with primers and topcoats.
Green (unseasoned) wood has more moisture. When it dries, knots shrink. This can cause them to loosen, fall out, or even crack the surrounding wood.
Knots also hold oils that can bleed into finishes. This can discolor paint and make stain look patchy.
Tip: Always prime knots before painting to seal in any oils.
Sap and pitch vs tannins: chemical behaviors
Sap and pitch are sticky resins that protect the wood. Tannins, on the other hand, are natural dyes.
Sap and pitch can bleed into finishes, causing discoloration or even breaking down the finish over time. This is more common in green (unseasoned) wood.
Tannin migration happens when tannins leach out of the wood and stain nearby surfaces. This can cause discoloration but doesn’t usually break down the finish.
Tip: Always use a primer that blocks tannins to prevent discoloration.
Differences between pine and cedar in bleed risk
Pine has more resin than cedar, making it more prone to bleeding. It also tends to have more knots, which can cause additional issues.
Cedar, however, is more prone to tannin migration due to its natural dyes. This can cause discoloration in finishes.
Both species are affected by seasonal changes and wood moisture content. Green (unseasoned) wood has a higher risk of bleeding or tannin migration.
Tip: Always use a primer designed for the specific species you’re working with to minimize risks.
How Pitch Bleed and Knots Interfere with Priming and Paint Performance
Pitch and knot exudates can migrate through a primer and discolour or soften the topcoat, and they can prevent good adhesion where the coating can’t bond to or penetrate the oily material. Visually this often shows as yellowing, brown streaks, blistering, or localized peeling concentrated around knot areas.
Understanding these failure modes helps you focus inspection and testing—look for early signs on a small primed area and refer to the primer’s technical data for compatibility notes. If unsure about what a product will block, perform a controlled test on scrap from the same board before committing to a full application.
Staining and discoloration mechanisms
Pitch, sap, and tannins in pine and cedar are soluble compounds that can migrate through primers and paints. This causes visible stains over time.
Oils from these woods can also bleed to the surface, leading to discoloration. You might see this as a yellow or brownish tint on your paint job.
These stains can happen even if you’ve primed the wood first. The problem is that primers aren’t always strong enough to stop these compounds from migrating.
Adhesion loss and film breakdown
Oils and resins in pine and cedar can prevent proper film formation when you apply paint. This means your paint might not stick as well to the wood.
Over time, this can lead to issues like peeling, blistering, or flaking. You’ll see these as bubbles under your paint or sections that lift off easily.
These problems happen because the oils and resins interfere with how the paint dries and adheres to the wood surface.
Primer Selection: Blocking Products and Trade-Offs
Primers used for knots and pitch include solvent-based shellacs, oil-based block primers, and specially formulated waterborne stain-blocking primers, each with different blocking chemistry and compatibility with topcoats. The right choice depends on the substrate condition, the expected exposure, and what finish system you plan to use over it.
Check product labels or data sheets for claims about pitch, knot, or tannin blocking and for recommended topcoat compatibility, and be prepared to test where manufacturers’ claims don’t directly match your materials. Consider trade-offs such as smell, drying and cleanup method, and how the primer bonds to previously coated or weathered wood.
Shellac-based primers: when they work best
Shellac-based primers are your go-to for rapid blocking of knots, sap, and pitch bleed. They’re quick-drying and seal surfaces fast.
Pros: Quick blocking, seals surfaces rapidly, compatible with many topcoats.
Cons: Solvent-sensitive, not ideal for humid conditions, recoat compatibility can be tricky.
Use them when you need to stop bleed fast and have a compatible topcoat. Not great in high humidity or where recoating might be needed soon.
Oil-based and alkyd primers: strengths and caveats
Oil-based and alkyd primers offer excellent adhesion and longer open times, giving you more working time.
Pros: Good adhesion, longer open times for better application, compatible with many topcoats.
Cons: Slow drying time, cleanup requires mineral spirits or paint thinner, not ideal for high-traffic areas due to slow cure.
These primers are great when you need good adhesion and have the time to wait for them to dry. Not so much in areas where quick drying is needed or traffic can’t be avoided.
Waterborne and specialty blocking primers
Newer waterborne formulations offer low VOCs and easier cleanup. Specialty primers target specific issues like severe bleed or tannin stains.
Pros: Low VOC emissions, easy cleanup with just soap and water, targeted solutions for specific problems.
Cons: May not block as quickly as solvent-based options, some specialty primers can be expensive.
Use these when you need low VOC emissions, easy cleanup, or a primer tailored to your specific problem. They might take longer to block and cost more than other options.
Surface Preparation: Cleaning, Sanding, and Sealing Knots
Good preparation starts with removing excess sap, dirt, and loose fibers; cleaning with an appropriate solvent or detergent and sanding back to solid wood around knots reduces the amount of exudate left to migrate. For active sap, mechanical removal plus a compatible cleaning agent can materially lower bleed risk before priming.
After cleaning and sanding, selectively sealing problem knots with an appropriate sealant or a spot coat of blocking primer can stop residual pitch from passing into full-field primers. Always follow product and safety guidance for solvents and sealers, and test a small area when you’re unsure how the material will react.
Removing fresh sap and pitch safely
Fresh sap and pitch can be tacky, making it hard for paint to stick. Here’s how to remove them safely:
Solvent approach: Use a solvent like mineral spirits or denatured alcohol. Apply with a cloth, let it soak in, then wipe off. Be careful – solvents are flammable.
Detergent approach: For less sticky sap, use a mild detergent and warm water. Scrub gently, rinse, and let dry. Always test on a scrap area first to ensure no damage or discoloration.
Ventilation and PPE: Work in a well-ventilated area. Wear gloves and eye protection. If using solvents, keep them away from heat sources and open flames.
Smoothing, feathering, and filling around knots
Knots can cause uneven surfaces. Here’s how to prep them:
Sanding: Lightly sand around knots to expose stable wood. Use a fine-grit sandpaper (120-220) to avoid damaging the wood.
Feathering: If knots are raised, use a sharp chisel or knife to carefully shave them down to the surrounding surface level.
Filling: For recessed knots, use a compatible filler or backer material. Apply with a putty knife, let dry, then sand smooth. Prime filled areas separately to ensure adhesion.
Moisture, timing, and substrate readiness
Priming wet or unstable wood can lead to problems later on. Here’s what to check:
Wood moisture content: Use a moisture meter to ensure the wood is dry (ideally below 12% for paint). If it’s too high, let it dry naturally or use dehumidifiers.
Timing: Prime when conditions are right. Avoid priming during wet weather or when temperatures are too low (below 50°F/10°C) as per your primer’s instructions.
Substrate readiness: Ensure the wood is clean, dry, and free of contaminants. Sand lightly to open pores for better primer adhesion. Always follow the manufacturer’s guidelines for best results.
Step-by-Step Priming Workflow for Interior and Exterior Projects
Start with inspection and prep—clean, sand, and stabilize knots—then do a small compatibility test with the chosen primer and topcoat system before proceeding to larger areas. For spot repairs, prime the sealed knot area first; for full exterior surfaces, work in manageable sections and keep track of wet edges and environmental conditions specified by the product you use.
Include checkpoints: confirm adhesion and stain blocking on test areas, allow manufacturer-recommended cure before topcoating, and use compatible topcoats noted on the primer’s documentation. If any test fails, reassess primer choice or prep methods rather than moving forward across the whole surface.
Step-by-Step Process
This section walks you through the complete priming workflow for both interior and exterior projects, from prep to finish.
- Preparation: Safety first. Put on gloves, goggles, and a respirator. Cover nearby surfaces with drop cloths.
- Surface Check: Inspect wood for any signs of moisture or damage. Ensure it’s dry and ready for priming.
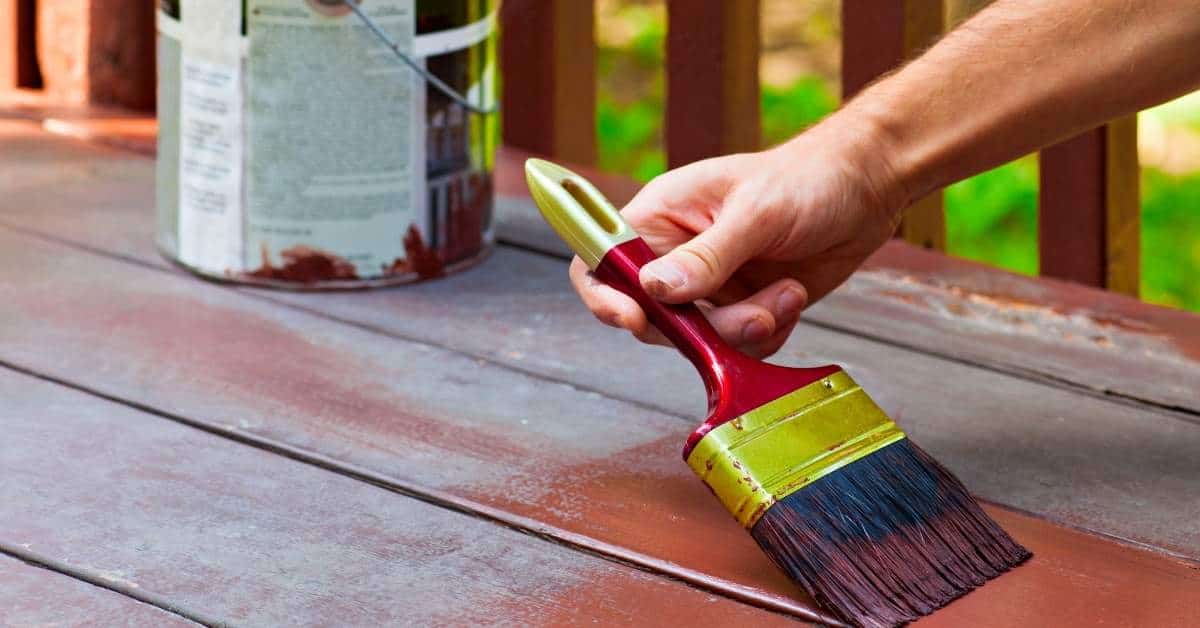
- Main Work: Apply primer using a brush or roller, following the grain of the wood. Use even strokes, maintaining a consistent wet edge.
- Drying Time: Allow primer to dry according to product instructions. This usually takes 1-2 hours but can vary.
- Final Checks: Inspect primed surface for any missed spots or imperfections. Lightly sand if necessary and wipe clean before topcoating.
Quick repair workflow for isolated knots
For small repairs, follow this quick guide to spot-clean, prime, and finish the area.
Step 1: Clean the knot. Use a damp cloth with mild soap to remove any dirt or residue. Let it dry completely.
Step 2: Apply blocking primer. Using a small brush, apply a thin layer of blocking primer directly onto the knot and surrounding area. This seals the wood and prevents tannin bleed.
Step 3: Finish the repair. Once the primer is dry (usually 1-2 hours), lightly sand if needed, then paint or stain as desired.
Full-surface prep and priming for siding or paneling
For large-scale projects like siding or paneling, follow these scalable steps to ensure a smooth finish.
Step 1: Clean the surface. Use a pressure washer or a stiff-bristle brush with soapy water to remove dirt and debris. Allow it to dry completely.
Step 2: Lightly sand. Using fine-grit sandpaper, lightly sand the entire surface to smooth out any rough spots. Wipe clean with a damp cloth.
Step 3: Prime the surface. Apply an appropriate blocking primer using a roller or sprayer, following the grain of the wood. Ensure even coverage and maintain a consistent wet edge.
Recoat and topcoat compatibility checks
Before applying your topcoat, ensure you follow these guidelines for recoating and perform an adhesion test to avoid any issues.
Step 1: Follow label directions. Always adhere to the manufacturer’s recommendations for recoat times. This is usually 24-48 hours but can vary.
Step 2: Perform an adhesion test. Before applying your topcoat, perform a small adhesion test in an inconspicuous area. Use a sharp object to lightly scratch the surface and apply painter’s tape. Pull off the tape after 30 minutes to check for any primer lifting.
Step 3: If all checks pass, proceed with topcoating. Once you’ve confirmed that your primer is dry and adheres well, apply your topcoat as directed by the manufacturer.
Troubleshooting Pitch Bleed After Priming and Painting
If pitch shows through after painting, inspect for common causes: insufficient prep, primer incompatibility, or active sap that wasn’t fully stabilized; look for localized staining, soft spots, or areas where the topcoat is lifting. Narrow down whether the issue is isolated or widespread to determine if a spot repair or a larger corrective action is needed.
Remedies range from spot sanding and re-sealing the affected knots to stripping and re-priming larger areas with a different blocking product—always test the chosen fix on a small patch first. When in doubt, review the paint and primer technical guidance or consult the manufacturer for recommended remediation steps.
How to tell if bleed is active or residual
Pitch bleed can leave behind a sticky residue that might seem like it’s still active. Here’s how to tell the difference:
Active bleed: Feels tacky to touch, often with visible wetness or glossiness. It may also have a strong pine scent.
Residual bleed: Dull and dry to touch, no visible wetness or gloss, and little to no smell. It’s trapped under the coating but not causing further issues.
Remediation techniques: spot-sealing, sanding, or removal
Before you decide on a fix, test each method on a small area first. Here’s how:
Spot-sealing: Apply a thin layer of shellac-based primer directly onto the bleed spots. Let it dry and observe for further bleeding.
Sanding: Lightly sand the affected areas, then apply a new coat of primer. This may help if the bleed is minor but not severe enough to warrant full removal.
Removal: If bleeding is widespread or severe, strip off the existing primer and paint, clean the surface, and start fresh with proper sealing and priming.
When a full redo is necessary
Sometimes, troubleshooting pitch bleed leads to one conclusion: starting over. Here’s when:
Widespread adhesion loss: If large areas of primer or paint are peeling off, it’s a sign that the bleed has compromised the bond.
Recurrent bleeding: Even after spot treatments, if the bleed keeps coming back in the same spots, it’s time for a full redo.
Failure to test: If you’ve tried spot treatments and they haven’t worked, or you haven’t tested them properly, don’t risk further damage – strip and start again.
Long-Term Prevention and Maintenance Strategies
Prevention combines selecting compatible primers and topcoats, designing details to keep moisture and direct heat away from vulnerable areas, and using flashing or trim where exterior exposure accelerates pitch migration. Routine inspections and touch-ups at early signs of bleed can keep small problems from becoming large failures.
For long-term success, document the products and methods that worked on each project and schedule periodic checks of exterior wood after seasonal changes that may mobilize pitch. If you need precise product performance expectations, consult manufacturers’ technical literature and local building guidance before making long-term choices.
Design and installation details that limit bleed risk
When building or renovating, consider these design aspects to minimize pitch bleed. It’s all about keeping your wood dry and happy.
Trim Details: Use wide trim pieces at the top of walls to direct water runoff away from the siding. This helps prevent moisture buildup that can cause resin movement.
Flashing: Install flashing behind all exterior corners, windows, and doors. Flashing creates a barrier that stops water from getting trapped in your walls or under your siding.
Drainage: Ensure proper drainage around your foundation. This prevents moisture from wicking up into your wood framing and causing problems later on.
Routine inspection and timely touch-ups
Regular inspections help catch pitch bleed early, preventing bigger issues down the road. Here’s a simple checklist to follow:
- Check for moisture: Look for water stains or soft spots on your wood. These could indicate trapped moisture.
- Inspect caulking and sealants: Ensure they’re intact and not cracking or peeling, which can let water in.
- Examine trim and flashing: Make sure they’re secure and not damaged, allowing water to get behind them.
- Check for warping or cupping: These signs indicate moisture problems that could lead to pitch bleed.
- Inspect paint or stain finish: Check for bubbles, peeling, or cracking. These can let water in and cause resin movement.
- Look for active knots: If you see fresh sap or pitch, it’s time for a quick repair (see our earlier section on this).
- Examine exterior corners: Ensure they’re well-protected with flashing and caulking to prevent water intrusion.
- Check around windows and doors: These areas are common trouble spots. Make sure they’re properly flashed and sealed.
Quick rule: Inspect your woodwork annually, or after any major storm or weather event. Catching issues early saves you time and money in the long run.
Testing, Visual Checkpoints, and Real-World Case Studies
Simple tests—such as priming a scrap piece, performing an adhesion tape test, or subjecting a test patch to local environmental conditions—are effective low-tech ways to predict how a wood and primer combination will behave. Establish a set of visual checkpoints like color change, gloss differences, and edge lifting to evaluate success during and after curing.
Keeping short case notes on what you tested, what failed, and what fixed the problem helps replicate successes and avoid repeat mistakes on future jobs. When next to an unfamiliar material, repeat the same tests and document outcomes so you build a reliable reference for that species and supplier.
Small-area tests and mock-ups
Before diving into full-scale priming, test primer compatibility and bleeding behavior on a small area.
- Prepare test patch: Choose an inconspicuous spot. Clean, sand, and prime a 2’x2′ section.
- Observe sheen change: Check if primer’s sheen matches your expectations after drying.
- Check for immediate bleed: Look for any signs of pitch or sap bleeding through within the first hour.
- Monitor over time: Keep an eye on the patch for the next few days to see if bleeding occurs later.
- Test paint adhesion: Lightly scratch primed area with a nail. Apply a small amount of paint, let dry, then try to peel it off.
- Observe paint finish: Check for any discoloration or poor coverage after painting.
- Replicate conditions: Make sure test patch mimics your project’s conditions (e.g., temperature, humidity).
- Document results: Note down observations and outcomes for future reference.
Quick rule: If the test patch passes all checks, proceed with confidence. If not, troubleshoot or try a different primer.
Visual quality checkpoints during the project
Regularly inspect your work for signs of bleeding and primer performance issues.
- Check sheen consistency: Ensure primer’s sheen remains consistent across the surface. Inconsistencies may indicate bleed or poor adhesion.
- Look for discoloration patterns: Dark spots or rings could signal active bleeding.
- Inspect sanded areas: Check if sanding has exposed fresh pitch or sap that wasn’t apparent before.
- Observe primer-paint interaction: Watch how paint behaves on primed surface. Poor coverage or discoloration might indicate bleed.
- Check corners and joints: These areas are prone to bleeding due to increased pressure.
- Monitor temperature changes: Warmer temperatures can cause pitch/sap to move, leading to bleed.
- Inspect after rain or humidity change: Increased moisture can trigger bleed in problem woods.
- Examine edges and ends: These spots are particularly vulnerable to bleeding due to lack of restraint.
Quick rule: Address any visual issues promptly. Catching problems early prevents costly rework.
Short before-and-after case examples
Learn from these real-life scenarios to make informed decisions on your project.
- Case 1 – The Overlooked Knot: *Problem:* A homeowner missed a large knot while prepping. *Treatment:* Applied spot primer and sealant before painting. *Outcome:* No bleed, good paint finish.
- Case 2 – The Humidity Trigger: *Problem:* Bleed occurred after a rainstorm on an exterior project. *Treatment:* Sanded, primed again, and painted affected areas. *Outcome:* Problem resolved, no further bleeding.
- Case 3 – The Full Redo: *Problem:* Significant bleed was discovered after painting. *Treatment:* Removed paint, sanded, re-primed, and repainted. *Outcome:* Successful result, but time-consuming process.
- Case 4 – The Quick Fix: *Problem:* Minor bleed spots appeared post-painting. *Treatment:* Spot-sanded, applied touch-up primer, and repainted. *Outcome:* Problem solved with minimal effort.
Quick rule: Every project is unique. Use these cases as guidelines, not strict rules.
Conclusion
You’ve got a practical path to durable, good-looking finishes on pine and cedar. The core is controlling moisture, stopping bleed, and choosing the right primer so the wood can hold paint without peeling or staining through.
First, verify moisture and knot conditions on the actual boards, then select a blocking primer suited for pine and cedar, and always test a small area before committing. Clean, sand, and seal knots, apply primer in the recommended order, let it cure, and recheck for any bleed before finishing with your topcoat. After you finish, keep an eye on the surface and perform routine maintenance to catch issues early.
Common mistakes to avoid include skipping the moisture check, skipping or mis-applying a blocking primer, and rushing surface prep or primer. Always follow safety basics: wear eye protection and a respirator in dusty or volatile environments, work in a well-ventilated space, and never apply primers or paints to damp wood. If you’re unsure about the knot-bleed or the right primer for your wood, consider bringing in a pro for a small, initial test area before wide exposure—you’ll save time, money, and your finish in the long run. Stay focused, test in a hidden spot, and you’ll finish with confidence.
FAQ
How do I test for pitch bleed before I prime?
Wipe a small area with mineral spirits or a dedicated wood knot test cloth and watch for color transfer. If the cloth darkens or resin shows through, more blocking steps are likely needed before priming.
Check multiple spots along knots, sap pockets, and rough areas. When in doubt, follow the primer label’s guidance for knot bleed testing and recoat intervals.
Can I rely on water-based primers for knotty pine and cedar, or should I use oil-based?
Water-based primers can work, but many builders prefer a blocking, oil-based option for heavy knot and sap conditions. Read the product label for knot compatibility and any surface preparation notes.
If you’re unsure, choose a product that specifically calls out knot or sap blocking and test on a small area first before committing to the whole project. Local rules or manufacturer instructions may have extra steps.
What should I do if sap bleed shows up after priming?
Do not repaint yet; identify the source and allow the bleed to come to the surface if the wood still bleeds. Re-clean and reprime with the appropriate blocking primer as needed.
If bleed persists, re-evaluate surface prep, knot sealing, and whether you’re using compatible topcoats. Check label directions for recoat timing and compatibility.
What’s the best order and general timing for exterior priming on problem woods?
Apply a blocking primer first to seal knots and sap, then follow with your chosen finish coat after the primer has cured per the label. Do not skip surface cleaning and sealing steps before priming.
Plan for rechecks on bleed after the first coat and before final finishing. Manufacturer instructions and local guidelines will guide waiting periods and recoats.