
Table of Contents
Introduction
Installing drop-in anchors perfectly flush is crucial for ensuring a secure and professional finish in your construction or DIY projects. This guide will walk you through the essential steps and tips to achieve a flawless installation every time, enhancing both the durability and aesthetics of your work.
Understanding Drop-in Anchors
Drop-in anchors are essential fasteners used to secure objects to concrete surfaces, providing a reliable hold in both construction and DIY projects. This section explores their purpose and highlights common applications, ensuring you choose the right anchor for your needs.
What Are Drop-in Anchors?
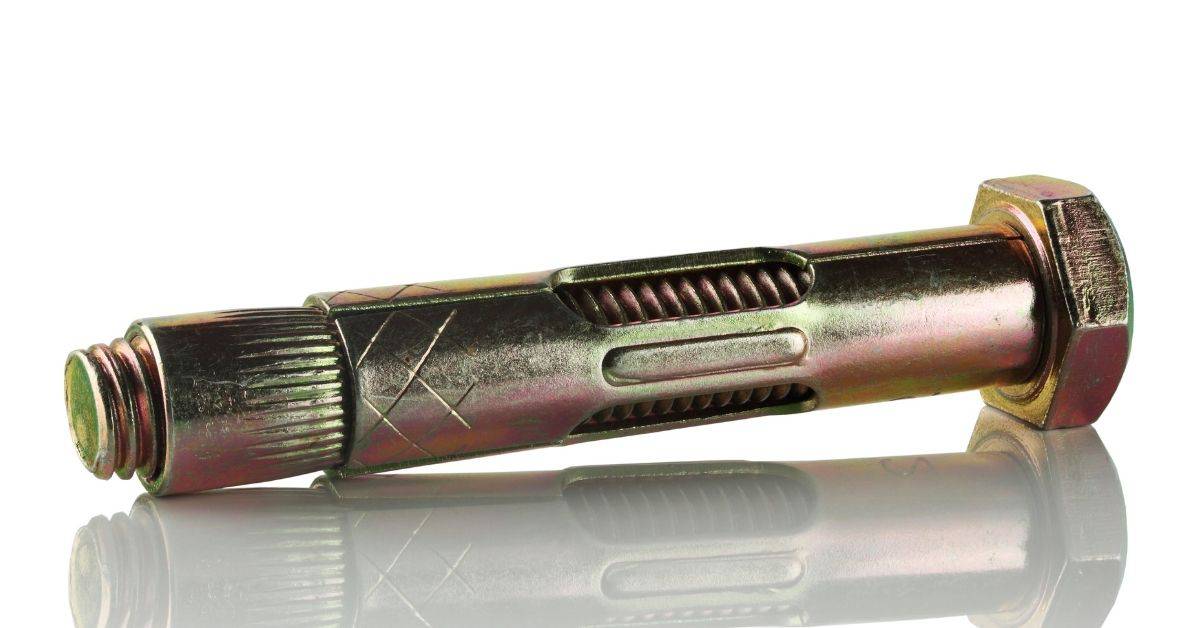
Drop-in anchors are a type of fastener used to secure various fixtures to concrete surfaces. They are cylindrical in shape and are designed to be inserted into pre-drilled holes in concrete. Once installed, they provide a strong and reliable hold, making them ideal for applications where heavy-duty support is required.
Typically, drop-in anchors are used in construction and renovation projects to attach items such as handrails, lighting fixtures, and machinery to concrete floors or walls. Their ability to withstand significant weight and stress makes them a popular choice for securing permanent installations.
To install a drop-in anchor, a hole is drilled into the concrete, and the anchor is placed inside. When a bolt is inserted and tightened, the anchor expands, creating a secure fit. This expansion is crucial for the anchor’s load-bearing capacity, ensuring that the attached fixture remains firmly in place.
Types of Drop-in Anchors
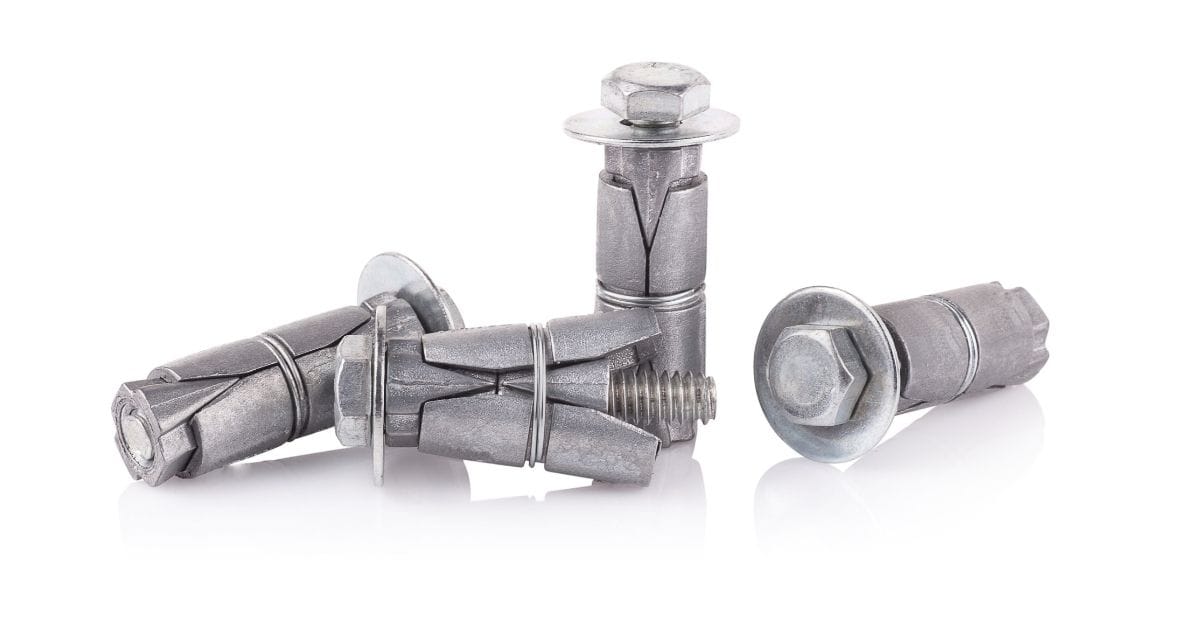
Drop-in anchors are versatile fasteners used in various construction applications, and understanding their types can help in selecting the right one for your project. The most common type is the standard drop-in anchor, which is ideal for securing medium to heavy loads in concrete. These anchors expand inside the drilled hole, providing a strong and reliable hold.
Another variant is the mini drop-in anchor, designed for applications where space is limited or where a smaller anchor is sufficient. These are perfect for lighter loads and can be used in tight spaces without compromising on performance. It’s crucial to ensure that the base material is suitable for the anchor type you choose, as this affects the overall stability and safety of the installation.
For environments exposed to moisture or corrosive elements, stainless steel drop-in anchors offer enhanced durability and resistance. These are particularly useful in outdoor settings or industrial applications where long-term reliability is essential. Selecting the appropriate type of drop-in anchor based on the specific conditions and load requirements will ensure a secure and lasting installation.

Tools and Materials Needed
To ensure a successful installation of drop-in anchors, it’s crucial to have the right tools and materials at your disposal. This section outlines the essential items needed to achieve precise and secure anchor placement.
Essential Tools
Having the right tools is crucial for a successful installation process. Each tool serves a specific purpose, ensuring precision, safety, and efficiency. Below is a list of essential tools that will help you complete the installation smoothly and effectively.
- Drill – Used for making holes in various materials. Choose a cordless drill for better mobility and ease of use.
- Drill Bits – Essential for creating holes of different sizes. Ensure you have a variety of bits to match the material and screw size.
- Setting Tools – Necessary for securing anchors and fasteners. These tools ensure that components are firmly and correctly positioned.
- Tape Measure – For accurate measurements to ensure everything fits perfectly. Always double-check measurements before drilling.
- Level – Ensures that installations are perfectly horizontal or vertical. A laser level can provide more accuracy over longer distances.
- Screwdriver Set – Used for tightening or loosening screws. A set with various heads will cover different screw types.
- Hammer – Useful for driving nails or setting components into place. A claw hammer can also help remove nails if needed.
By equipping yourself with these essential tools, you can approach the installation task with confidence, knowing you have everything needed to achieve a professional result.
Recommended Materials
When preparing for your project, it’s essential to gather the right materials to ensure stability and longevity. The following list includes the necessary anchors and additional components that will help you achieve a successful installation.
- Concrete Anchors – These provide a secure hold and are ideal for heavy-duty applications.
- Drill Bits – Ensure you have the correct size for the anchors to create precise holes.
- Anchor Bolts – Choose durable bolts that match the specifications of your anchors for optimal performance.
- Level – A level ensures that your installation is perfectly aligned, preventing future issues.
- Protective Gear – Safety goggles and gloves are essential to protect yourself during the installation process.
- Measuring Tape – Accurate measurements are crucial for a precise and professional finish.
By gathering these recommended materials, you will be well-equipped to tackle your project efficiently and effectively, ensuring a secure and reliable installation.
Preparing the Installation Site
Before installing drop-in anchors, it’s crucial to properly prepare the concrete surface to ensure a secure and lasting fit. This involves cleaning the area, marking precise drilling spots, and ensuring the surface is dry and free of debris.
Cleaning and Marking the Surface
Before beginning the installation, it’s crucial to ensure that the concrete surface is thoroughly cleaned. Start by removing any debris, dirt, or loose materials from the area. Use a broom or a blower to clear the surface, followed by a pressure washer if necessary. This step helps to create a clean base for the installation and ensures that the anchors will adhere properly.
Once the surface is clean, it’s time to mark the exact spots for anchor installation. Use a tape measure to determine the precise locations based on your installation plan. Mark these spots clearly with chalk or a marker. This step is essential to maintain accuracy and ensure that the anchors are installed in the correct positions.
After marking, double-check the measurements and alignment to avoid any errors during installation. This attention to detail will help in achieving a successful and durable installation. Remember, a well-prepared surface is the foundation of a reliable and long-lasting installation.
Drilling Holes
When preparing to drill holes for your installation, selecting the correct drill bit size is crucial. The bit should match the diameter of the anchors you plan to use. This ensures a snug fit and maximum stability. Before drilling, confirm the size by checking the manufacturer’s recommendations or using a drill bit gauge.
To achieve precise holes, mark the exact locations on the surface where drilling is needed. Use a pencil or a marker for accuracy. It’s important to maintain a steady hand and drill at a consistent angle to avoid any misalignment. This will help in achieving a clean and professional finish.
Once you start drilling, apply even pressure and let the drill do the work. Avoid forcing it, as this can lead to errors or damage to the material. After drilling, clear away any debris from the holes to ensure the anchors fit properly. This step is vital for a secure installation.
Installing the Drop-in Anchors
Installing drop-in anchors correctly is crucial for achieving a secure and flush fit with your surface. This guide will walk you through each step of the installation process to ensure optimal results.
Setting the Anchor
Once you have drilled the hole to the appropriate depth, it’s time to insert the drop-in anchor. Begin by cleaning out any debris from the hole to ensure a snug fit. This can be done using compressed air or a vacuum. Next, insert the anchor into the hole, ensuring that the open end is facing upwards and the anchor is flush with the surface.
With the anchor in place, it’s crucial to use the correct setting tool. Insert the setting tool into the anchor and tap it with a hammer to expand the anchor within the hole. This expansion is what secures the anchor in place. Make sure to apply consistent force to avoid damaging the anchor or the surrounding material. Once set, the anchor should be firmly secured, ready to hold the intended load.
Ensuring a Flush Finish
To achieve a professional look when installing drop-in anchors, it’s crucial to ensure they are flush with the concrete surface. Begin by verifying that the drilled hole is of the correct depth. If the hole is too shallow, the anchor will protrude, while a hole that’s too deep may not allow for proper expansion. Use a depth gauge to check base compaction and adjust as necessary.
Once the anchor is inserted, use a hammer and setting tool to expand it securely. Apply even pressure to avoid uneven expansion, which can cause the anchor to sit unevenly. After setting, inspect the anchor to confirm it is level with the surface. If it isn’t, gently tap it down with a mallet until it is flush.
Finally, clean any debris from around the anchor to ensure a neat finish. This not only improves appearance but also prevents any obstruction when attaching fixtures. By following these steps, you can ensure a flush and secure installation every time.
Troubleshooting Common Issues
Encountering issues during installation can be frustrating, but understanding common problems and their solutions can ease the process. This section provides practical guidance on identifying and resolving typical installation challenges effectively.
Anchor Not Sitting Flush
When installing anchors in concrete, one common issue is the anchor not sitting flush. This can be caused by several factors, and addressing them can ensure a secure installation. First, check base compaction. If the concrete surface is uneven or has debris, it can prevent the anchor from sitting properly. Make sure the area is clean and level before proceeding with installation.
Another factor to consider is the drill hole depth. If the hole is not deep enough, the anchor may protrude above the surface. Ensure that the drill bit used matches the anchor’s specifications and that the hole is free of dust and debris. This will allow the anchor to sit flush with the surface.
Lastly, examine the anchor size and type. Using an anchor that is too large or not designed for the specific application can result in improper seating. Always choose the correct anchor size and type based on the manufacturer’s recommendations to achieve the best results.
Difficulty in Drilling
Drilling through hard surfaces like concrete can be challenging, often leading to frustration and delays. One common issue is the inadequate power of the drill. Ensure that you are using a drill with sufficient power and the correct type of drill bit designed for concrete. A hammer drill or rotary hammer is typically more effective for these tasks.
Another potential problem is encountering reinforcement bars within the concrete. If your drill hits metal, stop immediately to avoid damaging the bit. Use a metal detector before drilling to locate any rebar, and consider using a rebar cutter attachment if necessary.
Overheating is also a frequent issue when drilling into hard materials. To prevent this, periodically pull the drill bit out to allow it to cool and remove debris. Applying a small amount of water can also help to cool the bit and reduce dust, improving drilling efficiency.
Maintenance and Safety Tips
Proper maintenance and adherence to safety guidelines are crucial for ensuring the longevity and reliability of installed anchors. This section provides essential tips to help you maintain the integrity of your anchors and ensure a safe installation process.
Regular Inspections
Conducting regular inspections of your anchors is crucial to ensure their long-term security and effectiveness. It is recommended to perform a thorough check every six months. During these inspections, pay close attention to any signs of wear, corrosion, or damage that could compromise the anchor’s integrity.
In addition to biannual checks, it’s important to inspect anchors after any significant weather events or environmental changes. These conditions can affect the stability of the anchor and the surrounding area. Always check base compaction and ensure that the anchor remains firmly in place.
By adhering to a consistent inspection schedule, you can address potential issues early and maintain the safety and reliability of your anchors. Regular maintenance not only extends the life of the anchors but also provides peace of mind knowing that they are secure and functioning as intended.
Conclusion
Mastering the installation of drop-in anchors so they sit perfectly flush every time is a valuable skill that enhances both the functionality and aesthetics of your projects. By understanding the fundamentals of drop-in anchors, gathering the right tools and materials, and meticulously preparing the installation site, you set a strong foundation for success.
Following the step-by-step installation process, while being mindful of common troubleshooting issues, ensures that your anchors are securely and accurately placed. Additionally, adhering to maintenance and safety tips not only extends the lifespan of your anchors but also guarantees a safe working environment.
Whether you are a seasoned professional or a DIY enthusiast, perfecting the installation of drop-in anchors requires patience and precision. With the knowledge and techniques outlined in this guide, you are equipped to tackle any project with confidence.
Remember, practice makes perfect, and by consistently applying these best practices, you can achieve flawless results every time. Embrace the challenge, and let your newfound expertise in installing drop-in anchors elevate the quality and reliability of your work.
FAQ
What tools are needed to install drop-in anchors?
To install drop-in anchors, you will need a drill with a masonry bit, a hammer, and a setting tool. These tools ensure that the anchor is installed securely and flush with the surface.
How do I determine the correct drill bit size for drop-in anchors?
The correct drill bit size is typically specified by the anchor manufacturer and is usually slightly larger than the anchor’s diameter. Always refer to the manufacturer’s instructions to ensure a proper fit.
Why is it important for drop-in anchors to be flush with the surface?
Ensuring that drop-in anchors are flush with the surface prevents any protrusion that could interfere with the attachment of fixtures. A flush installation also provides maximum strength and stability for the anchor.
Can drop-in anchors be used in all types of concrete?
Drop-in anchors are designed for use in solid concrete and may not be suitable for use in hollow or lightweight concrete. It’s crucial to assess the concrete type before installation to ensure the anchor’s effectiveness.
What are common mistakes to avoid when installing drop-in anchors?
Common mistakes include using the wrong drill bit size, not drilling deep enough, and failing to clean the hole before installation. Avoiding these errors ensures a secure and flush anchor installation.