
Introduction
A slab with a hidden slope is a concrete pad poured with a deliberate, nonlevel fall that you set up before pouring. You’ll plan the fall and confirm it as you go using simple reference points and a level tool. Keep the process practical and honest, avoiding surprises at pour time.
Set up the laser so its line crosses the intended highs and lows, then mark screed rails to align with that fall. Install rails where you’ll screed and pull with confidence, checking with a straight edge and a level as you go. Always verify the fall by taking readings at several points and follow product labels, manufacturer instructions, and local rules for guidance and safety.
Key takeaways
- Plan laser benchmarks carefully to maintain consistent hidden slope across the slab.
- Secure screed rails precisely level and supported to reveal the intended fall.
- Verify benchmarks and formwork before pour to avoid unintended low spots.
- Check laser setup regularly during pour to maintain uniform slope along length.
- Pour concrete with hidden slope using proper consolidation without disturbing rails.
- Perform progressive checks for fall after placement and wear PPE.
Table of Contents
- Introduction
- Key takeaways
- Planning and Design Considerations
- Tools, Materials, and Specs
- Site Preparation and Excavation
- Laser Setup and Benchmarks for a Hidden Slope
- Installing Screed Rails and Formwork Accurately
- Pouring and Screeding Concrete with the Hidden Slope
- Checking Fall and Quality Control After Placement
- Finishing, Curing, Compaction, and Safety
- Conclusion
- FAQ
Planning and Design Considerations
Before you pour, lay out the strategic goals for drainage, load capacity, and the hidden slope. Define the slab thickness, reinforcement type, and whether the slope will be concealed. Check for required permits, local codes, and any waterproofing or insulation needs to align with long-term performance.
Set measurable targets for fall direction and rate, base thickness and compaction standards, and where laser setup and screed rails will anchor the slope. Outline the installation order to keep decisions consistent across the project. Verify that design choices work with the chosen materials and expected site conditions.
Determining required fall and drainage
First, figure out how much slope you need to move water away from your structure. A common rule of thumb is a “fall” of 1/8 inch per foot (or 1:64). But this can vary based on local codes and site specifics.
Check with your local building department to see if they have specific requirements. Also, consider the layout of your property and where water should flow.
Remember, too much fall can cause water to rush off the slab, while too little won’t move water away effectively. Aim for a balance that keeps water moving but doesn’t compromise the slab’s integrity.
Structural and code considerations
The thickness of your slab depends on its intended use. For residential slabs, a common thickness is 4 inches for light loads like patios or driveways, but it can go up to 8 inches for heavier loads.
Reinforcement is crucial to prevent cracking. Use rebar or wire mesh, following local codes and the slab’s design load. Make sure to account for any utility lines that might be present.
Always confirm your plans with your local building department to ensure they meet code requirements. This includes checking for any setbacks, maximum slab sizes, and other regulations related to hidden slopes.
Tools, Materials, and Specs
List the essential tools and materials and explain their roles in establishing and maintaining the hidden slope. Include laser level, tripod, screed rails, forms, geotextile, base rock, concrete mix, and finishing tools. Emphasize how each item contributes to accuracy and durability.
Provide criteria for selecting items and how to verify quality before purchase or rental. Explain laser setup basics, rail and form integration, and a concise materials plan for base depth, geotextile width, and mix type. Add a quick on-site evaluation checklist to spot common pitfalls and practical remedies.
Laser and leveling equipment
The right laser and tripod are crucial for setting a precise hidden slope.
- Rotary Laser: Projects a 360° beam, ideal for large areas. Look for one with automatic self-leveling and a durable detector.
- Line Laser: Creates a straight line on walls or floors. Great for smaller jobs or cross-checking.
- Tripod: Stable, adjustable height. Check for sturdy legs, easy height adjustment, and compatibility with your laser.
- Laser Detector: Receives the laser signal, displays readings. Get one with a clear display, good range, and durable housing.
- Optional: Laser Receiver: Wireless, tracks laser line. Useful for larger slabs or when working alone. Rental: $20-$50/day.
Screed rails, forms, and fasteners
Screed rails help maintain the desired slope. Choose adjustable, sturdy ones for your form size.
Use 2×4 or 2×6 boards as screeds. They should be straight, long enough to span between forms, and secured at both ends.
Secure rails with stakes driven through pre-drilled holes. Ensure they’re deep enough to hold elevation during placement. Use adjustable clamps for fine-tuning height.
Concrete, base materials, and geotextile
The right materials ensure a strong, durable slab with the correct slope.
- Concrete Mix: Choose a mix designed for your climate and use. Look for strength (PSI) and durability ratings that match your needs.
- Admixtures: Additives to enhance concrete properties. Consider air-entraining, water-reducing, or accelerating/retarding admixtures based on your pour conditions.
- Base Rock: Well-graded, clean aggregate provides a stable base. Check local specs for size and type.
- Geotextile Fabric: Prevents soil from mixing with base rock. Get one that’s durable, permeable, and wide enough to cover your slab area.
- Wrong Materials: Using fine sand or clay as base can lead to cracking, staining, and weak bond.
Site Preparation and Excavation
Define the footprint clearly and mark grading lines with stakes and strings. Include notes on visible versus hidden slope requirements and how that affects excavation depth. Use laser references to keep lines true.
Determine required depth and slope, accounting for frost or moisture and planning for a consistent outward fall or hidden-slope target. Assess subgrade variability and plan remediation steps such as compaction or a granular base. Outline base material preparation and tolerances before screeding.
Setting Base Depth and Subgrade Prep
Start by determining your finished slab height. Subtract that from the desired final grade to find your excavation depth.
Remove any soft spots, rocks, or roots in the subgrade. This ensures a stable base for your slab.
Compact the subgrade using a plate compactor. Aim for at least 95% of maximum density. Check with a nuclear densometer if needed.
Geotextile Placement and Gravel Base Compaction
Lay the geotextile fabric in strips, overlapping by at least 2 feet. Orient it with the fibers running perpendicular to the slab’s direction.
Spread a layer of gravel (1-2 inches thick) over the geotextile. Use clean, well-graded material.
Compact this layer using a plate compactor. Work in passes, ensuring even compaction. Add more gravel and repeat until you reach your desired base thickness.
Laser Setup and Benchmarks for a Hidden Slope
Describe the laser workflow, including reference points, primary grade line, and the number of benchmarks to capture the concealed fall. Plan how perimeter and interior references will be used.
Specify laser type, tripod height, and stability, and how to verify alignment against edges or stakes to prevent drift. Outline calibration steps and tolerance checks for grade references and how to document results for use during the pour.
Positioning the laser and establishing references
The laser’s position is crucial for accurate readings. Place it near the center of your pour, with clear line-of-sight to all corners.
Set primary benchmarks at each corner and secondary ones along the perimeter every 10-15 feet. Use temporary stakes or existing edges as references.
Protect the laser from damage by setting it on a stable tripod and covering it when not in use.
Calibrating for a hidden slope and setting target elevations
First, determine your desired fall. For every foot of width, aim for a 1/8 inch drop.
Calibrate the laser to true vertical using a plumb bob or level at both high and low points. Ensure readings are within tolerance (e.g., 1/8 inch per 10 feet).
Transfer these elevations to screed rails or formwork, creating a grid that captures the hidden slope. Use string lines or laser scribe tools for precise markings.
Installing Screed Rails and Formwork Accurately
Map screed rail and form layouts using laser benchmarks to reflect the hidden slope and align with the planned fall. Ensure the overall plan coordinates with discharge points and edge restraints.
Set rail heights to the laser-derived benchmarks and verify cross-slope consistency across the area. Check straightness, rigidity, and secure the formwork to resist movement during pours. Plan early for edge clearances and space for screed passes and joints.
Rail layout for a hidden slope
The key to creating a successful hidden slope is setting your screed rails at the right elevations. Here’s how:
First, use your laser to mark benchmarks along the slab’s length. These marks will guide your rail heights.
Space your rails evenly apart – around 6 feet works well for most slabs. This spacing lets you screed and level the concrete effectively.
Remember: The first and last rails should be set at their final elevations, while intermediate rails can be adjusted to create the fall.
Securing rails, checking alignment, and tolerances
Once your rails are laid out, secure them firmly. Here’s how:
Use form ties or clamps to attach the rails to the forms. This keeps everything rigid during pouring.
Check rail alignment with a string line or laser level. Ensure they’re straight and plumb. Acceptable tolerances are typically within 1/8 inch per 10 feet of length.
Tips: Use temporary supports to brace rails if needed. Also, ensure formwork is tied together properly to prevent movement during vibration.
Pouring and Screeding Concrete with the Hidden Slope
Translate the target fall into a crew-ready plan that keeps the slope concealed until finishing. Prepare the base and forms, ensuring drainage and edge restraints reference the hidden grade.
Establish the main grade line with a laser and mark critical points to define the slope. Plan screed rail spacing and a progressive passes sequence to maintain the designed fall while avoiding edge disturbance.
Pour sequence and maintaining elevation
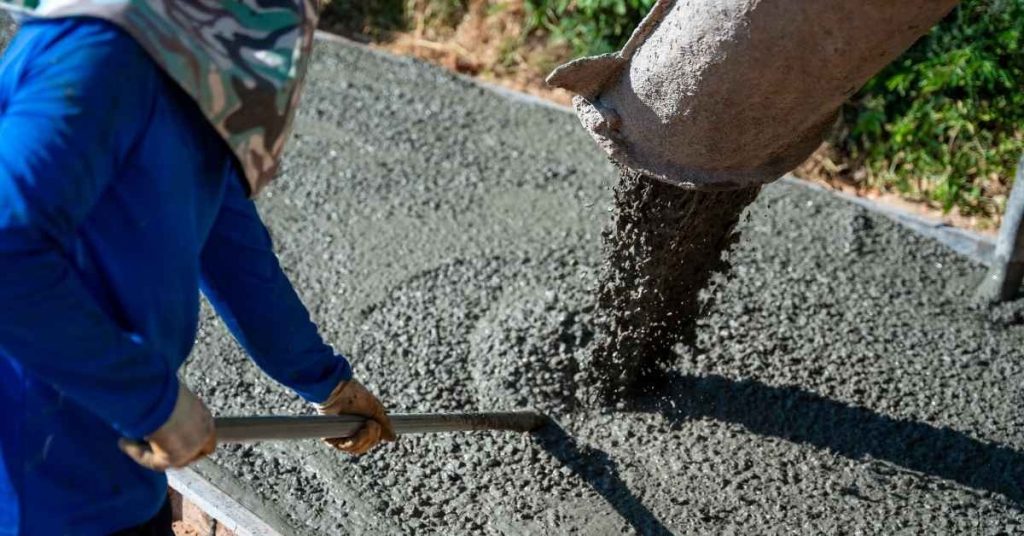
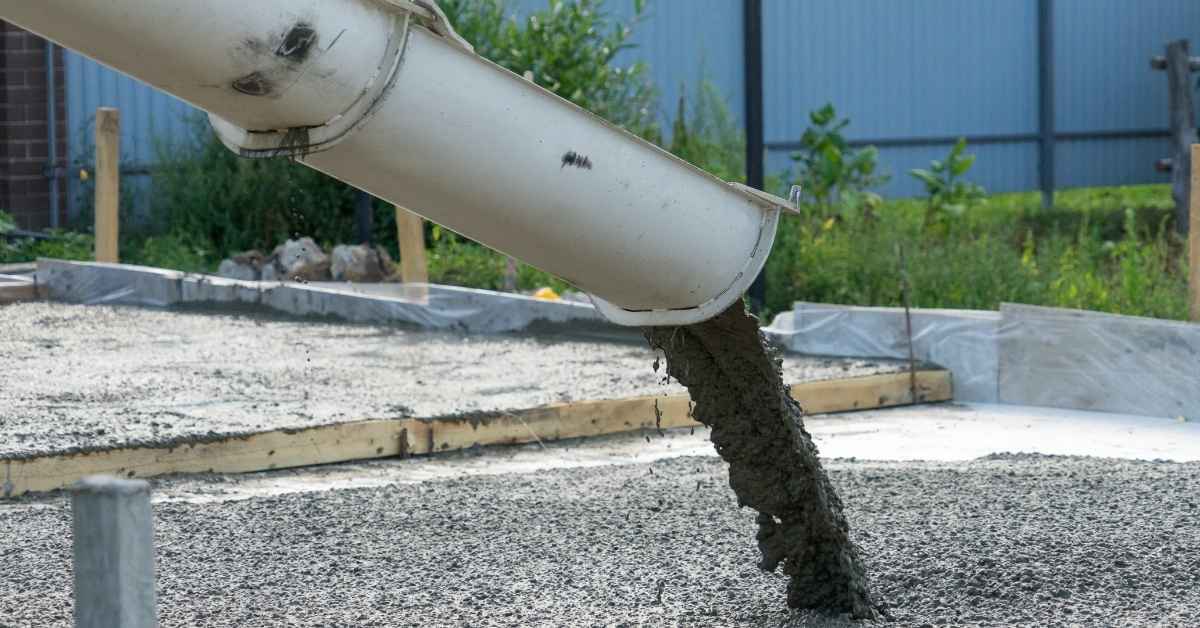
Start pouring at the lowest point of your slab to allow concrete to flow naturally downhill. Work in small sections, typically no more than 20′ x 20′, to maintain control over the pour.
As you progress, remove screed rails one by one as you pass them, but keep an eye on the laser to ensure elevation doesn’t drop. If it does, add more concrete and screed again.
Every 10-15 minutes, pause to check elevations with your laser. Walk the slab, detector in hand, to find any high or low spots. Make adjustments as needed before moving on.
Screeding technique and using laser feedback
Use a straight edge, typically 2×4 or 2×6, to screed the concrete. Hold it at a slight angle, about 10-15 degrees, to help distribute the material evenly.
As you screed, keep an eye on your laser detector. If it shows you’re above or below grade, adjust your screeding angle accordingly. For example, if you’re high, lower your screed and vice versa.
If you encounter a deviation that’s hard to correct with just the screed, add or remove concrete in that area before screeding again. Always work from both directions to ensure a smooth surface.
Checking Fall and Quality Control After Placement
Use a laser for reference slope checks and straightedge methods to verify uniform fall. Conduct water or dye tests to reveal low spots and ponding.
Document checkpoints for target fall at corners and mid-spans, and define pass/fail criteria. Record measurements and note discrepancies for timely corrections and future reference.
Visual and instrument checks during curing
Once your slab is poured, don’t just walk away. Keep an eye on it as it cures to ensure everything’s going according to plan.
Use your laser level regularly to check the slope. As concrete stiffens, any settlement or unexpected variance will show up. Catch these early so you can address them promptly.
Also, use a straightedge to check for uniformity. Place it across the slab at different points and look for any high or low spots. Remember, catching issues early prevents costly rework later.
Final verification: straightedge, water test, and documented benchmarks
Before you sign off on your slab, do a final check. This ensures the hidden slope is as planned and there are no drainage issues.
First, use a long straightedge to check for uniformity. Place it across the entire length of the slab at different points. Any gaps indicate high spots that might need attention.
Next, perform a water test or dye test. Pour water onto the slab and watch how it flows. This reveals any low spots where water ponds, indicating potential drainage issues. Document these checks with notes on your site map for future reference.
Finishing, Curing, Compaction, and Safety
Finish techniques should respect the hidden slope while presenting a visually flat surface. Choose broom, float, or texture options that don’t reveal the grade.
Discuss curing methods and timelines, practical compaction approaches, and when to use vibration versus non-vibratory methods. Include laser safety basics and housekeeping steps to keep the site safe after pour.
Finishing and Saw-Cut Planning
Now that your concrete is poured, it’s time to finish the surface while preserving the hidden slope. Start by using a magnesium float to remove any excess water and level out the surface. Be sure not to apply too much pressure as this can reveal the grade.
Next, use a broom or trowel to create your desired texture. A light broom finish is usually best for hiding slopes. For a smooth finish, use a steel trowel but be careful not to over-trowel and expose the slope.
As you finish, plan where you’ll place control joints and saw cuts. These should follow the direction of your hidden slope to help control cracking. Mark these out now before the concrete sets.
Curing, Consolidation, and On-Site Safety
After finishing, it’s crucial to cure your concrete properly. This helps it gain strength over time. You can use curing compounds or plastic sheeting, but ensure they cover the entire slab. Keep the temperature between 50-80°F (10-27°C) during curing for best results.
During placement, use proper consolidation methods to ensure uniform density. Vibrators can help, but be careful not to over-vibrate and create high spots or cracks. Always verify compaction is even across the slab.
Safety is paramount on-site. Wear gloves, eye protection, and a respirator for cement dust. When working with lasers, wear safety glasses and keep clear of the laser beam’s path. Restricted zones should be clearly marked. Keep your work area clean to prevent slips.
Conclusion
Getting a slab with a hidden slope right comes down to solid prep, disciplined execution, and staying sharp on safety. A durable, good-looking porch, patio, or floor starts with clean benchmarks, secure formwork, and consistent screed work tied to the slope you planned.
First, verify the laser benchmarks and slope, then secure the screed rails and forms, pour in workable batches, and screed in a steady progression so the hidden fall remains true. After pouring, check the fall in both directions, finish with the right patterns, and protect the concrete through curing. If anything looks off, stop and recheck instead of forcing it—small fixes now beat costly rework later.
Common mistakes to avoid are skipping site preparation or improvising the slope without measurement, rushing the pour or oversized batches, and ignoring safety gear or proper curing. Always wear eye protection, gloves, and sturdy boots, keep the work area clean, and test a small area first to confirm the method works before committing to the full slab.
If the area is large, the slope is complex, or access is tight, call in a professional rather than pushing on. Stay focused, follow the steps you’ve laid out, and you’ll finish with a solid, even slab that performs as intended. You’ve got this—steady work now saves trouble later.
FAQ
How do I set up a laser to create a hidden slope for a slab?
Place the laser so it can project a level reference along the length of the pour. Use a known, consistent target height at both ends to establish the slope line. Check the line often as you move, and adjust as you go to keep the slope true.
What should I know when installing screed rails for a hidden slope?
Install rails on solid, well-prepared forms or hardened substrate. Run rails with the planned fall, and clamp them securely so they won’t shift during screeding. Check that rails stay dry and clean so screed material can slide evenly on them.
How do I check the fall and ensure the slope is correct before pouring?
Compare the laser reference to the high and low points along the slab edge. Use a long straight edge or a level rod at several points to confirm the gradual fall. Make minor adjustments if you see low or high spots before pouring.
What are safety tips when laying and finishing a hidden-slope slab?
Keep all edges and forms stable to prevent slips or collapse. Wear proper PPE and avoid remote adjustments while concrete is being placed. If anything looks unstable or unsafe, pause and fix it before continuing.