
Introduction
Painting stairs for grip means using paint and additives that improve traction and hold up to foot traffic while keeping the surface safe and durable. This is a hands-on job: pick the right paint for the stair material, choose a compatible anti-slip additive or aggregate, and follow the product directions and local rules for prep and ventilation. Check the paint and additive labels for compatibility and recommended coverage or cure times.
Expect to spend time on mechanical prep, secure masking, and testing a small area before doing the whole run so the finish and texture meet your needs. Ongoing maintenance is simple but important: clean appropriately, inspect wear points, and recoat or refresh the abrasive layer as the surface shows wear. When in doubt about a product or safety requirement, consult the manufacturer instructions or local building authorities.
Key takeaways
- Assess stair geometry and surface condition before choosing grip-enhancing coatings.
- Test non-slip additions on a small area to verify compatibility.
- Follow manufacturer instructions for prep, application, and cure times carefully.
- Protect surrounding surfaces and wear proper PPE during sanding and coating.
- Inspect nosings and transitions for gaps to avoid trip hazards.
- Monitor wear over time and refresh coatings when grip diminishes.
Table of Contents
- Introduction
- Key takeaways
- How Grip, Abrasion Resistance, and Coatings Interact
- Choosing Paints and Non-Slip Additives
- Tools, Materials Checklist, and Safety
- Surface Inspection and Preparation
- Application Methods for Non-Slip Surfaces
- Techniques for Edges, Nosing, and Transitions
- Testing Grip and Monitoring Abrasion in Use
- Maintenance, Cleaning, and Long-Term Care
- Conclusion
- FAQ
How Grip, Abrasion Resistance, and Coatings Interact
Grip comes from surface texture and the top layer of the coating while abrasion resistance is driven by the coating composition and the hardness of any embedded aggregate.
You balance the two because a very rough surface increases traction but can wear through softer binders faster; check product data sheets and test a small area to confirm the tradeoffs for your chosen system.
Key terms and what to check on product datasheets
Before you start shopping for paint, understand these key terms. Use them to compare products and make an informed decision.
- Grip/Traction: How well the surface prevents slipping. High grip is crucial for stairs.
- Abrasion Resistance: The coating’s ability to withstand wear and tear. Important for high-traffic areas.
- Cure Time: How long it takes for the paint to dry and become touch-dry or fully cured. Affects when you can use the stairs again.
- Sheen: The level of gloss in the finish, affecting both appearance and durability.
- Pigment Volume Concentration (PVC): How much pigment is in the paint. Higher PVC means better coverage but may affect durability.
- VOC Content: Volatile Organic Compounds that can harm the environment and your health. Lower VOCs are better.
- Fire Resistance: Important for public spaces, check if it meets local building codes.
- Manufacturer’s Warranty: Covers defects in materials or workmanship. Read the fine print to understand what’s covered and for how long.
Quick rule: Always consult manufacturer datasheets and recognized standards like ASTM D2896 (Abrasion Resistance) to ensure you’re getting a quality product.
Tradeoffs: grip vs appearance vs longevity
Adding grip to your stairs isn’t just about slapping on some textured paint. You’ve got to balance grip, appearance, and durability.
Grip: More texture means better grip but can look rough or feel uncomfortable underfoot. It also wears faster due to increased surface area.
Appearance: High-gloss paints are durable but show every imperfection. Matte finishes hide flaws but may not be as durable. Choose based on your space’s aesthetics and traffic level.
Longevity: Durable coatings last longer but may not provide the grip you need. Prioritize longevity for high-traffic areas, like public staircases or homes with kids and pets. For low-traffic indoor stairs, you can afford to prioritize appearance over durability.
Choosing Paints and Non-Slip Additives
Coating families differ in binder chemistry, film hardness, and recommended substrates, and those differences affect how long a non-slip finish will last.
Compare additive types—blend-in particles, broadcast media, and preformed tapes or strips—and verify compatibility with the coating by checking the label or manufacturer instructions before committing.
Coating options: pros and cons for stairs
When choosing a paint for your stairs, consider these common types:
Pros
- Waterborne acrylics: Easy to clean up, low VOCs.
- Epoxy: Excellent adhesion and durability, resistant to chemicals.
- Polyurethane: Highly durable, good UV resistance.
- Alkyds: Good flow and leveling, can be used indoors or outdoors.
Cons
- Waterborne acrylics: May not be as durable as other options.
- Epoxy: Strong odor during application, may yellow over time.
- Polyurethane: Slow drying time, can be slippery when wet.
- Alkyds: Long drying time, may not be suitable for high-traffic areas.
Choose based on your needs – waterborne acrylics for easy maintenance, epoxy for heavy-duty use, polyurethane for outdoor exposure, and alkyds for versatility.
Non-slip additive categories and selection criteria
Non-slip additives fall into three main categories:
Solid aggregates, like aluminum oxide or silicon carbide, provide excellent traction but can be visible and feel rough underfoot.
Polymer beads offer good slip resistance with a smoother texture. They’re less visible but may not last as long as solid aggregates.
Rapid-dry particles, like quartz sand, provide immediate traction but can be messy to apply and feel rough.
Consider your needs – if visibility is important, choose polymer beads; for heavy traffic, go with solid aggregates. For outdoor use or immediate traction, rapid-dry particles might be best.
When to use separate anti-abrasion layers or primers
Abrasive-resistant primers or intermediate coats can extend your topcoat’s life and improve adhesion.
Use them when painting stairs with high foot traffic, like in commercial buildings or homes with large families. They’re also useful if you’re painting over a porous surface that might otherwise soak up too much paint.
Consider using an anti-abrasion layer if your topcoat is prone to wear, like waterborne acrylics on high-traffic stairs. Always check compatibility with your chosen topcoat and primer.
Tools, Materials Checklist, and Safety
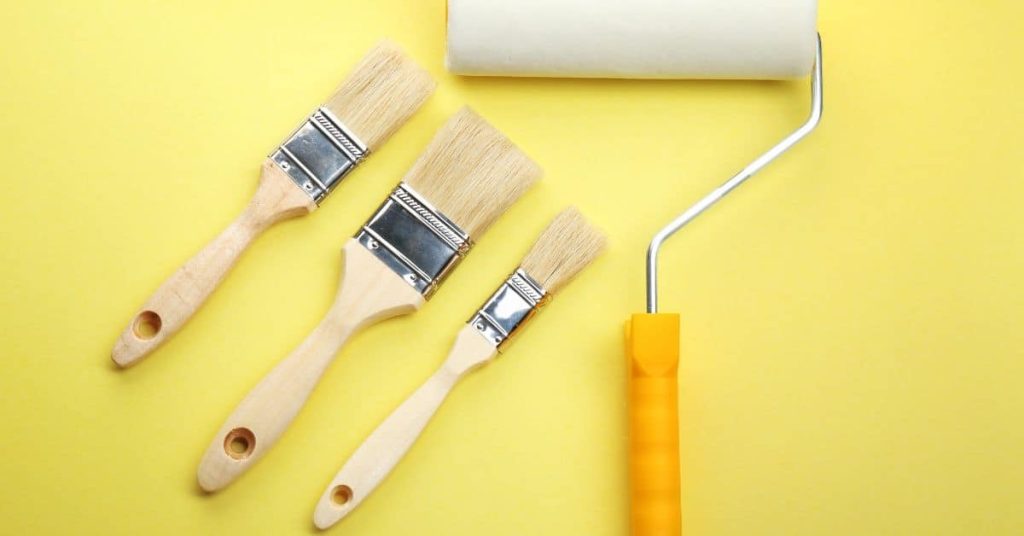
Gather the right brushes, rollers, mixing tools, grit or broadcast media, cleaning supplies, and replacement nosing materials before you start to avoid interruptions.
Include PPE—respirator, gloves, eye protection—and plan for ventilation and dust control; consult product labels for specific respiratory and ventilation guidance.
Application and prep tools
Before you start painting, gather these tools to ensure a smooth application process.
- Paint brushes (2-3 inch): For cutting in edges and tight spots. Skip this, miss details.
- Roller frame: With 9-18 inch roller cover for broad surfaces. No frame, no easy rolling.
- Roller covers: Synthetic or lambswool, depending on paint type. Wrong cover, poor coverage.
- Paint mixer: To ensure additives are well-blended. Skip mixing, expect clumps.
- Palm sander (80-120 grit): For light sanding before painting. No sanding, poor adhesion.
- Scraper: To remove old paint or loose material. Skip scraping, rough finish.
- Tape measure: For accurate cutting in and planning. No measuring, sloppy lines.
- Painter’s tape: To protect areas not being painted. No taping, overspray damage.
Quick rule: Have the right tool for each job to avoid rework.
Safety and site protection
Protect yourself and your workspace with these safety measures before starting the project.
- Respirator: To protect from paint fumes. No respirator, health risks.
- Gloves: To protect hands from chemicals. No gloves, skin irritation.
- Eye protection: Safety glasses or goggles. No eye protection, eye injuries.
- Drop cloths: To protect floors and furniture. No drop cloths, paint damage.
- Signage: Warning signs for safety. No signage, accidents may happen.
- Ventilation: Open windows or use fans. Poor ventilation, fume buildup.
- Product SDS: Follow safety instructions on datasheets. Ignore SDS, risk unknown hazards.
Quick rule: Always follow product safety guidelines and wear appropriate PPE.
Surface Inspection and Preparation
Inspect stairs for structural issues, loose treads, cracks, and existing coatings that may prevent adhesion and address structural repairs first.
Clean thoroughly and profile the surface to the level recommended by the coating manufacturer—check their prep instructions—and remove all contaminants before painting.
Inspecting and repairing stairs
Before you start painting, it’s crucial to inspect your stairs for any issues that could compromise the final result. Use this checklist to identify common problems.
- Loose treads: Gently wiggle each stair tread. If it moves, it needs repair or replacement.
- Rot: Check for soft spots, crumbling wood, or a musty smell, indicating rot.
- Cracks: Inspect for cracks in concrete or masonry stairs. Hairline cracks are okay; wider ones need attention.
- Worn-out paint: Peeling, chipping, or flaking paint needs to be removed before painting.
- Uneven surfaces: Check for dips, bumps, or other unevenness that could affect adhesion and grip.
- Structural issues: If you find significant damage like large cracks, sagging stairs, or missing support, stop and call a professional.
- Handrails: Ensure handrails are secure and provide adequate support.
- Stair nosings: Check that stair nosings (the front edge of each tread) are intact and provide proper footing.
Quick rule: Always address any structural issues before painting. Safety first!
Cleaning, degreasing, and mechanical profiling
Proper cleaning is vital for paint adhesion. Here’s a checklist to ensure your stairs are clean and ready for painting.
- Wood: Use a wood cleaner or mild detergent solution. Rinse thoroughly and let dry.
- Concrete/masonry: Clean with a concrete degreaser. Scrub well, rinse, and allow to dry.
- Metal: Remove rust with a wire brush or chemical rust remover. Clean with a metal cleaner and rinse.
- Sanding: Lightly sand wood surfaces (60-80 grit) to improve paint adhesion. Sand with the grain.
- Grit-blasting: For concrete or metal, use grit-blasting to remove contaminants and profile the surface.
- Chemical etching: For metal, consider chemical etching to enhance paint adhesion.
- Moisture check: Ensure surfaces are dry before painting. Use a moisture meter if unsure.
- Compatibility check: Confirm that cleaning agents won’t react negatively with your chosen paint or primer.
Quick rule: Always ensure surfaces are clean, dry, and free of contaminants for optimal paint adhesion.
Priming, moisture, and environmental considerations
Proper priming and understanding environmental factors are key to a successful paint job. Follow this checklist for best results.
- Primer selection: Choose a primer suitable for your substrate (wood, concrete, metal) and paint type.
- Dry substrate: Ensure the surface is completely dry before priming. Moisture can cause peeling or poor adhesion.
- Temperature: Prime and paint when temperatures are between 50°F (10°C) and 90°F (32°C) for optimal curing.
- Humidity: Avoid painting in high humidity conditions, as it can affect curing and adhesion.
- Manufacturer limits: Always follow the manufacturer’s guidelines for temperature, humidity, and application.
- Ventilation: Ensure adequate ventilation to prevent fumes from building up.
- Surface preparation: Remove any dust, debris, or contaminants before priming.
- Test patch: Apply a test patch of primer and paint to ensure compatibility and adhesion.
Quick rule: Always follow manufacturer guidelines for best results. Don’t guess; check!
Application Methods for Non-Slip Surfaces
You can achieve grip by mixing aggregate into the wet paint, broadcasting particles onto a tack coat, or installing adhesive strips and mats; each method has different application steps and appearance.
Follow the practical steps for your chosen method—mixing and measuring, broadcast technique, or adhesion prep—and confirm cure times and recoat directions from product documentation.
Mix-in additives: step-by-step best practices
Adding non-slip additives directly to your paint ensures even coverage and grip. Here’s how to do it right.
- Measure the additive according to the manufacturer’s instructions, usually 1-2 cups per gallon of paint.
Reason: Too little won’t provide enough texture, too much can cause clumping. - Pour the additive into a small test batch of paint (about 1 cup).
Reason: Mixing a small batch first helps you check for compatibility and texture. - Mix well using a paint mixer attachment on your drill.
Reason: This ensures even distribution. Stop if you see clumps forming. - Let the mixture rest for 5-10 minutes, then mix again.
Reason: This helps avoid clumping and ensures all additive is incorporated. - Check the texture before applying to your stairs.
Reason: It should be even and gritty. If it’s lumpy or smooth, remix or adjust your ratio.
Broadcast application and sealing
For a more pronounced texture, broadcast aggregate onto the paint before it dries. Here’s how:
First, apply your paint and additive mixture to the stairs as usual.
Reason: This provides the base grip.
While the paint is still wet, sprinkle the aggregate evenly across the surface using a sieve or gloved hand.
Reason: This creates texture. Be careful not to overdo it.
Once the paint has dried slightly (about 10-15 minutes), brush off any excess aggregate with a soft-bristled brush.
Reason: This leaves only the embedded aggregate for grip.
Finally, apply a sealant to lock in the texture and protect it from wear.
Reason: This extends the life of your non-slip surface.
Alternative solutions: tapes, nosing profiles, and mats
Sometimes, mixing additives isn’t the best solution. Here are some alternatives:
Prefabricated non-slip tapes and stair nosings can be applied to high-traffic areas or edges for targeted grip.
When to use: When you need extra grip in specific spots, like on the edge of each step.
Removable mats are great for temporary solutions or areas where you want to preserve the original surface.
When to use: In rentals, on historic stairs, or for events where you need to add and remove grip quickly.
To install, simply clean the area, apply any recommended primers or adhesives, then press the tape, nosing, or mat firmly into place.
Reason: This ensures a secure bond. Follow manufacturer’s instructions for specific application details.
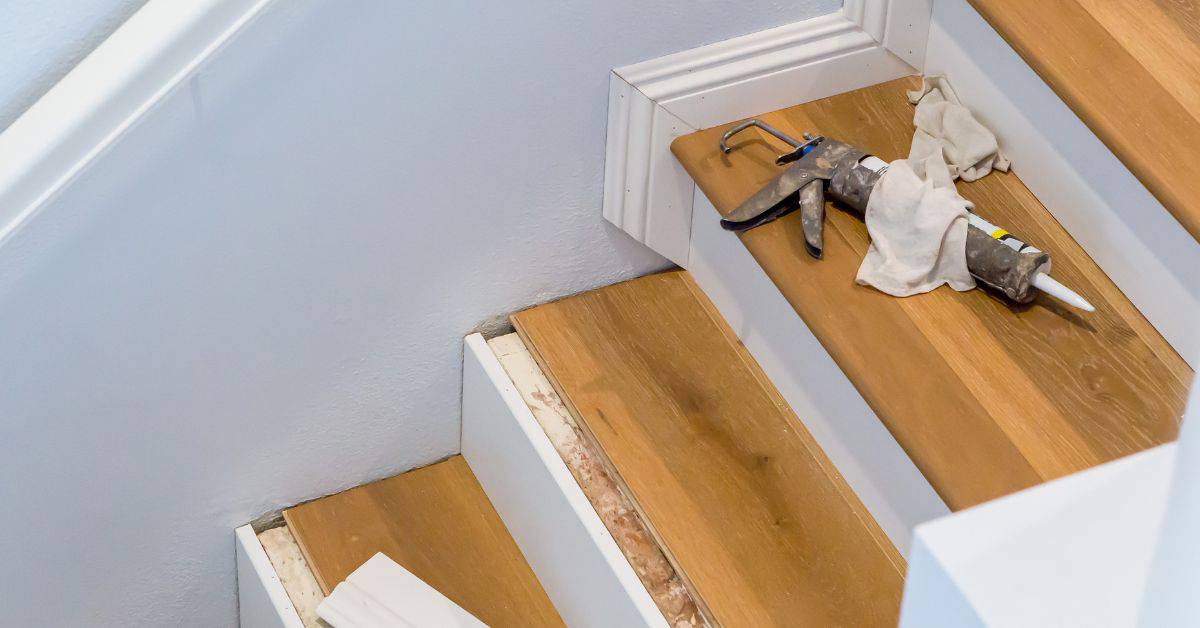
Techniques for Edges, Nosing, and Transitions
Edges and nosings need extra attention because they concentrate wear and pose trip risks; use contrasting textures and secure edges so they don’t lift or catch footwear.
Apply treatments so they are flush with adjacent surfaces where possible, secure or seal cut edges per manufacturer guidance, and test for any new trip hazards before regular use.
Applying consistent grip to nosing and edges
The nosing is the front edge of each stair tread. It’s crucial for safety, so make sure your non-slip treatment here is secure and distinct.
Use a paintbrush or small roller to apply the texture to the nosing first. Be careful not to get any on the riser (the vertical part of the stair) as it can cause trip hazards.
For edges, use painter’s tape to protect the sides from overspray if you’re using a spray-on treatment. Apply the texture consistently along the edge, making sure it’s well-adhered and not peeling up.
Pro tip: Use a small trowel or squeegee to ensure even distribution of the texture on the nosing and edges.
Managing transitions to landings and flooring
At the top and bottom of your stairs, you’ll want a smooth transition to the landing or floor. This means matching the grip level and appearance.
For the top of the stairs, use painter’s tape to protect the wall from overspray if needed. Apply the texture to match the stairs, but make sure it doesn’t extend too far onto the landing to avoid trip hazards.
At the bottom, ensure the texture matches the stairs and blends seamlessly with the floor. Use a trowel or squeegee to create a smooth transition line.
Pro tip: Consider using a slightly different color or texture at transitions to help visually distinguish them from the main stair surface.
Testing Grip and Monitoring Abrasion in Use
Perform simple traction checks with appropriate footwear and observe high-traffic areas for gloss loss, aggregate wear, or coating thinning to judge when rework is needed.
For precise results or safety compliance, consider professional testing and follow any testing thresholds in product literature or local rules to decide on repairs or replacement.
Simple at-home checks for grip and performance
Before you start testing, remember that no single check is foolproof. Combine these methods for a better assessment.
Visual Inspection: Look for any shiny or smooth spots where the non-slip coating might be wearing thin. If you see any, it’s time to consider maintenance.
Heel and Shoe Test: Walk on your stairs with different types of footwear – bare feet, socks, shoes, boots. You should feel a consistent grip without slipping or feeling unstable.
Water Test: Pour some water onto the steps and observe how it behaves. It should bead up and not spread out too much. If it spreads widely, the grip might be compromised.
Signs of abrasion and when to recoat or repair
Regularly inspect your stairs for signs of wear. Catching these early can save you from costly repairs down the line.
Loss of Texture: If the non-slip texture feels smoother than it should, it’s a sign that the coating is wearing off. Run your hand over the steps to check.
Flaking or Chipping: Keep an eye out for any flakes or chips in the coating. This could indicate that the surface is degrading and needs attention.
If you notice these signs, don’t wait – recoat or repair as soon as possible to maintain safety and prolong the life of your stairs.
When to request lab or professional testing
For most homeowners, at-home checks are sufficient. But there are times when you might need professional help.
Consider professional testing if your stairs are in a commercial setting with high foot traffic, or if safety is a major concern – like in an elderly care facility or a public space.
Professional tests can measure slip resistance and abrasion resistance more accurately than at-home methods. They use recognized standards like ASTM D2047 for static coefficient of friction and ASTM G65 for abrasion resistance.
Don’t hesitate to consult with a professional if you’re unsure about the safety of your stairs. It’s better to be safe than sorry.
Maintenance, Cleaning, and Long-Term Care
Regularly remove grit and debris, use manufacturer-approved cleaners, and avoid abrasive scrubbing methods that can accelerate binder wear or dislodge aggregate.
Keep a maintenance log and inspect periodically for wear; when in doubt about a cleaning product’s suitability, check the label or contact the manufacturer for safe options.
Routine cleaning and stain removal
Keep your stairs looking fresh with regular, gentle cleaning. Avoid harsh chemicals that can strip coatings.
Do not use abrasive cleaners or scrub pads as they can damage the non-slip texture. Instead, opt for mild detergents and soft cloths or mops.
For tough stains, mix a solution of warm water and mild detergent. Apply it to the stain, let it sit briefly, then gently rub with a soft brush or cloth. Rinse thoroughly with clean water.
Always spot test any cleaning product on a small, hidden area first to ensure it doesn’t react negatively with your specific paint and texture.
Seasonal and traffic-adaptive maintenance
Proactive care ensures your stairs stay safe and durable all year round. Heavy traffic periods may require extra attention.
During winter, salt and snow can damage the coating. Regularly clean stairs to remove residue. Consider using temporary, non-slip mats in high-traffic areas until repairs are made.
In summer, heat and direct sunlight can cause discoloration or fading. Apply a protective sealant annually to maintain color vibrancy.
Inspect stairs regularly for signs of wear, especially in high-traffic areas. Address any issues promptly to prevent them from worsening.
Troubleshooting common problems and quick fixes
Addressing issues early prevents minor problems from becoming major ones. Here are some common problems and solutions:
Peeling or chipping: This could be due to improper surface preparation or moisture issues. Scrape off loose paint, sand the area, and reapply a primer before repainting.
Clumped aggregate: If non-slip aggregate clumps together, gently brush it off with a soft-bristled brush. Reapply aggregate if necessary.
Loss of adhesion: If paint starts lifting or peeling, the surface may not have been properly prepared. Scrape off loose paint, sand the area, and reapply primer before repainting.
If problems persist or worsen despite your efforts, consider consulting a professional for advice tailored to your specific situation.
Conclusion
Stairs that grip well and last long come from solid prep, smart coating choices, and careful testing. If you lock in safety and follow the plan, you’ll avoid costly mistakes and keep the look clean and confident.
Check this in order: inspect the surface and fix defects, pick a non-slip coating with the right additives, gather the right tools and materials, mask edges and transitions, apply per the method for non-slip surfaces, then test grip and monitor wear during use, finishing with a simple maintenance routine.
Avoid these common missteps: skip or rush surface preparation, ignore grip testing before it cures, or layer on coatings that don’t work together. Always ventilate, wear eye and respirator protection, and keep traffic off the stairs until the coating is fully cured. Start small, test in a low-traffic area, and don’t mix products unless you know they’re compatible.
If you find water damage, significant structural issues, or uneven nosing that won’t level, call a professional rather than guessing. Stay steady, stay safe, and you’ll have stairs that bite without being a danger—and that’s money saved in the long run.
FAQ
Can I mix non-slip additives into any paint for stairs?
Yes, but check the product label first. Some additives require specific base paints or mixing ratios. If in doubt, follow the manufacturer instructions or ask at the paint counter.
How do I choose a non-slip additive that works on stairs?
Choose an additive designed for interior floor use and compatible with your paint type. Look for clear guidance on grit size or texture on the label. If you’re unsure, call the manufacturer or test a small sample first.
Should I seal the stairs after applying a grip coating?
Sealing can protect the coating and make cleaning easier, but not all sealers work with every additive. Read the coating and sealer labels to confirm compatibility. If it’s not clear, skip sealing or test a small area.
What maintenance steps keep grip from fading with foot traffic?
Keep the surface clean and dry; debris and moisture reduce grip. Re-inspect regularly for wear, and report any smooth or worn patches. Do not delay re-coating if grip has degraded.