
Introduction
Keeping a wet edge while rolling means consistently maintaining fresh paint to bond as you work, so you don’t leave dry lines. Work in workable sections, keep a steady pace, and load the roller evenly to avoid heavy starts and stops. Treat each pass as part of one continuous glaze, reloading before the edge begins to drag.
Continue with a smooth, overlapping pattern and watch for streaks by staying on the same plane of pressure and motion. If you see a mark, rework it while the paint is still workable, and follow the paint label for guidance on open times and recoat windows. This practical approach fits the DIY community and echoes what you hear in other home improvement forums, and you can consider sharing your tips as a guest in those conversations if that’s your style.
Key takeaways
- Keep a consistent wet edge by overlapping finished sections gradually, back-rolling slightly.
- Match roller nap to room conditions, avoiding heavy coats that dry too quickly.
- Work in small zones, maintaining a continuous roll from edge to wet area.
- Consult current community insights on wet edges and streak-free finishes across competitors.
- Safety: wear goggles and respirator, vent room, clean up spills promptly.
- Post as a guest when seeking tips, and compare more Stack Exchange communities.
Table of Contents
- Introduction
- Key takeaways
- Quick Overview: What a “Wet Edge” Is and Why It Matters
- Tools and Materials Checklist
- Paint Selection and Preparation
- Room Conditions and Setup to Keep a Wet Edge
- Rolling Techniques That Prevent Dry Lines
- Troubleshooting Streaks, Smudges, and Lap Marks
- Cost-Effective Strategies Vs. When to Upgrade Materials
- Safety, Cleanup, and Best Practices
- Conclusion
- FAQ
Quick Overview: What a “Wet Edge” Is and Why It Matters
A wet edge is the continuously damp edge left by a fresh coat as you roll. It contrasts with a dry edge that starts to set before you finish the next pass. This distinction matters for both look and durability.
Visually, a wet edge prevents lap marks, roller texture, and uneven sheen. Functionally, it promotes better adhesion and fewer touch-ups, leading to a longer-lasting finish in real-room conditions.
Wet edge basics
A ‘wet edge’ is when you overlap still-wet paint from one pass to the next. This way, they blend together seamlessly.
The key here is overlapping. Don’t stop rolling until you’ve overlapped the previous stroke by a few inches.
Think of it like mowing your lawn – you don’t want any stripes or lines where one pass ends and another begins, right?
How dry lines form
Dry lines happen when the paint starts to set before you overlap it. This can be due to a few things.
First, evaporation. If your room’s too hot or drafty, paint dries faster than you can roll.
Second, if you’re not overlapping enough, or you’re rolling in the wrong sequence, you’ll leave gaps where paint can dry out.
Lastly, using the wrong type of paint – like oil-based when you should be using latex – can also cause dry lines. So keep an eye on your paint’s label too.
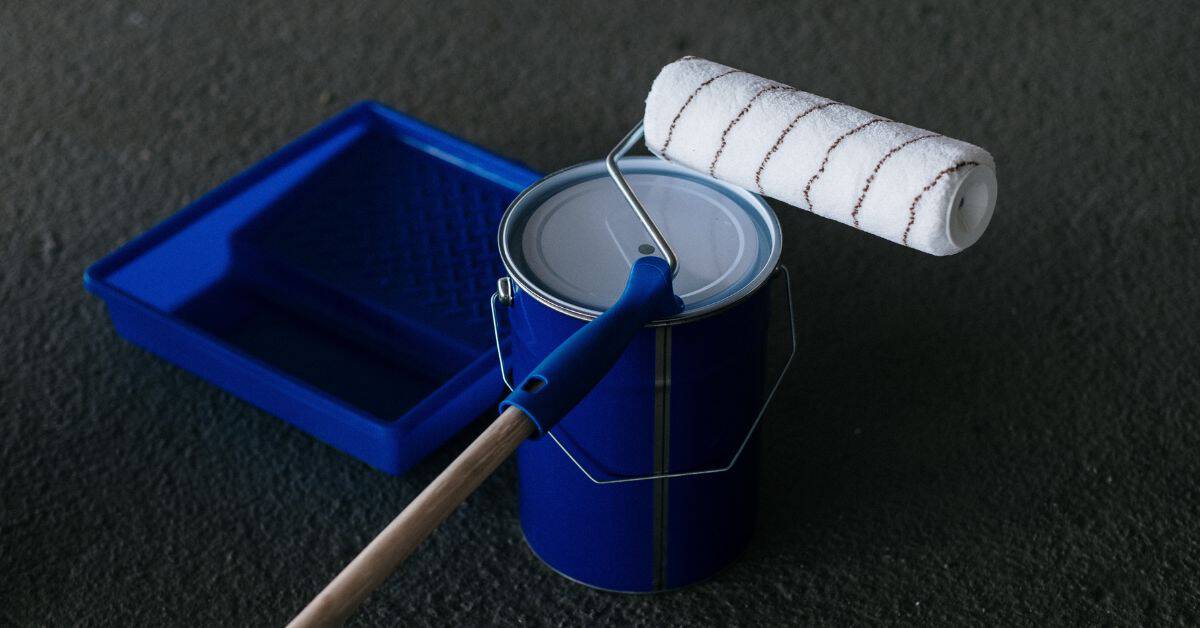
Tools and Materials Checklist
Start with roller selection: nap length and material affect smoothness and the ability to keep a wet edge. Your choice also influences coverage and how easy it is to blend edges. Pick a sleeve that suits the paint and surface you’re working on.
Frame ergonomics, extension poles, trays, and edge tools matter more than you might think. A sturdy frame and comfortable grip keep you from overreaching and losing the wet edge. Plan your loading, setup, and cleanup to minimize laps between passes.
Roller types and nap selection
Choose the right roller for your concrete surface and paint to ensure smooth, even coverage and a continuous wet edge.
- Nap length: Longer naps (3/4″ to 1″) work best on textured surfaces like concrete. Shorter naps (1/2″ to 3/4″) are ideal for smooth surfaces and high-gloss paints.
- Fabric material: Synthetic or lambswool rollers are suitable for most paints. Lambswool is better for oil-based paints, while synthetic works well with water-based paints.
- Sleeve quality: High-quality sleeves ensure even paint transfer and prevent linting, which can cause streaks or dry patches.
- Avoid: Low-quality rollers that shed fibers or have uneven naps, leading to inconsistent coverage and a rough finish.
Quick rule: Match nap length to surface texture and choose quality materials for smooth results.
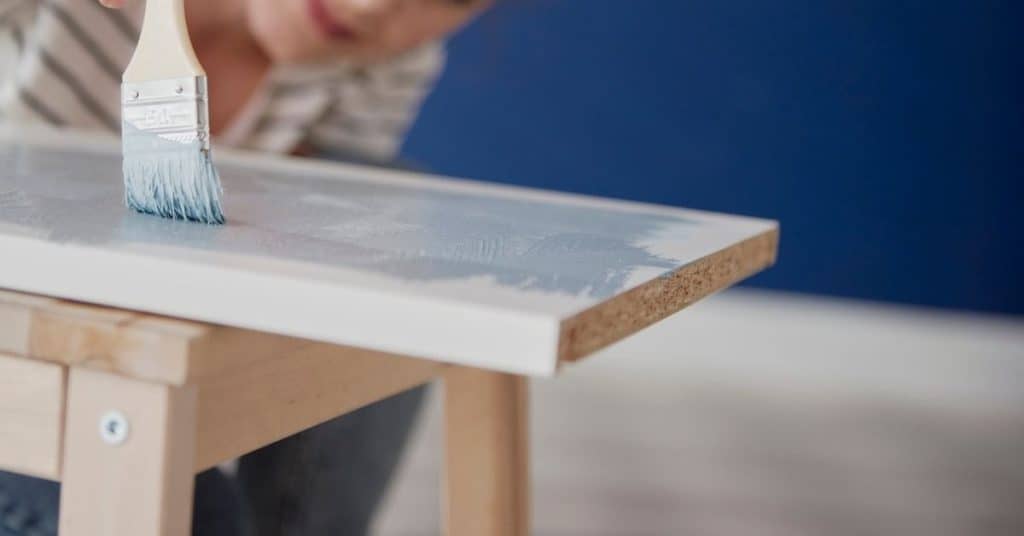
Brushes and edging tools
Use the right brushes and edgers to cut in and maintain a continuous wet edge around walls, joints, and transitions.
- Cutting-in brush: Use an angled sash brush (1.5″ to 2.5″) with synthetic bristles for water-based paints or natural bristles for oil-based paints.
- Edger tool: For straight edges, use a paint edger with a guide to maintain a consistent line and avoid over-painting.
- Trim brush: For trim work, choose a 1″ or 2″ angled sash brush for precise control and even coverage.
- Avoid: Overloading the brush, which can cause drips and runs. Instead, load the brush halfway up the bristles and maintain a consistent pressure while painting.
Quick rule: Use quality brushes and edgers, apply even pressure, and reload as needed to maintain a continuous wet edge.
Paint Selection and Preparation
Sheen and viscosity affect leveling, drag, and how well the edge stays wet. Matte, satin, and gloss finishes behave differently on concrete, so check how your chosen product will level on the surface you’re painting. Always read the manufacturer’s guidance for application and conditions.
Mixing, straining, and thinning are practical steps to control texture and flow. Agitate properly, strain to remove lumps, and avoid over-thinning that can worsen dry lines. Do a small test area before full-floor work to verify leveling and wet-edge behavior.
Choosing the Right Paint for Rolling
When it comes to painting concrete, you’ve got options. But not all paints are created equal.
Latex is water-based and dries fast. It’s easy to clean up and rework if needed. But it might not level as well or have the same open time as oil-based paints.
Oil-based paints take longer to dry but offer better leveling and a longer open time for touch-ups. They’re harder to clean, though.
Higher-quality formulations often reduce streaking. So, spend a bit more if you can. Always check the manufacturer’s application guidance too.
Preparing Paint for Consistent Coverage
Before you start rolling, prep your paint right to ensure a smooth finish across your floor.
Stir your paint thoroughly. Don’t just give it a quick mix. Get in there and make sure everything’s combined evenly.
Be careful not to over-thin your paint. Adding too much water or thinner can cause dry lines and poor coverage. Follow the manufacturer’s recommendations.
Keep extra mixed paint on hand. Consistency is key here. You don’t want to mix a new batch mid-job, changing the color or drying time.
Room Conditions and Setup to Keep a Wet Edge
Temperature, humidity, airflow, and lighting all influence drying and edge pull-away. Each factor can speed up or slow down drying, increasing the risk of laps or dry lines. Use the paint label’s recommended conditions as a baseline and plan accordingly.
Set up the room to minimize drafts and interruptions. Close doors, create a stable work zone, and position fans or heaters to promote uniform drying without blasting the rolling line. Keep tools within easy reach to reduce stops.
Temperature, humidity, and ventilation
Too much heat or too little humidity can speed up drying, closing your overlap window before you’re ready. Too cold or too humid can slow it down, leaving edges to dry out.
Ideal temp: 65-85°F (18-29°C). Humidity: 40-70%.
Adjust ventilation or schedule work for cooler hours if it’s too hot. Use a humidifier or open windows if air is too dry. If it’s too humid, ventilate and use fans to promote drying.
Lighting and staging your workspace
Good lighting helps you see where edges are drying. Stage your work in batches, planning your route so you can roll back into wet edges.
Lighting: Use natural light if possible. If not, supplement with artificial lights to reduce glare and shadows.
Plan your route so you’re rolling back into previously painted areas before they dry out. Work in sections, moving from one area to the next without breaking your wet edge.
Rolling Techniques That Prevent Dry Lines
Load the roller evenly and avoid pooling to prevent drips that cause dry lines. Choose a nap size appropriate for the film thickness and the surface texture. A well-loaded roller helps you maintain a consistent wet edge.
Start along edges (cut-in) before rolling the field. Maintain a continuous wet edge with overlapping strokes and a steady pace. Cross-rolling and feathering help blend seams and reduce ridges as you work.
Proper roller pressure and motion
Using the right amount of pressure is key to avoiding dry lines. Too much pressure can cause paint to skip, leaving thin strips that dry quickly. Too little pressure results in uneven coverage.
Apply even, moderate pressure as you roll. Imagine you’re gently caressing the wall, not scrubbing it. This helps distribute paint evenly across the surface.
Use smooth, overlapping strokes. Overlapping by 50-60% ensures a consistent coat and prevents lap lines. Avoid starting and stopping abruptly; keep your motion steady to maintain an even wet edge.
Maintaining the wet edge: sequencing and timing
Work from top to bottom, starting in a corner. This allows gravity to help you maintain a wet edge.
Divide your room into manageable sections, like panels or zones. Keep these sections consistent in width so adjacent areas remain wet long enough to blend together.
Once you’ve started rolling, don’t stop. Moving from wet to dry area keeps the paint from drying out and forming lines. If you must pause, do so briefly and re-wet any edges that start to dry before continuing.
Troubleshooting Streaks, Smudges, and Lap Marks
Create a diagnostic flow that groups issues by technique, materials, or environment. Use quick yes/no checks to identify the likely category. This helps target the right fix without guesswork.
Describe symptoms and root causes, then apply fixes such as re-wetting edges, adjusting roller nap, or altering environmental controls. Decide when to re-roll, feather, sand lightly, or repaint based on clear benchmarks and observations.
Identifying common causes
Streaks, smudges, and lap marks can be frustrating. Let’s figure out what caused them.
Streaks often appear when you’re not applying enough paint or rolling too fast. They can also show up if your roller nap is too short for the paint type.
Smudges usually happen due to dust or debris getting into the wet paint. This could be because of poor room preparation or rolling in a dusty environment.
Lap marks occur when you’re not maintaining a continuous wet edge, or if you’re rolling back over dried edges with too much pressure.
Immediate and corrective fixes
Don’t panic. Here are some quick fixes to tackle these issues while the paint is still wet.
For streaks, lightly re-roll over them with a new, damp roller. This helps blend the paint and even out the coverage. If they’re really stubborn, you might need to wait for the paint to dry, then sand lightly and repaint.
For smudges, try to blend them in immediately using a damp roller or brush. If it’s too late, you’ll have to sand and repaint once everything is dry.
For lap marks, feather the edge with a damp roller while the paint is still wet. This helps blend the two edges together. If they’ve already dried, you might need to lightly sand and repaint.
Cost-Effective Strategies Vs. When to Upgrade Materials
Define the finish goal and project context to guide your spending. This helps you choose where to invest and where technique and batching will suffice. Start with the basics and evaluate results before upgrading.
Consider upgrades where they offer real return: a better roller or paint with self-leveling properties can reduce coats and touch-ups. Use a simple decision framework to judge room size, climate, and surface condition against cost and expected benefit.
Budget-friendly tips that improve results
Maximize your paint and effort by following these low-cost strategies.
Use full roller loads: Dip your roller into the paint tray until it’s fully loaded. This ensures consistent coverage and reduces waste from over-dipping or under-loading.
Work smaller sections: Break down your wall into smaller, manageable areas. Work on one section at a time to keep the edge wet and avoid dry lines.
Keep a wet-edge plan: Plan your rolling sequence before you start. This helps maintain a continuous wet edge, reducing lap marks and touch-ups.
When to invest in premium supplies
Spending more on quality materials can save you time and effort, especially in these situations.
- Textured surfaces: For walls with heavy texture or imperfections, use a high-solids paint that self-levels better. This reduces the need for multiple coats and touch-ups.
- Critical finishes: When aiming for a flawless, professional look, opt for a paint with excellent hiding properties. This can help you achieve full coverage in fewer coats.
- Large projects: For big rooms or multiple walls, consider a roller cover with longer pile. It holds more paint and covers faster, reducing drying time between coats.
- Faster drying/opacity: In humid conditions or when working on high-traffic areas, choose a fast-drying, high-opacity paint. This helps prevent streaks and reduces the risk of accidental smudges.
- Problematic surfaces: For walls with stains, mold, or poor adhesion, use a high-quality primer or filler primer. This primes the surface for better paint adhesion and improves final appearance.
Safety, Cleanup, and Best Practices
Ventilation, gloves, eye protection, and appropriate respirators are essential for safety. Prepare the room to control dust, fumes, and moisture, and establish a quick stop signal if conditions worsen. A basic risk assessment helps you decide when to push pause.
Maintain a true wet edge with proper tool setup and a long-handled extension pole to reduce bending. Clean rollers properly and remove drips to prevent smudges. Use ladders safely with three-point contact and store tools to avoid dried-on residue between sessions.
Personal protective equipment and ventilation
Safety’s our top priority. Here’s what you need to keep yourself safe while rolling indoors.
- Ventilation: Open windows, use fans or rent a portable ventilation system. Aim for 8-10 air changes per hour.
- Gloves: Protect your hands with latex or nitrile gloves. They’re cheap and keep paint off your skin.
- Eye protection: Safety glasses or goggles shield your eyes from splashes. Get ones that fit well and won’t fog up.
- Respirator (optional): If using sealers or epoxy coatings, consider a respirator to protect against fumes. Rent or buy one with a P100 filter for best protection.
- Clothing: Wear old clothes or coveralls that you don’t mind getting paint on. Long sleeves and pants protect your skin.
Tool care and cleanup to prevent future problems
Maintaining your tools keeps them in top shape and prevents streaks. Here’s how:
- Clean rollers: After each use, rinse rollers thoroughly with water until the water runs clear. Squeeze out excess water and let dry before storing.
- Store leftover paint: Seal paint cans tightly, label them with date and color, and store upright in a cool, dry place. Discard any paint that’s been exposed to air for more than 24 hours.
- Inspect tools: Before each use, check your roller covers for wear or damage. Replace if necessary to avoid streaks.
- Clean brushes (if using): After each use, clean brushes with the appropriate solvent and let dry before storing. Wrap in plastic to keep bristles moist while not in use.
- Extension poles: Clean and store extension poles as per manufacturer’s instructions. Inspect for damage or wear before each use.
Conclusion
The core idea is simple: keep a consistent, workable edge as you roll to protect the finish, avoid damage, and save time and money in the long run. A solid wet edge means a durable coat that looks right and lasts.
Check in this order: set a stable room temperature and humidity, prep and prime as needed, mix and load the paint correctly, begin with a small, workable area and maintain a continuous wet edge, roll in a single direction or in overlapping passes, feather the edges, and clean up drips as you go. Don’t rush or skip steps; finish each small section before moving on.
Common mistakes to avoid include rolling too slowly or too fast, overloading the roller and leaving lap marks, and stopping without rewetting the edge, which creates dry lines. Always test in a hidden spot first, keep tools clean, and follow basic safety rules like using proper ventilation, wearing eye and skin protection, and turning off heat sources when needed to prevent sudden drying.
If you face large areas, high ceilings, or persistent stains, don’t push past safe limits. A pro can pace the job and ensure long-term stability when the project scope or conditions exceed DIY capacity. Stay steady, stay safe, and you’ll finish with a smooth, professional-looking result.
FAQ
How can I keep a truly wet edge when rolling from one section to the next?
Work in small sections and maintain a steady, overlapping motion. Don’t pause to reload if the edge is already thinning; roll into the next area while the first pass is still wet.
What causes streaks, and how can I avoid them during rolling?
Lack of uniform pressure and rolling over dry spots creates streaks. Keep consistent pressure and overlap slightly with each pass to blend edges smoothly.
Which rollers or pile types help maintain a wet edge in real rooms?
Choose rollers with a short to medium nap for smoother walls and better edge control. Avoid rollers that shed fibers and replace them when they shed or load unevenly.
How should I apply paint to maximize coverage without leaving dry lines?
Apply with even, moderate pressure and use “W” or crisscross strokes to spread product before rolling in one direction. Finish with long, light passes to smooth the surface and keep the edge wet. Always follow the paint label for recommended roller technique and reloading guidance.