
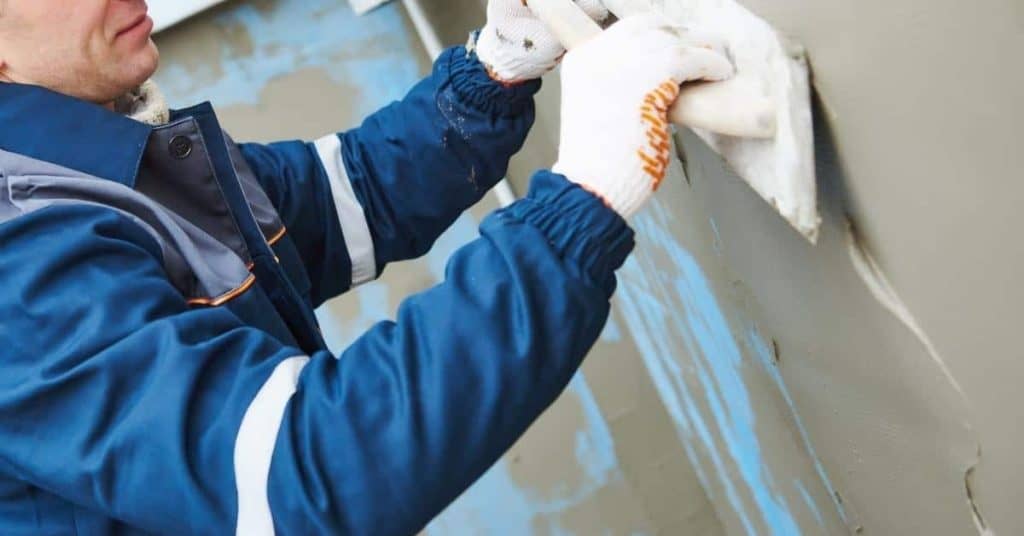
Introduction
A drainage plane helps keep water away from the stucco by directing it outward rather than behind the wall. This article walks through fixing cracks without blocking that flow. Keep in mind that your goal is to let water run down and out, not seal it in.
Start by inspecting the drainage layer and any existing weather barrier for gaps or damage. Clean the crack, dry it, and use a flexible patch or compatible repair method that won’t trap moisture behind the surface. Always check product labels, manufacturer instructions, and local rules for acceptable materials and methods.
Key takeaways
- Always verify drainage plane continuity before patching, to avoid hidden water traps.
- Wear eye protection and gloves during inspections and repairs for safety.
- Diagnose cracks for moisture entry with visible moisture or staining patterns.
- Choose crack repairs that maintain drainage, not seal against concealed leaks.
- Avoid caulk-only fixes over stucco; use compatible lath, mesh, and patch.
- Test repaired areas with cautious rain or spray simulation before enclosing and finishing.
Table of Contents
- Introduction
- Key takeaways
- Why the Drainage Plane Matters in Stucco Repairs
- Diagnosing Whether Cracks Are Letting Water in
- Common Causes of Stucco Cracking That Affect Drainage
- Risks of Common DIY Repairs That Trap Water
- Step-by-Step Repair Workflow That Preserves Drainage
- Materials, Compatibility and Specs Explained
- Visual Checkpoints and Tests After Repair
- When to Call a Pro, Permits, Insurance and Warranty Implications
- Conclusion
- FAQ
Why the Drainage Plane Matters in Stucco Repairs
The drainage plane sits behind the stucco and acts as a barrier between the wall assembly and the exterior finish. It helps shed water and provides a path for any infiltration to escape. Preserving its function is essential to stop hidden moisture from accumulating and causing rot over time.
When you work near the WRB, follow the manufacturer instructions and local rules for installation and repair. Check labels or data sheets for required clearances and materials compatibility before making changes. If in doubt, verify with the product spec or a building code reference to ensure the system remains continuous.
How a Stucco Assembly is Supposed to Shed Water
The purpose of a stucco wall assembly is to protect the building from water intrusion while allowing any incidental moisture to escape. This is achieved through several key components:
Weep screeds at the bottom of the wall allow water to drain out. They’re small, slotted pieces of metal or plastic that sit just above the foundation, creating a gap for water to exit.
Gaps are also left between the stucco and windows, doors, and other openings. These expansion joints prevent cracking due to movement and allow any trapped moisture to escape.
Additionally, an air gap is maintained behind the stucco, thanks to furring strips or other spacers. This allows water vapor to move freely and exit through weep screeds and expansion joints.
What Happens When the Drainage Plane is Compromised
When the drainage plane in a stucco wall assembly is compromised, water that should have drained away becomes trapped. This can happen due to several reasons:
Blocked weep screeds or clogged expansion joints prevent water from escaping, leading to moisture buildup behind the stucco.
Bridging of the water-resistive barrier (WRB) occurs when something – like a nail or screw – punctures it. This allows water to bypass the WRB and get trapped in the wall cavity, leading to mold growth and potential structural damage.
Damaged flashing at windows, doors, or other openings can also cause water to leak behind the stucco, resulting in substrate deterioration. Over time, this can lead to serious issues like rot and structural compromise.
Diagnosing Whether Cracks Are Letting Water in
Begin with a visual inspection for crack size, shape, and position relative to windows and joints. Look for signs of staining, efflorescence, or softening near the crack base. Trace the crack to see if it follows a sealant line or runs through the stucco and backing material.
Next, perform a moisture check by probing around the crack with your hand or a moisture meter if you have one. Consider a simple water test by lightly spraying the area and watching for any dampness or staining beyond the surface. Confirm findings by cross-checking with manufacturer guidance or local codes on moisture intrusion assessment.
Visual mapping and crack characterization
Start by grabbing a notebook and a measuring tape. You’re going to create a visual map of the cracks.
For each crack, note down its width and length. A hairline crack is less than 1/8 inch wide, while anything wider needs immediate attention.
Observe the pattern – are they horizontal, vertical, or diagonal? This can hint at the cause. Also, mark their proximity to flashings, windows, and transitions. These areas are common trouble spots.
Using moisture meters, probes, and borescopes
Now it’s time to check for moisture behind the stucco. You’ll need a moisture meter or a simple probe with an ohmmeter.
First, dry the surface around the crack with a towel. Then, press your tool firmly against the wall. If you get a high reading (above 15% for meters, low resistance for probes), there’s likely moisture behind the stucco.
For deeper checks, use a borescope. Drill a small hole, insert the scope, and look for signs of water or dampness. Remember to seal the hole afterwards.
Interior clues and secondary signs
Moisture can cause problems inside your home too. Keep an eye out for these symptoms:
1. Stains on ceilings, walls, or floors. These could be from water seeping through cracks.
2. Peeling paint or wallpaper. This often happens when moisture is present.
3. A musty smell. This indicates mold growth, which loves damp environments.
Exterior signs include:
– Efflorescence: a white, powdery substance on the stucco. It’s a sign of water moving through the wall.
– Rust on metal flashings or trim. This shows that water is getting where it shouldn’t be.
Common Causes of Stucco Cracking That Affect Drainage
Cracks often start from movement in the structure, such as settlement or frame shrinkage. Details around openings and corners also create stress points that open cracks. Material incompatibility between stucco, reinforcement, and WRB can worsen movement and cracking over time.
Installation errors like improper mesh embedding, insufficient control joints, or poor flashing detail can compromise drainage. These issues can create bridging or gaps that misdirect water away from the drainage plane. Always check that the system components are compatible and installed per instructions.
Structural and Thermal Movement
Stucco cracks often start due to the house moving. This can happen because of settlement, framing shifting, or temperature changes.
Settlement is when your foundation sinks a bit over time. This can cause stress on the walls, leading to cracks.
Framing movement happens when wood expands and contracts with humidity changes. This can push against the stucco, causing it to crack.
Thermal cycles are when temperatures rise and fall. Stucco expands and contracts with these temperature changes, which can also cause cracks.
Faulty Detailing at Penetrations and Transitions
Cracks often form where stucco meets other materials like windows, roofs, or walls. These are called penetrations and transitions.
If these areas aren’t flashed properly, water can get behind the stucco and cause leaks. This bypasses the drainage plane, leading to moisture problems.
Windows are a common trouble spot. If they’re not flashed correctly, water can get in at the seams between the window and the wall.
Rooflines and through-wall connections can also be problematic if they’re not detailed properly. Water can get behind the stucco here too, causing leaks and drainage failures.
Risks of Common DIY Repairs That Trap Water
Many quick fixes seal or bridge cracks without addressing drainage behind the wall. These methods can create a hidden moisture trap and encourage rot and mold growth. A cosmetic fill may look tidy but does not restore proper water shedding at the substrate.
Be careful with products that claim to be universal patches or self-adhesive membranes. If the drainage plane is bridged or sealed, water can’t drain properly. When in doubt, review the product label and manufacturer recommendations for limitations.
Surface-only patching without addressing the WRB
The biggest mistake DIYers make is filling cracks at the finish layer and calling it a day. Here’s why that’s a problem:
Hiding water entry. Filling surface cracks with stucco or caulk might look good, but it doesn’t stop water from getting in. It just hides the fact that your wall is still leaking.
Accelerating decay. Water trapped behind the finish layer can’t escape. This leads to moisture buildup, which promotes mold growth and rots the substrate over time.
Always address the drainage plane when fixing stucco cracks. That’s where the real waterproofing happens.
Using non-breathable coatings, tapes, or excessive sealant
Another common DIY error is using non-breathable materials to seal cracks. Here’s why that’s a bad idea:
Trapping moisture. Non-breathable materials don’t allow water vapor to escape. This traps moisture in the wall, leading to all sorts of problems.
Preventing drying. Stucco needs to breathe to dry out properly. Non-breathable coatings can prevent this from happening, keeping your walls wet and susceptible to damage.
Instead of using non-breathable materials, opt for breathable alternatives that allow water vapor to escape while still keeping liquid water out.
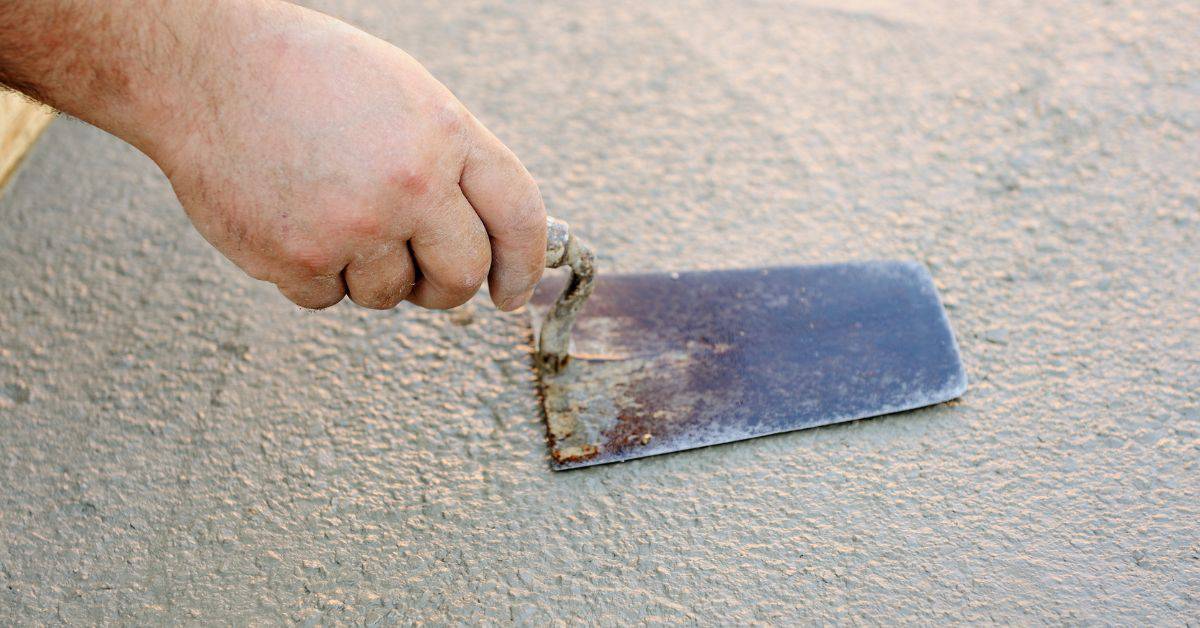
Step-by-Step Repair Workflow That Preserves Drainage
Start with a thorough assessment of the crack location, movement, and surrounding details. Document the current condition and plan the repair sequence. Prioritize preserving or restoring the drainage plane continuity before any visible patching.
Then prepare the substrate, address any movement with appropriate control joints, and install compatible materials in the correct order. Finish with a compatible topcoat that won’t seal the assembly prematurely. Always verify the sequence against the manufacturer instructions or local guidelines.
Step-by-Step Repair Process
This sequence guides you through a practical repair workflow that preserves drainage, from preparation to final checks.
- Preparation and safety: Clear the area, wear PPE, and cover nearby surfaces. Ensure ladders are secure.
- Exposure: Carefully remove damaged stucco using a chisel or oscillating tool. Keep it dry if wet.
- Main work: Inspect and repair substrate, WRB/flashing (next steps), then reinstall proper gaps.
- Stucco application: Apply new stucco layers, following manufacturer’s instructions for mixing and application.
- Final checks: Inspect your work, ensure drainage is restored, and clean up the area.
Tools, safety, and materials checklist before starting
Use this checklist before you begin to ensure a safe and successful repair.
- PPE: Gloves, goggles, dust mask, hard hat (if needed).
- Tools: Trowel, chisel, oscillating tool, utility knife, tape measure, level.
- Materials: Stucco mix, WRB material, flashing, screws/nails, sealant.
- Safety: Ladder, secure footing, clear work area.
- Permits: Check local requirements for repairs.
- Compatibility: Ensure new materials match existing ones in composition and performance.
Quick rule: Always prioritize safety first; check tools, PPE, and work area before starting.
Open the crack/detail, inspect and document the WRB and substrate
Safely expose the assembly to inspect the WRB and substrate. Document findings for accurate repair planning.
Carefully: Remove damaged stucco using a chisel or oscillating tool. Keep it dry if wet.
Inspect the exposed WRB/flashing for tears, gaps,