
Introduction
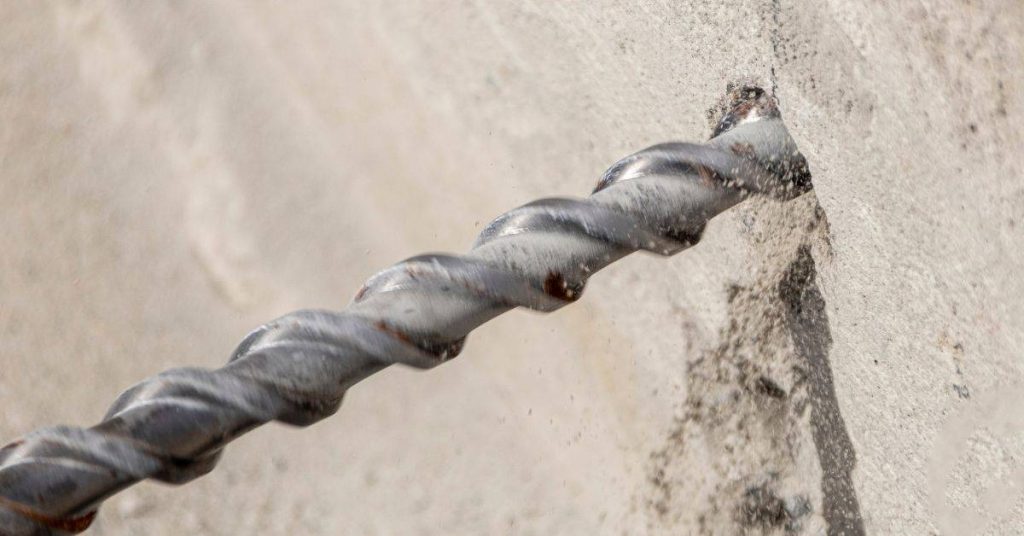
Drilling rebar dowels is the process of making a hole that the steel bar can sit in securely.
Key takeaways
- Verify embedment depth per plans and code requirements before drilling.
- Choose drill bits matching hole diameter and concrete hardness per label.
- Drill slowly with steady pressure to reduce blowouts and surface spalling risk.
- Clean hole boring dust and debris before dowel insertion.
- Use safety gear and secure work area; watch for hidden rebar.
- Document inspections and any corrective repairs for future projects.
Table of Contents
- Introduction
- Key takeaways
- Overview: What Rebar Dowels Do and Why Drill Depth Matters
- Determining How Deep to Drill (Embedment Depth)
- Hole Diameter, Tolerances, and Selecting the Right Drill Bit
- Drilling Technique to Minimize Blowouts and Spalling
- Hole Cleaning and Preparation Before Installing Dowels
- Tools and Materials Checklist (DIY and Professional)
- Preventing, Detecting, and Repairing Blowouts or Spalling
- Safety, Codes, Inspections, and Documentation
- Conclusion
- FAQ
Overview: What Rebar Dowels Do and Why Drill Depth Matters
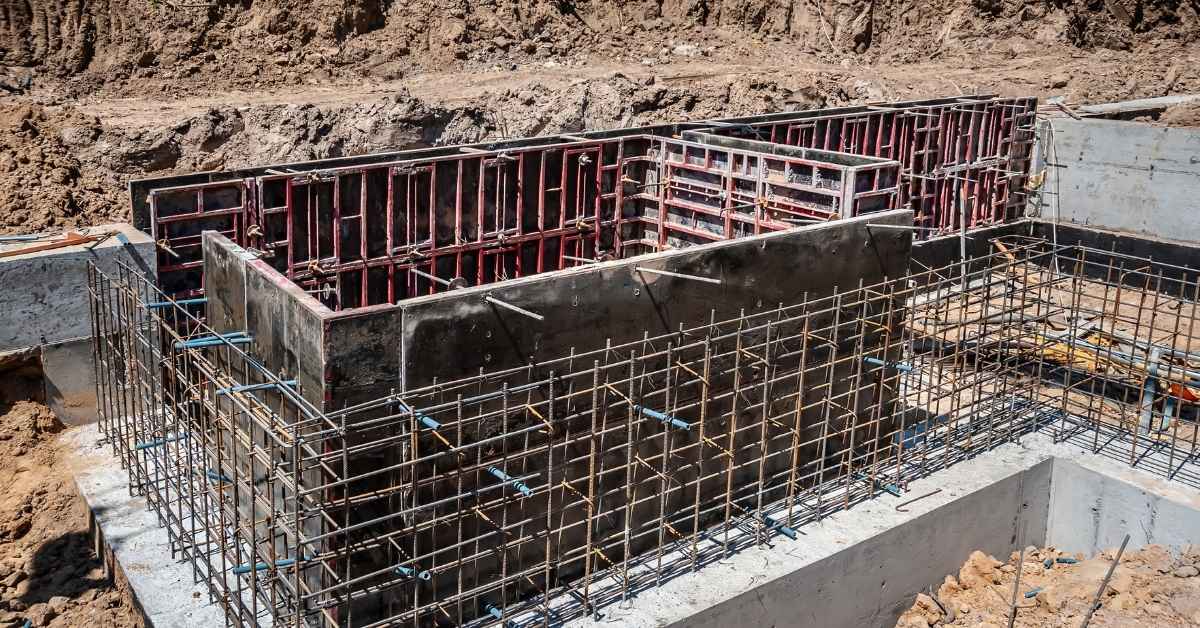
Rebar dowels provide a direct path for load transfer between concrete elements and help keep alignment true during and after installation. They also help limit crack propagation and improve long-term performance. The embedment depth and the quality of the drilled hole are key factors that influence durability and holding power.
Think of the drill depth as part of the system, not just a number. Verify project documents and manufacturer guidance to confirm what the structural intent requires and to ensure the hole accepts the chosen dowel and adhesive system correctly.
Structural function of dowels
Dowels play a crucial role in concrete structures by transferring shear and load across joints. They’re like the unsung heroes holding your structure together.
Here’s how they work:
Shear transfer: Dowels span joint gaps, preventing slippage when forces push or pull on either side. Think of them as friction brakes stopping your concrete from sliding.
Load transfer: Embedded in both sides of a joint, dowels carry loads across the gap, sharing the weight between connected pieces. It’s like they’re taking turns carrying your heavy stuff.
Common project placement scenarios
Dowels see action in various projects. Here are a few common ones:
Repair work: When fixing damaged concrete, dowels help tie the new repair to the existing structure. It’s like giving your old wall a helping hand.
Slab-to-slab joints: In multi-story buildings, dowels connect slabs together, making sure your floors stay stacked neatly.
Retrofit projects: When strengthening older structures, dowels help integrate new concrete with the old. It’s like giving your grandma a sturdy walker to keep her steady.
Determining How Deep to Drill (Embedment Depth)
Embedment depth should follow what the project calls for and what the material and load require. The factors are the load type, the substrate material, drill hole size, anchor type, and how long the fastener is expected to hold. Always verify the assumed depth against project documents or a structural engineer, and check the label or datasheet for any guidance.
If you guess on depth, you risk failure or damaged parts. Use the drawings, specs, and approval notes as your guide, then set a drilling depth accordingly and verify on site. When in doubt, pause and check with the engineer or manufacturer instructions before proceeding.
Design factors that influence embedment depth
The depth you drill for rebar dowels isn’t one-size-fits-all. It depends on several design factors.
Load type and concrete strength play a big role. Heavier loads need deeper embedment. Stronger concrete allows shallower drilling.
Bar diameter matters too. Thicker bars need more embedment to hold securely. And if you’re using adhesive anchorage, the embedment depth should be at least 5 times the bar’s diameter. For mechanical anchors, follow the manufacturer’s guidelines.
Proximity to edges and faces also affects embedment depth. The closer a dowel is to an edge or face, the deeper it needs to go to avoid blowouts.
Practical depth guidance and what to verify
As a general rule of thumb, embed your dowels at least 5 times the bar’s diameter. But this is just a starting point.
For common projects like residential slabs, you might see depths between 12 to 18 inches. But don’t take our word for it. Always check your project drawings. They’ll have specific embedment depths based on the engineer’s calculations.
Also, verify with the anchor manufacturer’s instructions. They often provide depth guidelines tailored to their products. And don’t forget to check local building codes. They might have minimum embedment requirements.
Lastly, if you’re unsure, consult a structural engineer. It’s better to be safe than sorry.
Hole Diameter, Tolerances, and Selecting the Right Drill Bit
Hole size must match the dowel and the adhesive or sleeve system being used. Tolerances influence acceptance of the dowel and the performance of the bond. Align the bit choice with the bar size and the product instructions you are following.
Choose bits based on concrete condition and tool availability, keeping in mind that worn bits can affect diameter and roundness. Always refer to the label, DS, or manufacturer guidance for the recommended bit type and size for your setup.
Sizing holes for rebar, sleeves, and epoxy anchors
When you’re drilling holes for reinforcement, you need to consider the size of what’s going in. Here’s how:
For rebar, you want a tight fit. Drill a hole that’s just big enough for the rebar to slide through easily. That means the hole diameter should be about 1/8″ (3mm) bigger than the rebar’s diameter.
Now, if you’re using sleeves or resin anchors, you need some clearance for the grout or resin to flow around. Drill a hole that’s about 1/4″ (6mm) bigger than the sleeve or anchor’s diameter.
Pro tip: Always check your product literature to confirm the required annulus – that’s the space between the hole and the insert. Don’t guess, don’t assume. Check it out.
Drill bit types and when to use them
When drilling into concrete, you’ve got three main drill bits to choose from. Each has its own strengths, so pick the right one for your job.
Carbide Masonry Bits – These are your basic, everyday bits. They’re cheap and work fine in small holes (up to 1/2″) with no rebar. But they wear out fast on bigger holes or if you hit reinforcement. Use them for:
- Drilling small holes for screws or nails
- Light-duty tasks where you won’t hit steel
SDS (Spit Drill System) Bits – SDS bits are tougher and meant for bigger holes (up to 1″) with some reinforcement. They’ve got a special shank that fits into SDS drills, letting you hit harder without breaking the bit. Use them when:
- You’re drilling larger holes
- There might be rebar in your way
Diamond Core Bits – These are the big guns, used for large-diameter holes (1″ and up) with lots of reinforcement. They’ve got diamond segments that cut through concrete and steel like butter. But they’re pricey and need special wet drilling. Use them when:
- You’re making big holes
- There’s plenty of rebar to slice through
Drilling Technique to Minimize Blowouts and Spalling
Start with a controlled entry to avoid scouring the surface. Maintain a steady drilling rate and avoid forcing the bit when the bit binds. Use a consistent backing technique to keep dust and debris from blowing ahead of the hole.
Use stages if the hole is deep or if you encounter hard pockets near the surface. Exit the hole smoothly to minimize exit damage or spalling near edges, and document any irregularities for follow-up checks per project requirements.
Starting the hole and controlling entry/exit
Begin by marking your drill point accurately. Use a center punch to create a small indentation, preventing the bit from wandering.
Start at low speed and gradually increase as you penetrate. This helps prevent sudden breakouts. Keep the drill perpendicular to the surface.
Never drill all the way through in one go. Stop about 10-15mm from the opposite face to avoid spalling, then finish by reversing direction slowly.
Backing methods and sacrificial supports
For thin elements, drill from both sides if possible. This helps distribute the stress evenly and prevents breakouts.
Use temporary backing like timber or plywood on the non-drilling side to support the concrete and absorb some of the drill’s pressure. Secure it firmly with screws.
Sacrificial plugs can also be used. Drill a slightly oversized hole first, insert the plug, then drill your final hole through it. This protects the concrete edge.
Hole Cleaning and Preparation Before Installing Dowels
Clean holes thoroughly to maximize bond performance. Brush and blow methods remove loose material from the bore, but vacuuming can capture fine debris more completely. If moisture is present, plan how it will affect adhesion or sleeve seating.
Compare cleaning options and choose the method that best suits the job size and material condition. Always follow product instructions for any cleaning steps required by the adhesive system you are using.
Best practice cleaning sequence
The key to a strong bond is a clean hole. Here’s the best order:
Brush: Start by brushing out loose material with a stiff-bristled brush. This gets rid of large debris.
Blow/Vacuum: Next, use compressed air or an industrial vacuum to remove finer particles and dust. Repeat the brushing if needed.
Wet cleaning: For optimal adhesion, consider wet cleaning. Use a damp cloth or sponge, but avoid standing water unless specified in your project plan.
Visual checkpoints to confirm a clean hole
Before inserting the dowel or adhesive, use this checklist to ensure your hole is clean and ready. Do this after each cleaning step.
- No visible fines: The hole should be free of dust and small particles. A quick wipe with a damp cloth helps confirm this.
- Consistent diameter: Check that the hole’s width is even throughout. Inconsistencies can weaken the bond.
- No standing water (unless specified): While some projects may require wet conditions, generally, standing water can cause issues with adhesion and dowel integrity.
- Hole walls are dry: The hole should be dry to the touch. Moisture can compromise the bond between the concrete and dowel.
- No cracks or damage: Inspect for any cracks, chips, or other damage that could affect the dowel’s performance.
- Correct depth: Measure to ensure the hole is the correct depth. Too shallow or deep can compromise the dowel’s function.
- No foreign material: Check for and remove any foreign materials like paper, plastic, or other debris that could interfere with adhesion.
- Hole is straight: Ensure the hole is straight to prevent stress on the dowel and potential failure.
Quick rule: If you’re unsure about any aspect of your hole’s cleanliness, re-clean it. Better safe than sorry.
Tools and Materials Checklist (DIY and Professional)
Assemble a concise set of essential tools and PPE for the task, plus spare consumables. Confirm the drill capacity matches the hole size you plan to use. Have a plan for edge protection and dust control.
For smaller jobs, consider alternatives that still deliver clean holes and reliable bonds. Check tool labels and manufacturer instructions to ensure the equipment is suitable for the required hole diameter and depth.
Power tools, rigs, and setup considerations
Before you start drilling, make sure your power tools are up to the task. Here’s a checklist to ensure you’re using the right equipment for your job.
- Hand drill: Use for shallow holes (up to 2″ deep) and small diameters (up to 1/4″).
- Hammer drill: Ideal for medium-depth holes (up to 6″) with diameters up