

Key Takeaways
-
- Understanding PSI is crucial for ensuring the strength and durability of your cement projects.
- Slump measurements provide insights into the workability and consistency of your cement mix.
- Properly interpreting cement labels and using the right materials can prevent common project missteps.
Introduction
Understanding the specifications on a cement bag can greatly influence the success of your construction or DIY projects. Key terms like PSI, slump, yield. and set time each provide crucial information about the cement’s capabilities and appropriate applications. Whether you’re working on structural foundations or decorative pathways, knowing how to decode these terms ensures that you choose the right product for your needs.
The PSI rating of a cement mix indicates its compressive strength, which is vital for determining its suitability for various loads and applications. Meanwhile, slump measurements help assess the workability of the cement mix, affecting both its ease of application and final appearance. Yield specifies the volume of concrete produced from a specific quantity of cement, guiding you in project planning and budgeting.
Finally, set time informs you about the curing process and how quickly the cement will harden. By understanding these elements, you can make informed decisions that enhance the quality and durability of your projects. Let’s dive deeper into each of these critical factors to see how they contribute to your project’s success.
Unpacking PSI: Why Strength Matters for Your Projects
When considering the structural integrity of your project, PSI (pounds per square inch) becomes an indispensable factor. It not only dictates the load-bearing capacity but also influences the longevity of the structure. A higher PSI is typically required for structural elements like footings and beams, while lower PSI mixes may be fine for flatwork or non-load-bearing applications.
Decoding Slump: What It Tells You About Your Mix
Slump is more than just a measure of consistency; it’s a snapshot of your mix’s workability. A low slump indicates a drier, stiffer mix, ideal for projects requiring strength and minimal movement, while a high slump suggests a wetter, more workable mix that may be easier to apply but weaker structurally. Matching the slump to the task at hand ensures the right balance between ease of use and long-term performance.
Yield Explained: Getting the Most Out of Your Cement
Yield tells you how much concrete volume a given bag of cement will produce when mixed correctly. Understanding yield helps you estimate how much material to buy, preventing costly overages or mid-project shortages. It’s especially useful for budgeting and ensures consistent mix quality across batches.
Set Time Secrets: What Influences Cement Hardening
Set time refers to how quickly cement transitions from a workable paste to a solid material. Factors like ambient temperature, humidity, and water content can dramatically affect set time, either speeding it up or slowing it down. Knowing this helps you plan your working time, avoid rushed finishes, and prevent premature hardening or cracking.
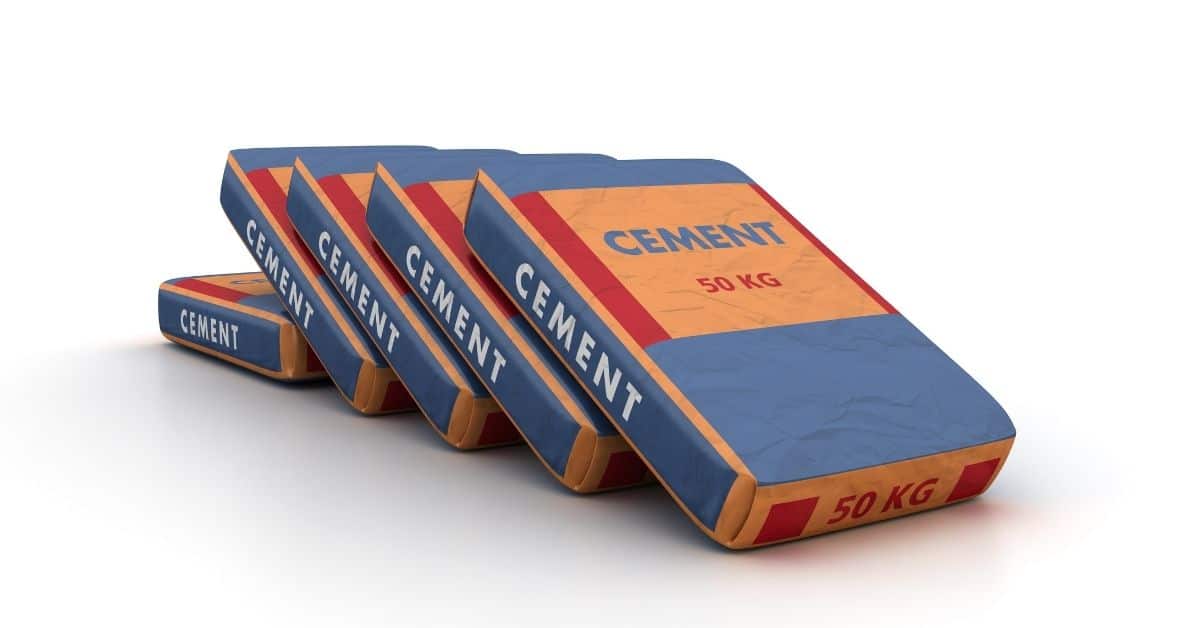
Reading Cement Labels: A Visual Guide to Key Information
Cement bags may seem cluttered with numbers and technical terms, but they’re packed with essential information. From PSI ratings to mix ratios, understanding what’s printed on the label helps you make confident, informed choices. With just a bit of knowledge, you can quickly compare products and find the best match for your specific project.
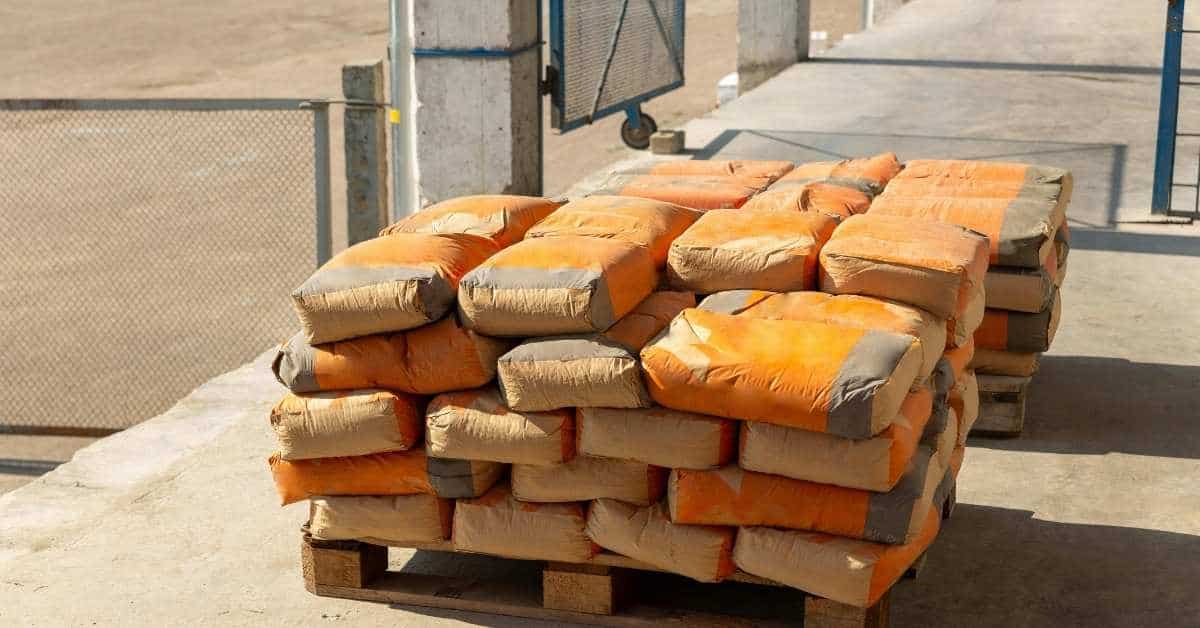
Materials and Tools: Essentials for Your Cement Project
Success starts with preparation, and that means having the right tools and materials on hand. From basic items like buckets and trowels to mixers and safety gear, being properly equipped can prevent delays and mistakes. Quality tools not only make the job easier but also contribute to a better finish and stronger results.
Common Missteps and How to Avoid Them
Many cement projects fail due to preventable errors like incorrect water ratios, poor surface prep, or rushing the curing process. These mistakes can lead to cracking, poor bonding, or premature deterioration. By learning what to watch out for, you can sidestep these issues and ensure a smooth, lasting finish.
Pro Tips for Working with Cement Like a Seasoned DIYer
Even small tweaks in technique can lead to noticeably better results. From pre-wetting your forms to using a bonding agent on existing surfaces, expert tips help you work smarter, not harder. Whether you’re mixing by hand or machine, attention to detail and good practices make all the difference.
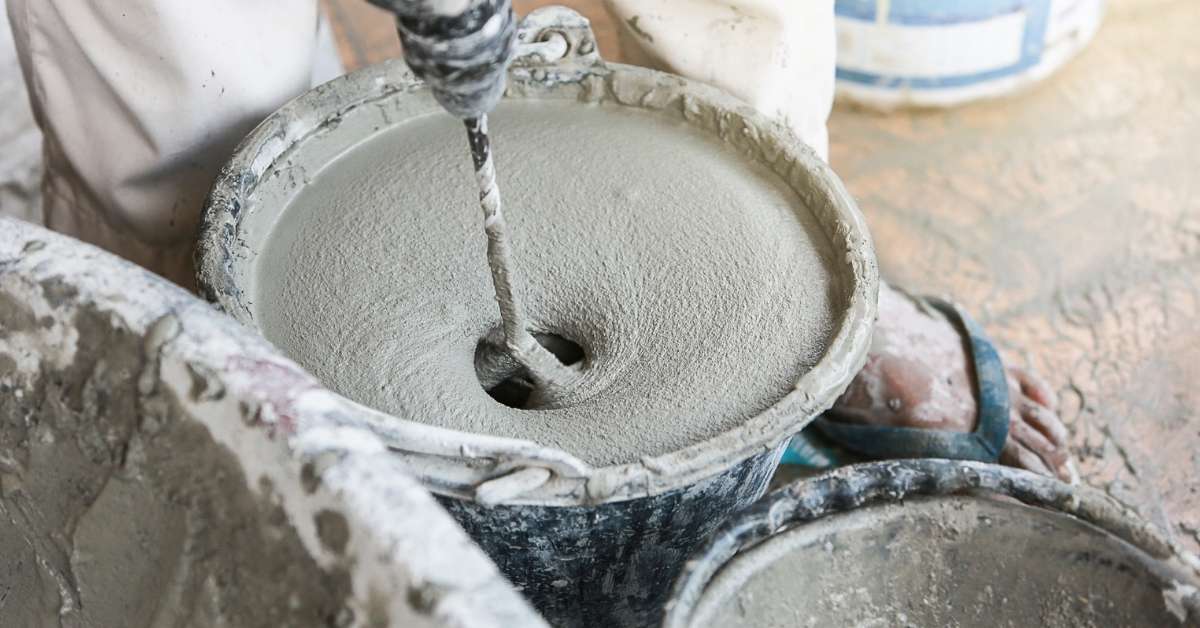
Water-to-Cement Ratio: The Hidden Key to Strength and Durability
One of the most overlooked yet critical factors in working with cement is the water-to-cement (w/c) ratio. This ratio influences everything from the strength and durability of the final product to how workable the mix is during application. While it may be tempting to add more water to make the mix easier to handle, doing so can significantly weaken the cured concrete. Too much water dilutes the cement paste, reduces bonding strength, and increases the risk of cracking or dusting over time.
An ideal water-to-cement ratio typically ranges from 0.40 to 0.60, depending on the application. For structural work, a lower ratio (closer to 0.40) is recommended for maximum strength. For projects where workability is more important than ultimate strength—such as pathways or garden features—a slightly higher ratio may be acceptable. However, even in non-critical applications, overwatering should be avoided.
Proper measurement is crucial. Rather than relying on visual judgment, use measuring containers to keep water amounts consistent between batches. Consider the moisture content of sand or aggregates as well, since they can add hidden water to your mix. If you’re using ready-mix bags, follow the manufacturer’s recommended water volume precisely, and mix thoroughly to avoid dry pockets.
Controlling the water-to-cement ratio not only improves performance but also helps avoid problems like surface scaling, shrinkage cracks, and reduced frost resistance. A good mix begins with understanding this key ratio, and mastering it ensures your projects stand the test of time—both structurally and visually.
Curing Concrete Correctly: The Final Step That Makes or Breaks Your Project
Curing is the process of maintaining adequate moisture, temperature, and time to allow concrete to achieve its desired properties. Despite being the last stage in a cement project, curing is arguably one of the most important—and most frequently neglected—steps. Improper curing can result in weak, brittle concrete that is prone to cracking, dusting, or surface flaking.
Proper curing allows the cement in your mix to fully hydrate. Hydration is a chemical reaction between cement and water, and it’s what gives concrete its strength and durability. If the concrete dries out too quickly (for example, in hot or windy conditions), the hydration process is cut short, resulting in poor strength and weak bonding.
There are several effective curing methods. One of the simplest is to keep the surface continuously wet using water sprays or soaked coverings like burlap for at least 3–7 days. Another option is to use a curing compound—a liquid that forms a moisture-retaining film over the surface. For small DIY projects, even covering with plastic sheeting can help retain moisture and promote proper curing.
Timing is key. Start curing as soon as the surface is hard enough to avoid damage, usually within a few hours after finishing. The curing period varies depending on temperature, humidity, and cement type, but longer curing—up to 28 days—is ideal for maximum strength development.
Neglecting this step often leads to costly repairs or complete project failure. By simply allowing your concrete to cure properly, you’re investing in a stronger, more durable result. Whether you’re building a driveway or a patio, curing is your concrete’s chance to reach its full potential.
Conclusion
Understanding the key components of cement such as PSI, slump. and yield is essential for the success of any DIY project. PSI is a critical measure of compressive strength, indicating how much pressure cement can withstand before failing. Selecting the right PSI for your project ensures that structural elements like foundations and load-bearing walls can handle the intended load, while lower PSI might suffice for non-structural applications.
Slump, on the other hand, determines the workability and consistency of the cement mix. A higher slump can make the mix easier to work with but may compromise strength, whereas a lower slump results in stronger concrete but can be more difficult to handle. Understanding the appropriate slump for your project helps achieve the desired balance between workability and strength.
Yield, although not discussed in detail here, is another crucial factor that determines how much cement is needed for a project. Ensuring you have the right yield helps in efficient material usage and cost management. It’s important to measure accurately to avoid wastage and ensure sufficient coverage for your project.
However, challenges such as improper curing, incorrect PSI selection. and inadequate surface preparation can lead to common failure modes like cracking and delamination. Addressing these issues involves maintaining the correct water-to-cement ratio, ensuring optimal curing conditions, and selecting the appropriate PSI for your application. Safety should always be a top priority when working with cement.
Wearing protective gear such as gloves and goggles, working in a well-ventilated area. and consulting the Safety Data Sheet (SDS) for handling instructions are essential practices. Additionally, adhering to local codes and manufacturer instructions is crucial to ensure compliance and safety. To mitigate potential pitfalls, always clean and prepare the substrate, work within the recommended temperature and humidity ranges, and follow reliable practices for mixing and curing.
By doing so, you can enhance the quality and durability of your projects while minimizing the risk of failure. Understanding and applying the principles of PSI, slump. and yield can significantly impact the outcome of your cement projects. By making informed decisions and prioritizing safety, you can ensure the longevity and success of your DIY endeavors.
Remember to always consult local building codes and safety guidelines to align with the legal and safety standards required for your project. Now, take these insights and approach your next cement project with confidence and precision!
Quick Facts
- Overall time needed: Varies by project size, but understanding key concepts such as PSI, slump, and yield will streamline planning and execution.
- Most common pitfalls: Misinterpreting cement labels, improper slump management, and neglecting environmental factors affecting set time.
- Top best practice: Thoroughly understand and plan for PSI, slump, yield, and set time to ensure project success and material efficiency.
FAQ
Question 1: What does PSI stand for, and why is it important in cement projects?
PSI stands for pounds per square inch and measures the compressive strength of cement. It is crucial because it indicates how much pressure the cement can withstand before failing. Choosing the right PSI ensures that your project can handle the intended load, which is essential for the longevity and success of structural elements like foundations and load-bearing walls.
Question 2: How does slump affect the workability of cement, and what are the ideal ranges for different applications?
Slump measures the fluidity or thickness of a cement mix, affecting its ease of application and final appearance. A high slump (4 to 8 inches) indicates a wetter mix, which is easier to work with but may result in weaker concrete. A low slump (1 to 3 inches) signifies a drier mix, offering more strength. Structural applications benefit from a lower slump for durability, while decorative projects might allow for a higher slump.
Question 3: What are some common failure modes in cement projects, and how can they be addressed?
Common failure modes include cracking and delamination, often caused by improper curing or incorrect PSI selection. To address cracking, ensure the correct water-to-cement ratio and optimal curing conditions. Delamination can be fixed by proper surface preparation and using the right PSI for the application. Avoiding over-troweling and maintaining the temperature within the recommended range also help prevent issues.
Question 4: What are the reliable practices for working with cement to ensure quality and safety?
Reliable practices include wearing protective gear like gloves and goggles, working in a well-ventilated area. and ensuring the substrate is clean and debris-free. It’s important to work within the ideal temperature range of 50°F to 90°F and avoid high humidity to ensure proper curing. Following these guidelines helps enhance the quality and safety of your cement projects.