
Table of Contents
- Table of Contents
- Introduction
- Introduction to Concrete Rust Stains
- Understanding Oxalic Acid
- Understanding Ascorbic Acid
- Oxalic vs. Ascorbic Acid: A Comparative Analysis
- Neutralizing Concrete After Acid Treatment: Best Practices and Tips
- Safety Precautions and Protective Gear
- Environmental Impact and Considerations
- Neutralization and Rinsing Post-Treatment
- Common Mistakes and How to Avoid Them
- Choosing Between DIY and Professional Rust Stain Removal
- Long-term Effects on Concrete Surfaces
- Visual Results: Before and After
- Conclusion
- FAQ
- EDITOR NOTES – delete this block before publishing
Introduction
Oxalic acid is generally more effective than ascorbic acid for removing rust stains from concrete due to its stronger chemical properties. In this article, we explore the differences between these two acids, their application methods, and tips for achieving the best results in rust stain removal.
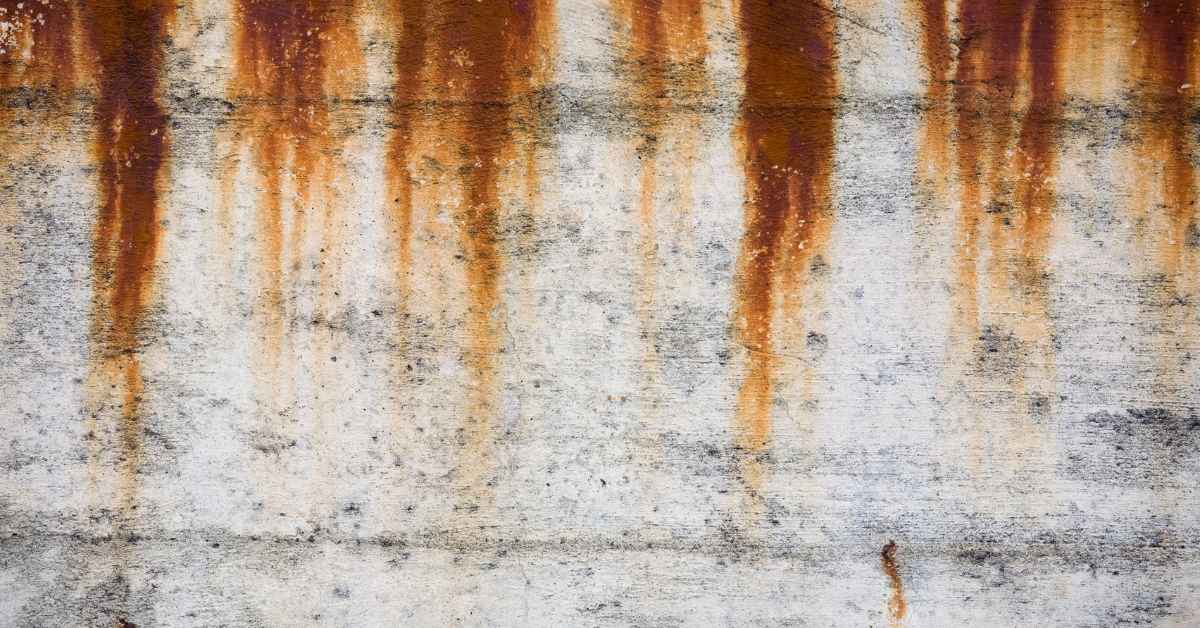
Introduction to Concrete Rust Stains
Concrete rust stains are a prevalent issue caused by the oxidation of metal elements within or near the concrete surface. These unsightly blemishes not only affect the aesthetic appeal of concrete structures but can also indicate underlying issues that may require attention.
Understanding Oxalic Acid
Oxalic acid is a potent compound known for its effectiveness in removing rust stains. This section explores its chemical properties and practical applications, highlighting why it is a popular choice for tackling stubborn rust marks.
Chemical Properties
Oxalic acid is a simple organic compound with the formula C₂H₂O₄. It’s a colorless crystalline solid that dissolves well in water. This acid is known for its ability to effectively interact with rust, making it a popular choice for rust removal. When oxalic acid comes into contact with rust, it reacts to form a water-soluble complex, which makes it easier to scrub away the rust.
Before you start using oxalic acid, make sure you understand its strength. It’s a potent acid, so handle it with care. Always wear gloves and protective eyewear when working with it. If you’re dealing with a small rust spot, a diluted solution of oxalic acid should do the trick. However, for larger areas, you might need a bit more elbow grease. Apply the solution, let it sit for a while, and then scrub the rust away.
Don’t get lazy with safety. Oxalic acid can be harmful if it comes into contact with your skin or if you inhale its fumes. Always work in a well-ventilated area and store it safely out of reach of children and pets. If you’re unsure about using oxalic acid, it might be wise to consult a professional or consider alternative rust removal methods.
Application Techniques
First, make sure you have the right tools. You’ll need a stiff brush, a bucket, and protective gear like gloves and goggles. Safety first. Mix the oxalic acid with water according to the instructions on the package. Don’t guess. Getting the ratio wrong can damage your concrete.
Before applying, clean the area of any loose debris or dirt. This ensures the acid can penetrate the rust stain effectively. Use the brush to scrub the mixture onto the stain. Be thorough but don’t overdo it. Let the solution sit for about 10-15 minutes. This gives it time to work its magic.
After waiting, scrub the area again. This helps lift the rust off the surface. Rinse the area with plenty of water to neutralize the acid. Don’t skip this step. Leaving acid on the concrete can cause more harm than good. Check the stain. If it’s still there, you might need a second application. Just don’t overuse the acid. It’s powerful stuff.
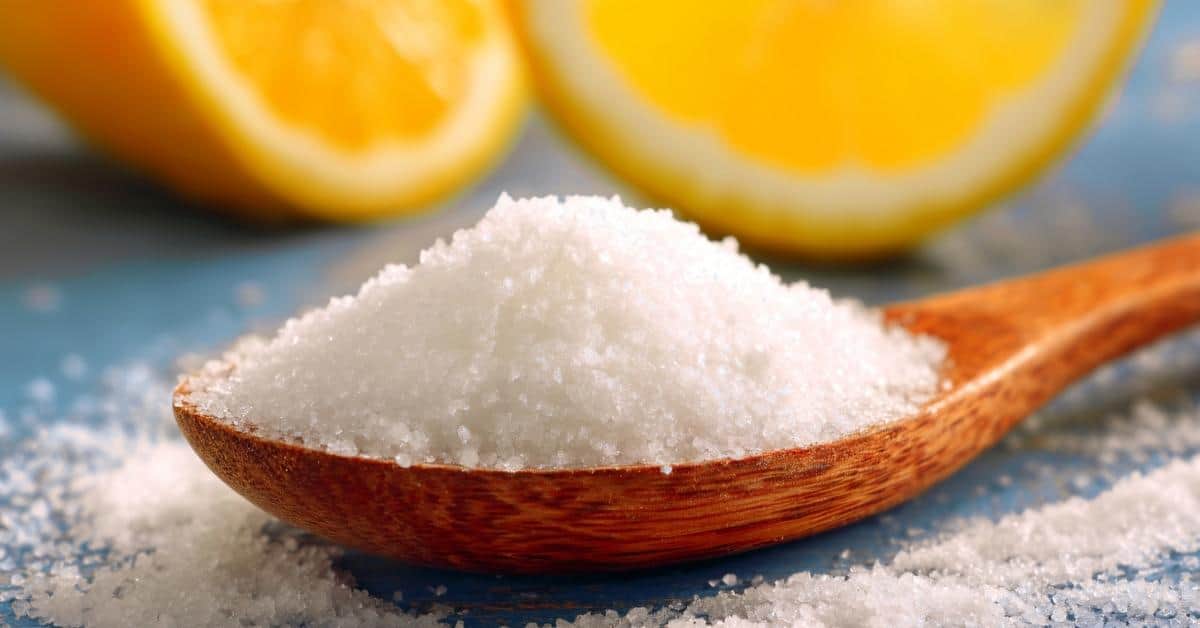
Understanding Ascorbic Acid
Ascorbic acid, commonly known as vitamin C, is a powerful agent used not only for its health benefits but also for effectively removing rust stains. This section delves into the versatile applications of ascorbic acid, highlighting its role in both wellness and household cleaning.
Application Techniques
Before you start, make sure the concrete surface is clean and dry. Wet surfaces dilute the ascorbic acid, making it less effective. Use a broom or a blower to remove any debris or dust. If the stain is old or stubborn, you might need to scrub it lightly with a brush to loosen the rust.
Mix the ascorbic acid with water to create a paste. You want a consistency that’s thick enough to stick to the concrete but not so thick that it clumps. Apply the paste directly onto the rust stain using a brush or a sponge. Let it sit for about 15-20 minutes. This gives the acid time to break down the rust. Don’t rush this step; patience is key.
After the waiting period, scrub the area with a stiff brush. This helps lift the rust particles from the concrete surface. Rinse the area thoroughly with water to wash away the acid and loosened rust. If the stain persists, repeat the process. Sometimes, stubborn stains need a second round. Always rinse thoroughly to avoid any acid residue, which can damage the concrete over time.
Oxalic vs. Ascorbic Acid: A Comparative Analysis
Oxalic acid is generally more effective for rust stain removal, but ascorbic acid offers a safer and often more cost-effective alternative. In this section, we delve into the comparative analysis of these two acids, examining their efficiency, cost implications, and safety profiles to help you make an informed choice.
Effectiveness
When it comes to tackling rust stains, both oxalic and ascorbic acid have their strengths. Oxalic acid is a powerhouse for heavy-duty rust stains, especially on concrete and metal surfaces. It works fast and penetrates deeply, making it ideal for tough jobs. However, it can be harsh, so always wear gloves and ensure proper ventilation.
On the other hand, ascorbic acid, or vitamin C, is your go-to for more delicate surfaces like fabrics or tiles. It’s less aggressive than oxalic acid, which means it’s safer for household use. If you’re dealing with rust on a favorite shirt or bathroom tile, ascorbic acid is the safer bet. Just remember, it might take a bit longer to see results.
Choose your weapon based on the surface and severity of the rust. For concrete driveways, go with oxalic. For kitchen counters or clothing, stick with ascorbic. And always test a small area first to avoid any nasty surprises.
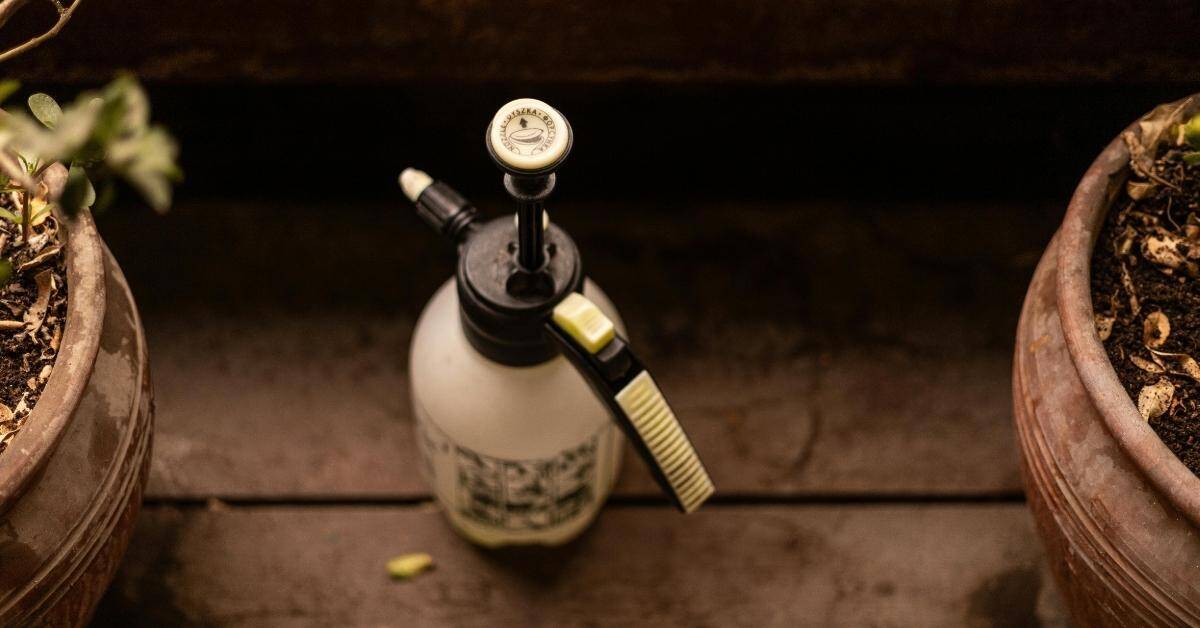
Neutralizing Concrete After Acid Treatment: Best Practices and Tips
Neutralizing your concrete after using oxalic or ascorbic acid is crucial to prevent long-term damage. This process stops the acid from continuing to react with the concrete, ensuring the surface remains intact and safe. Here’s how to do it right, whether you’re using oxalic or ascorbic acid.
- Use Baking Soda Solution: Mix one cup of baking soda per gallon of water. This neutralizes both oxalic and ascorbic acids effectively.
- Apply Generously: Cover the entire treated area with the baking soda solution. Use a mop or sponge to ensure even coverage.
- Let It Sit: Allow the solution to sit on the surface for at least ten minutes. This gives the baking soda time to neutralize the acid.
- Rinse Thoroughly: After neutralization, rinse the area with plenty of clean water. This removes any leftover acid and baking soda residue.
- Check for Residue: Ensure the surface is no longer slippery or has any acidic smell. If it does, repeat the neutralization process.
- Test pH Levels: Use pH strips to test the surface. A neutral pH indicates successful neutralization.
- Protect Nearby Areas: Before starting, cover plants and sensitive surfaces to prevent acid damage during rinsing.
Why Neutralization Matters
Skipping neutralization can lead to ongoing chemical reactions that weaken concrete over time. Properly neutralizing ensures your concrete remains strong and durable, avoiding costly repairs down the line.
Safety Precautions and Protective Gear
Proper safety precautions and protective gear are essential when handling acids to prevent injuries and ensure a safe working environment. Understanding the necessary measures and equipment can significantly reduce the risk of accidents and exposure to hazardous substances.
Protective Gear Recommendations
When you’re tackling a project, safety gear isn’t just a suggestion—it’s a must. The right gear keeps you safe from accidents and injuries. Here’s what you should have on hand.
- Safety Glasses: Protects your eyes from flying debris and dust. Don’t skip these; your eyes are irreplaceable.
- Gloves: Keeps your hands safe from cuts and chemicals. Choose durable, well-fitted gloves for the best protection.
- Hard Hat: Shields your head from falling objects. Essential if you’re working on a site with overhead risks.
- Ear Protection: Guards against noise damage. Use earplugs or earmuffs, especially around loud machinery.
- Respirator Mask: Filters out harmful fumes and dust. Critical when working with chemicals or in dusty environments.
- Steel-Toed Boots: Protects your feet from heavy impacts. Invest in a good pair to avoid foot injuries.
Pro tip: Always check your gear for any damage before starting work. A small tear or crack can make the gear useless when you need it most.
Environmental Impact and Considerations
Oxalic and ascorbic acids have notable environmental impacts, prompting the need for eco-friendly alternatives. Understanding their effects helps in making informed choices that support sustainability and reduce ecological harm.
Impact on Surrounding Plants and Surfaces
Acids can wreak havoc on nearby plants and surfaces if you’re not careful. They can leach into the soil, affecting plant roots and potentially killing your greenery. To mitigate this, always cover nearby plants with a tarp or plastic sheeting before starting any acid-related work. Afterward, rinse the area thoroughly with water to dilute any accidental spills.
Surfaces like concrete and metal are also at risk. Acid can eat away at these materials, leading to costly repairs. Use a neutralizing agent or baking soda to counteract any acid spills immediately. It’s a simple step that can save you a lot of headaches. Always have a bucket of water and a neutralizer on hand before you begin.
Don’t cut corners here. Check base compaction and ensure your work area is well-prepared. If you’re working near valuable surfaces or plants, consider setting up barriers. A little preparation goes a long way in preventing damage and keeping your project on track.
Neutralization and Rinsing Post-Treatment
Neutralization and rinsing are crucial steps to safely conclude any acid treatment process. Properly neutralizing the treated area helps to halt the acid’s activity, while thorough rinsing removes any residual chemicals, ensuring the safety and integrity of the surface.
Neutralization Process
After treating surfaces with acids, you need to neutralize them to prevent damage. Start by mixing a solution of water and baking soda. A good rule of thumb is one cup of baking soda per gallon of water. This mixture will help to neutralize the acid effectively.
Apply the solution generously over the treated area. Use a mop or a sponge to spread it evenly. Make sure every inch of the surface is covered. This step is crucial because any leftover acid can cause surface damage over time.
Once you’ve applied the solution, let it sit for about ten minutes. This gives the baking soda enough time to react with the acid. Afterward, rinse the surface thoroughly with clean water. Don’t skip this rinse, as it removes any remaining residue. Check the surface to ensure it’s no longer slippery or has any acidic smell. If it does, repeat the neutralization process.
Common Mistakes and How to Avoid Them
Avoid common rust removal mistakes by understanding the errors often made during the process and how to prevent them. This section highlights typical pitfalls and offers practical tips to ensure efficient and safe rust removal.
Over-application of Acid
Using too much acid can wreak havoc on your project. It might seem like more is better, but that’s a rookie mistake. Excess acid can damage surfaces and even lead to structural issues. Always start with the manufacturer’s recommended amount. If you’re unsure, less is more. You can always add more if needed, but you can’t take it back once it’s applied.
Before applying acid, check base compaction and ensure surfaces are clean and dry. This helps the acid work effectively without over-saturating the area. When applying, use a brush or sprayer for even distribution. Watch for runoff, as it can pool and cause damage. Keep a neutralizing agent on hand, like baking soda, to stop the reaction if you see signs of over-application.
Remember, patience is key. Give the acid time to work before deciding if more is needed. Rushing the process can lead to costly mistakes. Trust the process, and you’ll get a better result with less risk of damage.
Choosing Between DIY and Professional Rust Stain Removal
Deciding whether to tackle rust stains on your own or hire a professional can be tricky. While DIY methods can save money, they might not always yield the best results, especially for severe stains. Here’s a breakdown to help you make the right choice for your situation.
- Severity of Stains: If the rust stains are extensive or deeply embedded, a professional might be necessary. DIY solutions work best for minor, surface-level stains.
- Experience Level: If you’re comfortable handling acids and have some DIY experience, you might manage on your own. Otherwise, leave it to the pros to avoid costly mistakes.
- Time and Effort: DIY methods require time and patience. If you’re short on time or not up for the effort, hiring a professional can be more efficient.
- Cost Considerations: DIY is generally cheaper, but weigh this against the potential cost of errors. Professionals might be pricier upfront but can save money in the long run by avoiding damage.
- Safety Concerns: Handling acids requires strict safety measures. If you’re not confident in managing these safely, it’s best to hire someone who is.
- Equipment Availability: Professionals come equipped with the right tools and materials. If you lack the necessary equipment, DIY might not be practical.
When to Call a Professional
If rust stains are persistent despite multiple DIY attempts, it’s time to call in a professional. They have access to stronger, industrial-grade solutions and techniques that can effectively tackle stubborn stains without damaging your concrete.
Long-term Effects on Concrete Surfaces
Using acids on concrete surfaces can lead to deterioration and structural damage over time. Understanding these long-term effects is crucial for maintaining the integrity and longevity of concrete structures.
Surface Integrity
Repeated acid treatments can slowly eat away at the surface of your concrete. While it might seem like a quick fix for stains or discoloration, over time, these treatments can cause more harm than good. The acid reacts with the concrete, breaking down its components and leading to a weakened surface. If you’re not careful, this can result in a rough, pitted texture that not only looks bad but also compromises the concrete’s strength.
Before you reach for that acid cleaner, consider the long-term effects. Check base compaction and ensure your concrete is solid before applying any treatments. If the surface is already showing signs of wear, it’s best to avoid further acid exposure. Instead, look for alternative cleaning methods that are less harsh. A gentle power wash or a pH-neutral cleaner can often do the trick without damaging the surface.
Remember, preserving the integrity of your concrete is crucial. Once the surface starts to degrade, it can lead to costly repairs or even full replacement. So, think twice before using acids repeatedly. It’s better to maintain the surface properly than to fix it later.
Visual Results: Before and After
Explore the transformative effects of acid treatments on concrete surfaces with our compelling before-and-after visual comparisons. These images vividly illustrate the improvements in texture and appearance, highlighting the effectiveness of each treatment method.
Case Study Examples
Take a look at these real-life examples to see the power of proper treatment. Our first example shows a driveway that was once riddled with cracks and uneven surfaces. After treatment, the surface is smooth and durable. The key was to check base compaction before applying any new material. Skipping this step is a rookie mistake that leads to quick deterioration.
Another case features a patio that was stained and weathered. Post-treatment, it looks brand new. The secret here was using a high-quality sealant that repels water and resists UV damage. Don’t skimp on materials; cheap products will cost you more in the long run.
For visual proof, check out the images of these transformations. Seeing is believing. Remember, the right prep work and materials make all the difference. Follow these examples, and you’ll have surfaces that not only look great but also stand the test of time.
Conclusion
Dealing with concrete rust stains can be a hassle, but choosing the right method makes all the difference. Oxalic acid is a powerful cleaner, but it demands respect. It can be harsh on both you and the environment if not handled properly. Ascorbic acid, while milder, offers a safer alternative with less risk to your health and the surroundings. Both can work well, but your choice depends on your comfort level and the severity of the stains.
Always prioritize safety. Protective gear isn’t optional; it’s a must. Gloves, goggles, and masks keep you safe from harmful fumes and contact. Don’t cut corners here. Also, remember to rinse thoroughly after treatment to neutralize any leftover acid. This step protects your concrete from long-term damage and ensures a clean finish.
Avoid common pitfalls like using too much acid or skipping the neutralization step. These mistakes can cost you more time and money in the long run. Take the time to do it right the first time. Your concrete will thank you, and you’ll enjoy better results.
FAQ
What’s the main difference between oxalic and ascorbic acid?
Oxalic acid is stronger and works faster on tough rust stains. Ascorbic acid is milder and safer for the environment, but it might take longer to see results.
Can I mix oxalic and ascorbic acid for better results?
No, mixing them isn’t a good idea. Each acid works differently, and combining them can lead to unpredictable results or damage your concrete.
Is it safe to use these acids without protection?
Absolutely not. Always wear gloves and goggles when handling oxalic or ascorbic acid. These chemicals can irritate your skin and eyes.
How often should I apply these treatments?
Once should be enough if you follow the instructions properly. If the stain persists, wait a few days before trying again. Don’t overdo it, or you might damage the concrete.
Can these acids damage my concrete?
Yes, if used improperly. Always follow the recommended dilution and application instructions. Overuse or high concentrations can eat away at your concrete surface.