
Introduction
Concrete planters with integral pigments are planters cast with color mixed into the concrete so the color runs through the entire piece. This helps avoid uneven surface staining and blotchy color when the planter ages or dries.
Focus on practical steps like choosing a pigment with good lightfastness, checking drainage and ventilation, and protecting the surface from moisture after installation. For maintenance, inspect fasteners and hardware, and consider the right stain or sealer, while checking labels and local guidance for application timing and weather conditions.
Key takeaways
- Use consistent pigments and aggregates to minimize color variation in planters.
- Inspect curing environment and seal promptly to reduce efflorescence risk.
- Test moisture before sealing; avoid trapped water that promotes blotches.
- Choose UV-stable finishes and ensure airflow to prevent surface mildew.
- Deck maintenance: deep clean and inspect for water damage around planters.
- Always follow label instructions for mixing, batching, and application safety.
Table of Contents
- Introduction
- Key takeaways
- How Efflorescence and Blotchy Color Form in Integral-Pigmented Planters
- Selecting Pigments, Aggregates and Admixtures for Uniform Color
- Mix Design and Batching Best Practices to Prevent Segregation and Blotches
- Casting, Consolidation and Finishing Techniques to Avoid Surface Defects
- Curing, Drying and Environmental Control to Reduce Efflorescence Risk
- Moisture and Salt Testing for Planters: Practical Checks Before Sealing
- Sealing, Surface Treatments and Maintenance to Protect Color and Prevent Trapped Efflorescence
- Troubleshooting and Repair: Removing Efflorescence and Correcting Blotchy Color
- Conclusion
- FAQ
How Efflorescence and Blotchy Color Form in Integral-Pigmented Planters
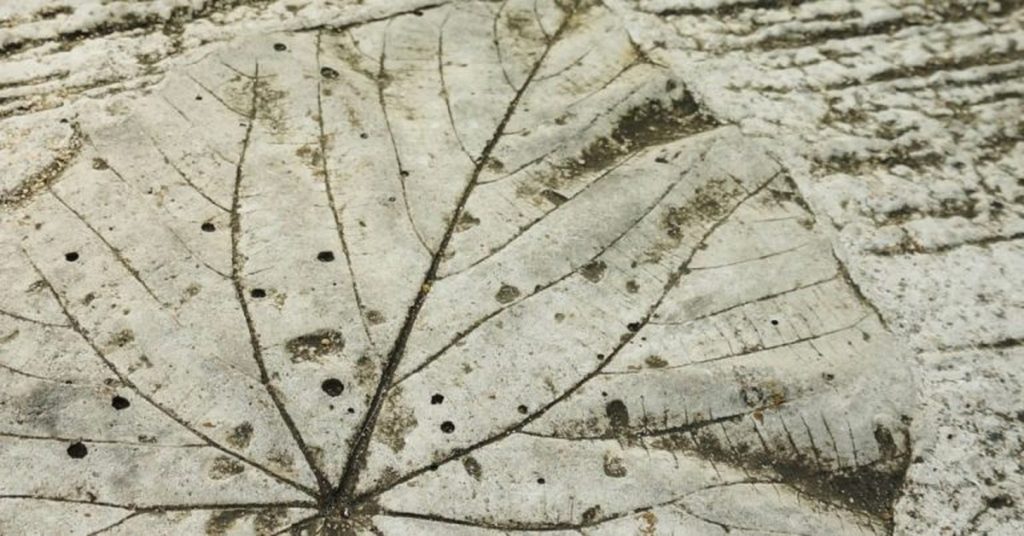
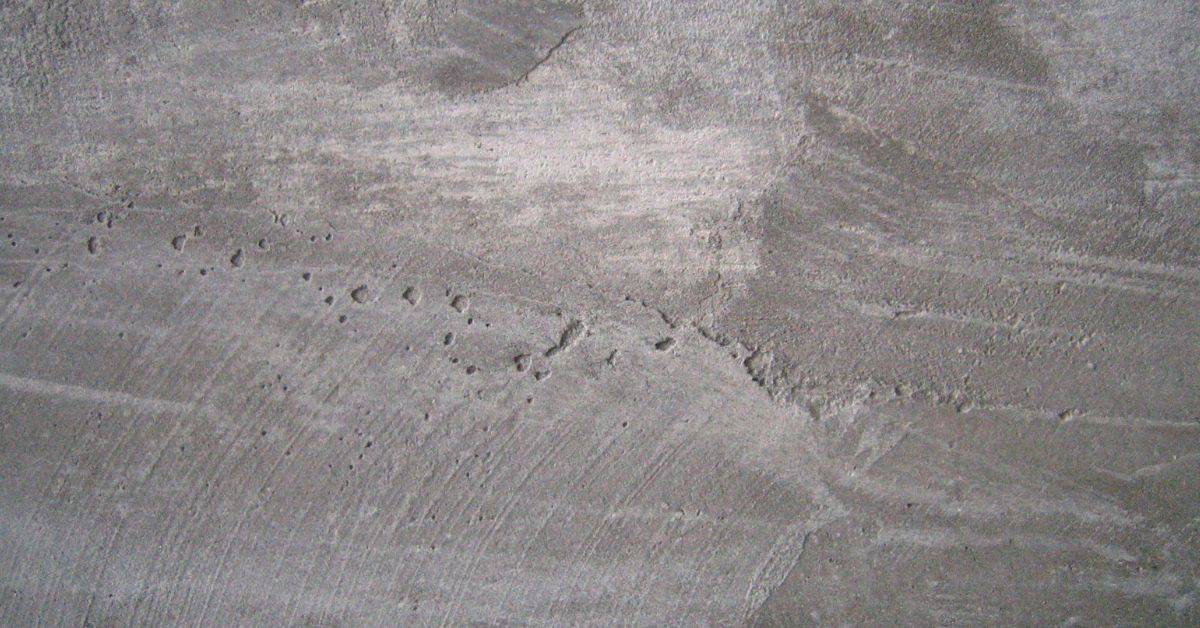
Moisture moves through concrete by capillary action and through pore networks. As water travels, soluble salts can migrate toward the surface. Pigment distribution during curing can segregate, creating blotchy tones that emerge as the surface dries.
Efflorescence in integral pigmentation happens even with full-depth color because water and salts still reach the surface. Distinguishing surface discoloration from deep-set color issues is essential for diagnosing sources. Practical steps include moisture testing and watching for early salt halos along planter edges.
Moisture pathways and salt sources
Concrete is porous. Moisture moves through it like water flowing downhill.
Salts come from mix water, aggregates, curing compounds, even the soil under your planter. They’re soluble, meaning they dissolve in water.
When moisture rises or gets trapped, it carries these salts to the surface. That’s when you see white residues – efflorescence.
Color issues unique to small castings and thin sections
Planter walls are thin. They dry faster than big slabs. That’s problem number one.
Edge effects matter too. More water evaporates from edges, pulling salts with it. That can leave blotchy patches.
Bleed water – the stuff that rises to the surface during curing – plays a bigger role in thin pieces. It can carry pigments around, causing uneven tones.
How pigment chemistry interacts with moisture and alkalinity
Pigments like iron oxides behave differently in alkaline cement paste. They can change color or migrate under the right conditions.
Particle size matters too. Smaller particles are more likely to spread evenly. Larger ones can clump, causing blotches.
Moisture plays a big part here. It can dissolve and carry pigments around during curing, leading to uneven tones if not managed properly.
Selecting Pigments, Aggregates and Admixtures for Uniform Color
The main pigment types each have different behavior: inorganic iron oxides, organics, and specialty pigments; consider colorfastness, UV stability, and potential staining. Check pigment compatibility with Portland cement and common aggregates used in planters. Always verify with the supplier or data sheet before mixing.
Aggregate choice affects color uniformity; lighter sands and consistent grading help reduce blotchiness. Plan for matched aggregates when using integral pigments. Review admixtures for compatibility and avoid agents that promote efflorescence or color shifting in planters.
Pigment types, lightfastness and compatibility
When choosing pigments for your concrete planters, consider three main types: inorganic/iron oxide, organic, and specialty pigments.
Inorganic/iron oxide pigments are the most common. They’re durable, UV-stable, and compatible with Portland cement. However, they may not offer a wide range of colors.
Organic pigments provide vibrant colors but can be less lightfast and more prone to bleeding or staining than iron oxides. Always check manufacturer compatibility with cement.
Specialty pigments like metallic or pearlescent types offer unique effects but may have limited UV stability and could react with certain sealers or admixtures. Always test before use.
Aggregate and sand selection to reduce salt load and visual banding
Select aggregates and sands with low soluble-salt content to minimize efflorescence. Ask suppliers for salt content data.
Choose light- to medium-toned, well-graded aggregates that match your pigment color. This reduces the risk of blotchy results or visible transitions in the finished planter surface.
Using integral pigments with matched aggregates helps ensure uniform color. Consistent grading also reduces color variance.
Remember, even clean aggregates can introduce salts if not properly washed. Always ask about washing processes.
Admixtures that help or hinder color uniformity
Water reducers and plasticizers improve workability but can affect surface sheen and pigment appearance. Test them with your chosen pigments to ensure no adverse reactions.
Air-entraining agents introduce tiny air bubbles, improving freeze-thaw resistance. However, they may slightly lighten the color or change the surface texture. Again, test before use.
Retarders control set time in warm environments but can darken the color if not properly balanced with accelerators. Always maintain a consistent water-cement ratio to avoid color shifts.
Avoid using calcium chloride as an accelerator in decorative planters. It can cause staining and color shifts over time.
Mix Design and Batching Best Practices to Prevent Segregation and Blotches
Follow a precise batching sequence: dry pigments with cement first, then add aggregates and admixtures, and finally water. This helps pigments disperse evenly and reduces paste-rich pockets that flash blotchy surfaces. Keep changes small and track results for consistency.
Control water and bleed by aiming for minimal free-water loss and choosing appropriate aggregates. Gentle finishing helps reduce surface inconsistencies from bleeding. Avoid over-mixing, which can cause segregation of components and uneven color.
Pigment dosing and dispersion methods
Always follow your pigment supplier’s recommended dosages. They’ve tested their products with various mix designs.
For even color, consider pre-dispersion or masterbatch techniques. These involve mixing pigments with a small amount of cement or sand before adding to the main batch.
If you’re unsure about dosing, test different amounts on sample casts. This way, you’ll know what works best for your mix design.
Water management and consistency
Tight control of water content is key to preventing blotchy color. Avoid adding ‘water of convenience’ – extra water that doesn’t contribute to hydration.
Use consistent mix proportions between batches. This helps maintain a steady pigment-to-cement ratio, reducing color shifts.
Remember, less water means more cement paste, which can lead to efflorescence. So, find the right balance.
Order of addition and mixing time
Start by adding dry pigments with your cement. This gives them a chance to disperse before you add water.
Next, incorporate aggregates and any admixtures. The order matters – it helps prevent pigment clumps and paste-rich zones that cause blotches.
Mixing time is crucial too. It should be long enough for uniform dispersion but not so long that it causes aggregate segregation. Validate your mixing time on trial casts.
Casting, Consolidation and Finishing Techniques to Avoid Surface Defects
Use casting practices that minimize segregation and laitance, including stable slump and controlled vibration. Focus on pigment dispersion and ensuring full-depth color integration in planter forms. Timing and consistency matter as you remove forms and begin finishing.
Detail formwork, release agents, and edge finishing to prevent blotchy surfaces. Consider textures and how they may reveal color inconsistencies. Apply consolidation methods suited to small-to-medium planter pieces to avoid air pockets and defects.
Gentle consolidation vs overworking
When casting your planters, it’s crucial to remove air pockets without causing segregation or bleeding. Overworking the concrete can bring paste to the surface, leading to laitance and blotchy color.
Use controlled vibration or tamping for consolidation. Vibrators should be used briefly and intermittently to avoid overworking. Tamping should be done gently and evenly across the entire form.
Never over-trowel your concrete. This can cause paste to rise to the surface, leading to laitance and an uneven texture that reveals blotchy color.
Form materials, release agents and surface interaction
Choosing the right form materials and release agents is vital to prevent blotchy surfaces and feathered edges. The wrong choices can lead to staining, cracking, or weak bond.
- Form Liners: Use liners designed for concrete planters. Avoid those with deep textures that may trap paste and cause color inconsistencies.
- Release Agents: Opt for non-staining release agents. Staining agents can leave discolorations on the surface of your planter.
- Form Surfaces: Ensure form surfaces are compatible with your chosen release agent to prevent bonding issues and ensure easy removal.
- Avoid: Using forms with rust or other contaminants. These can stain your concrete and create blotchy color.
- Edge Treatment: Use edge form liners that match the surface texture to avoid feathered edges and color inconsistencies at thin sections.
Edge and joint treatment for thin-walled planters
Thin walls in your planters can cause paste to accumulate differently, leading to color concentration or washout. Proper edge and joint treatment is essential to avoid these issues.
Use form liners that match the surface texture at edges and corners to prevent feathered edges. Ensure joints are properly aligned and filled with a suitable sealant to prevent water ingress and efflorescence.
Avoid sharp corners or thin edges without proper reinforcement. These can crack under stress, leading to color inconsistencies.
Curing, Drying and Environmental Control to Reduce Efflorescence Risk
Curing and drying shape capillary moisture flow and salt movement, which in turn affects pigment development. Plan for steady moisture conditions that support uniform coloration. Adjust processes if planters are exposed to rapid drying or wind.
Use practical curing methods compatible with planters, such as humidity control and suitable coverings. Be mindful of temperature and timing relative to pigment development and sealing. Document environmental conditions to guide future pours.
Recommended curing methods for small castings
Curing is crucial to control moisture loss and salt migration. For small concrete planters, consider these options:
Moist Curing: Keep the planter damp by wrapping it in plastic or misting it regularly. This slows down drying, reducing capillary suction of salts.
Damp Wrapping: Wrap your planter in a damp cloth or burlap to maintain humidity around it.
Controlled Humidity Rooms: If you have access to one, place the planter in a room with controlled humidity (around 80-90%) and temperature (70-80°F/21-27°C) for optimal curing.
Managing ambient temperature and humidity
Temperature and humidity greatly impact the curing process. Here’s how to manage them:
High temperatures speed up drying, forcing salts to the surface. Keep your planter in a cool place (around 70°F/21°C) during early cure.
High humidity helps maintain moisture in the concrete, preventing rapid salt migration. Maintain relative humidity around 80-90% if possible.
Dew or high humidity can also push salts to the surface. Protect your planter from these conditions until it’s fully cured and sealed.
When and how to allow breathing vs sealing during cure
Allowing the planter to ‘breathe’ helps dissipate salts, but sealing traps moisture. Here’s when to do what:
Breathing: Let your planter breathe for at least 7 days after casting to allow salts to escape. Increase this time in hot or dry conditions.
Sealing: Before sealing, perform a moisture-vapor test (MVER). If the reading is below 18%, it’s safe to seal. Use a breathable sealer that doesn’t trap moisture.
Do sample trials to determine the optimal waiting period before sealing based on your specific conditions and mix design.
Moisture and Salt Testing for Planters: Practical Checks Before Sealing
Active moisture and vapor transmission indicate how salts may migrate after placement. Look for damp spots, salt halos, or white efflorescence as warning signs. Use these observations to time sealing and finishing decisions.
Low-cost checks like simple sheet tests and basic humidity checks help gauge surface moisture. Plan for follow-up tests if conditions change or new blends are used. Maintain a clear record of readings and conditions before sealing.
Surface and internal checks to spot active vapor movement
Active moisture in your planters can cause issues with sealers. Here’s how to check:
Visual Checks: Place a plastic sheet on the surface overnight. If it’s damp in the morning, you’ve got active moisture.
Use a moisture meter to probe deeper. Readings over 15% indicate recent wetting or ongoing moisture movement.
Salt and soluble residue detection
Efflorescence – those white patches – are salts rising to the surface. Check for them before sealing:
Wiping Test: Wipe the surface with a damp cloth. If it leaves a white residue, you’ve got salts.
Repeat after drying cycles. Seasonal changes and drainage can bring salts to the surface over time.
Sample casting and accelerated testing
Before sealing your planters, test with samples:
Make small planters using identical materials. Cure them like the real ones.
Subject them to wet/dry cycles and soil contact. If colors stay stable, you’re good to go. If not, rethink your pigment choice or curing process.
Sealing, Surface Treatments and Maintenance to Protect Color and Prevent Trapped Efflorescence
Choose sealers that balance color retention with moisture vapor transmission. Be aware that some sealers can trap salts if they block evaporation. The goal is to keep color depth uniform while allowing the concrete to breathe.
Compare sealer categories and plan a workflow for new pours and cured planters. Include moisture testing before sealing, proper thin coats, and re-sealing intervals based on climate and exposure. Maintain the color by regular cleaning and monitoring for signs of salt movement.
Penetrating vs film-forming sealers: pros and cons
When it comes to sealing your concrete planters, you’ve got two main types of sealers to choose from – penetrating and film-forming. Each has its own set of advantages and disadvantages, especially when it comes to preserving integral color and preventing trapped efflorescence.
Pros
- Penetrating sealers allow moisture vapor transmission, preventing salts from getting trapped.
- They enhance the natural look of integral pigments by lightly enhancing the color.
- Film-forming sealers provide a protective barrier against water and stains, extending the life of your planters.
- They give a uniform, glossy finish that can make colors pop.
Cons
- Penetrating sealers don’t provide much protection against water or stains, so they’re not ideal for outdoor use in harsh climates.
- Film-forming sealers can trap moisture and salts underneath the surface, leading to efflorescence if not applied correctly.
- The glossy finish of film-formers can highlight any imperfections on the planter’s surface.
- They require more maintenance than penetrating sealers.
In most cases, especially for outdoor planters with integral pigments, a penetrating sealer is your best bet. It allows moisture to escape, preventing efflorescence, and enhances the natural beauty of the concrete. However, if you’re looking for extra protection against water and stains, a film-forming sealer might be worth considering, as long as you’re sure salts have stopped moving.
Timing and method for sealer application on planters
Before you grab your paintbrush or sprayer, there are a few things to consider when applying sealers to your concrete planters. Timing is crucial here – apply too soon, and you risk trapping moisture and salts; wait too long, and you might not get the best results.
First things first: Make sure any active efflorescence has stopped before sealing. This usually takes around 28 days after pouring or casting, but it can take longer in humid conditions. You can check for activity by performing a simple moisture and salt test (see our earlier section on testing).
Once you’re sure salts are stable, allow the planter to dry out naturally until its moisture content is below 18%. This could take anywhere from a few days to a couple of weeks, depending on your climate. Then, apply the sealer in thin, even coats using a paintbrush or sprayer, following the manufacturer’s instructions.
It’s always a good idea to test your chosen sealer on a small, hidden area first to ensure it doesn’t react poorly with your planter’s integral pigments. After all, you don’t want any nasty surprises once you’ve sealed the whole thing!
Maintenance, cleaning and seasonal care
With a little bit of TLC, your concrete planters can look great for years to come. Here are some simple maintenance tips to keep your planters looking their best:
Cleaning: Regularly clean your planters with mild soap and water to remove any dirt or grime. Avoid using harsh chemicals or abrasive materials, as these can damage the sealer and dull the integral color.
For seasonal care, consider overwintering your planters in a garage or shed if you live in an area with freezing temperatures. If that’s not possible, apply a fresh coat of sealer before winter to protect against snow, ice, and thawing cycles. Remember to remove any dead plants or debris from the planter first.
Throughout the year, keep an eye out for signs of efflorescence or color fade. If you notice any issues, address them promptly – we’ve got troubleshooting tips in our earlier sections to help you out. With proper care and maintenance, your concrete planters should continue to look fantastic, season after season.
Troubleshooting and Repair: Removing Efflorescence and Correcting Blotchy Color
Start by diagnosing whether issues come from efflorescence, moisture movement, or color misapplication. Identify if salts migrate from beneath or within the concrete. Assess any ongoing moisture sources and plan remediation accordingly.
Use non-invasive cleaning first, with dry brushing or light rinses and color-safe cleaners. If needed, consider partial re-casting or patching with matched pigments and feathered edges to blend areas. After repairs, re-evaluate sealing and moisture management to prevent recurrence.
Safe cleaning methods for efflorescence on planters
Start by gently brushing off any loose material with a soft-bristled brush. This helps remove surface efflorescence without damaging the concrete.
Rinse the area thoroughly with clean water to dissolve and remove any remaining salts. Use a garden hose or a bucket of water, working from top to bottom to avoid spreading salts around.
Avoid using harsh acids or strong solvents like muriatic acid or paint thinners on pigmented concrete. These can damage the integral color and the surface itself. If you must use a cleaning agent, test it first on a small, hidden area to ensure it doesn’t harm the color.
Always wear gloves, safety glasses, and protective clothing when handling chemicals. Ventilate the area well during and after cleaning to avoid inhaling fumes.
Recoloring, blending and patch repair strategies
For small blotchy areas, you can use a color-matched topical treatment. Mix pigments with a compatible binder like acrylic paint or a concrete stain to match the existing color as closely as possible.
Apply the mixture thinly using a brush or sprayer, working in small sections at a time. Feather the edges of each section into the previous one to minimize halos and ensure a smooth transition.
For larger areas or deeper repairs, consider partial re-casting. Remove the damaged concrete carefully, ensuring you don’t damage the surrounding area. Mix new concrete with pigments to match the existing color, then cast it in place, tamping it down firmly to remove air pockets.
Remember, patching is only as strong as its bond to the existing concrete. Ensure the surface is clean and damp before applying a bonding agent or primer to promote adhesion.
When to re-cast or accept patina
Re-casting should be considered when the efflorescence or blotchy color is extensive, deep, or has affected the structural integrity of the planter. In these cases, partial or full re-casting may be necessary to restore the planter’s strength and appearance.
However, for minor issues or outdoor planters where some patina is acceptable, you might choose to leave the concrete as is. Patina can add character and age to outdoor features, and some homeowners prefer this look over a perfectly smooth, new appearance.
Before deciding, consider the planter’s function, its exposure to elements, and your personal aesthetic preferences. If in doubt, consult with a professional concrete contractor for advice tailored to your specific situation.
Remember, prevention is better than cure. Proper curing, drying, and moisture management can help prevent efflorescence and blotchy color from forming in the first place.
Conclusion
Finish with confidence by following solid batching, curing and sealing practices that protect color and keep efflorescence out of sight. Safety and careful checks now save costly fixes later.
Make it your habit to verify pigment and mix compatibility, batch in small controlled amounts, inspect for segregation as you pour, consolidate and finish smoothly, and run moisture and salt tests before sealing. Do this in a simple, repeatable order: pre-checks, mixing and casting, controlled curing, then sealing, with testing at key points to confirm the plan stays on track.
Common mistakes to avoid are skipping small-batch testing, rushing curing or environmental control, and sealing over damp or unverified surfaces. Always ground your work in practical checks: test a sample first, keep a clean, dry mixing area, and follow recommended curing and sealing times. If the project expands beyond a DIY trial or you see persistent blotches or trapped efflorescence after repairs, call a professional for a targeted fix, then apply the same conservative steps to prevent a repeat. Stay steady, follow the plan, and you’ll get durable color that looks right for years to come.
FAQ
How should I maintain the surrounding deck and planters to prevent water damage?
Keep surfaces clean and free of standing water. Check for cracks or loose boards and reseal or replace as needed. Direct water away from the planter edges and ensure proper drainage to avoid soaking the deck.
What should I know about stain or sealer application on integral-pigmented planters?
Choose a finish that suits your climate and plant setup. Follow the manufacturer’s instructions for application, cure time and recoat intervals. Make sure there is good drainage and the surface is clean and dry before sealing.
How can I inspect hardware and protect metal fasteners from corrosion in planters?
Regularly check screws, anchors and brackets for rust or pitting. Replace corroded parts with ones rated for outdoor use and compatible with the planter material. Keep fasteners tightened as the structure settles, but don’t over-tighten and crack the concrete.
What about the environmental impact of cleaning products in this climate?
Look for eco-friendly cleaners labeled for concrete and plants. Avoid harsh chemicals near greenery and runoff paths. Check labels for safety guidance and local waste disposal rules before cleaning.