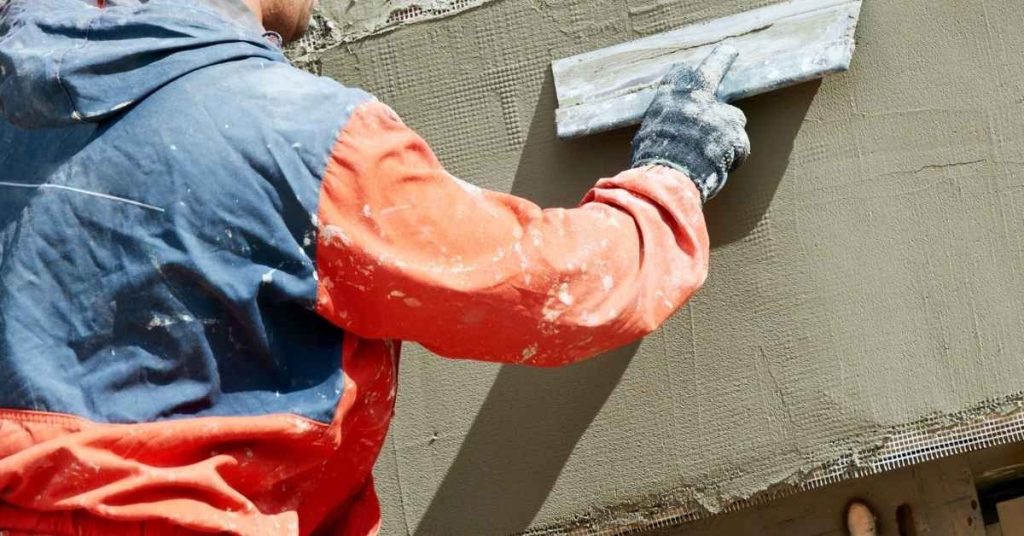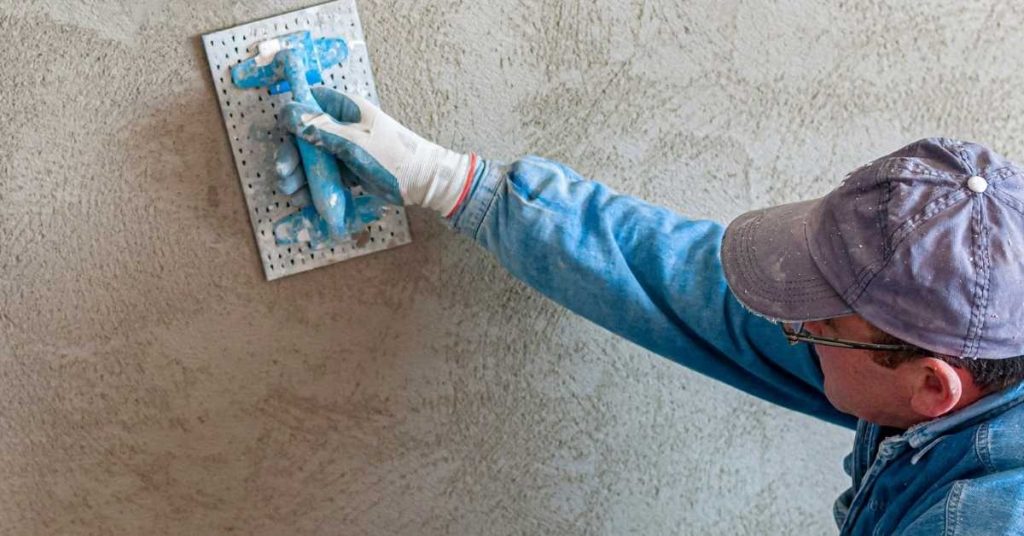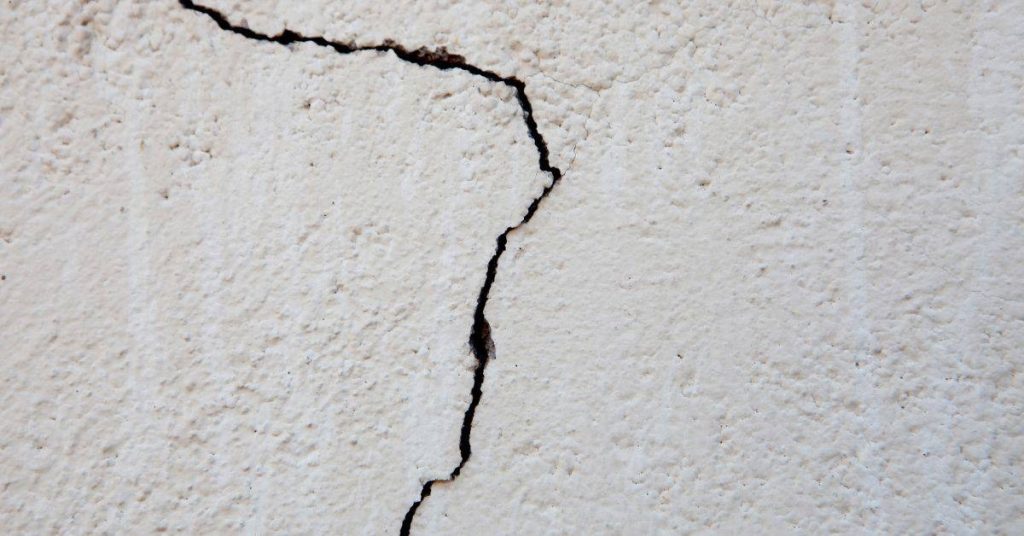
Cracks Over Framing in Stucco: Reinforcement Mesh Patterns That Actually Hold
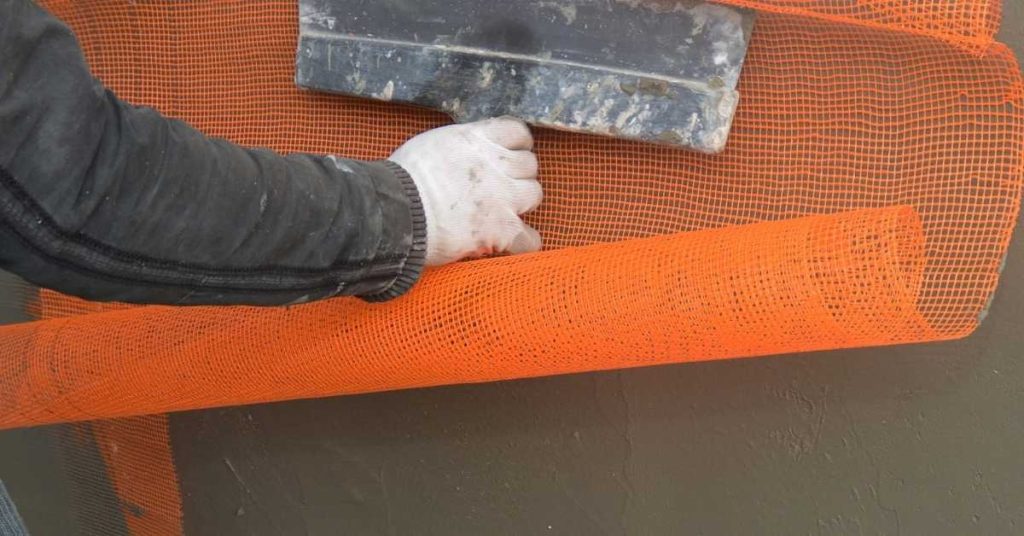
Introduction Reinforcement mesh helps prevent cracks where stucco meets framing. Different mesh patterns distribute movement across a crack and across corners, so choose one that fits your wall and framing. Always check manufacturer and local guidance for mesh type, installation height, and any soak-in or primer requirements. For a DIY install, plan your mesh pattern […]
Cracks Over Framing in Stucco: Reinforcement Mesh Patterns That Actually Hold Read More »