Plaster

Plaster is for cement-based and traditional plastering projects where a smooth or durable surface is the goal.

You’ll find guides on surface prep, bonding, scratch/brown/finish coats, patching, corner details, sanding and finishing, and how to avoid common issues like cracking, poor adhesion, and uneven texture.

If your project is “make this wall look right again,” this is the category to start with.

Close-up of patterned decorative plaster with floral design

Patterned Decorative Plaster Patches: Aligning Repeats and Hiding Seams

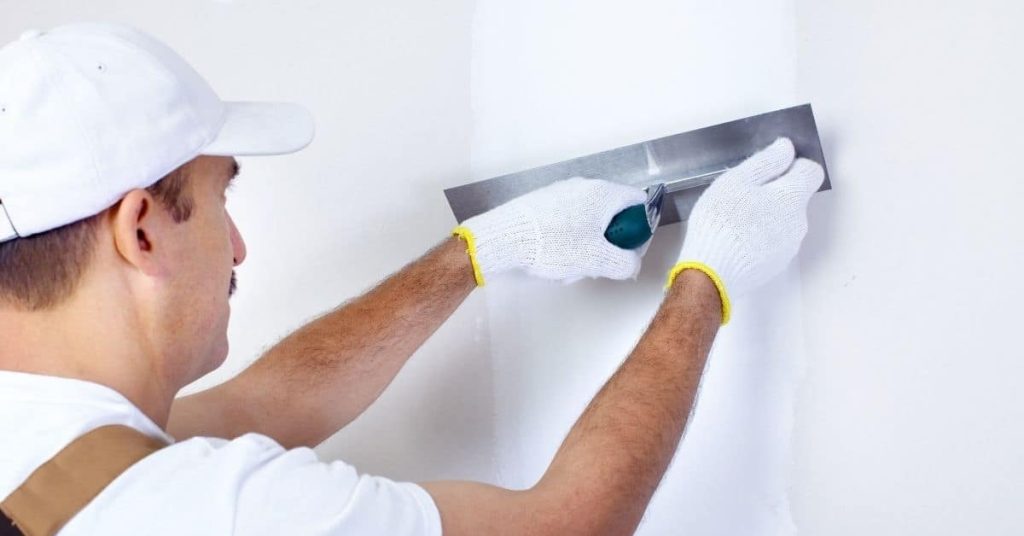
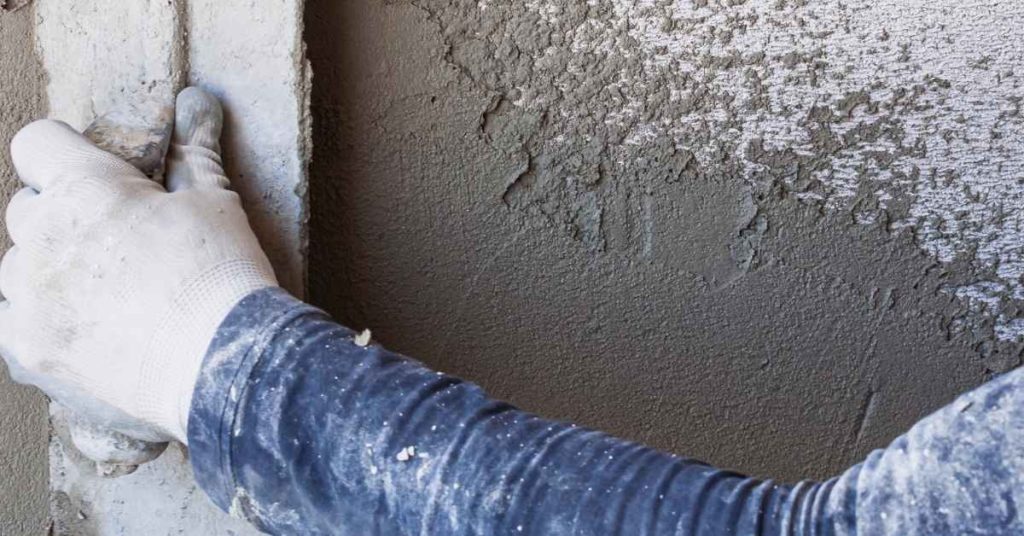
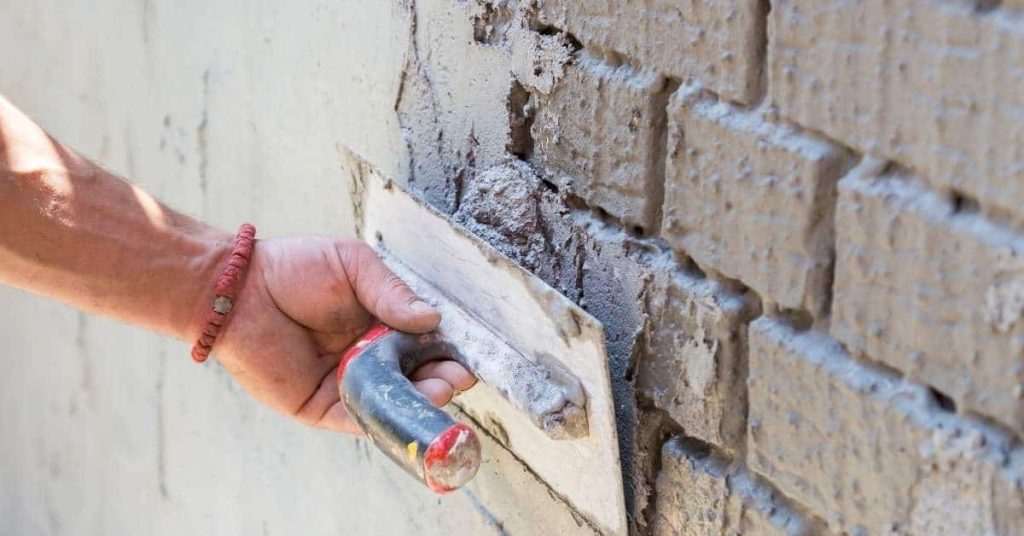
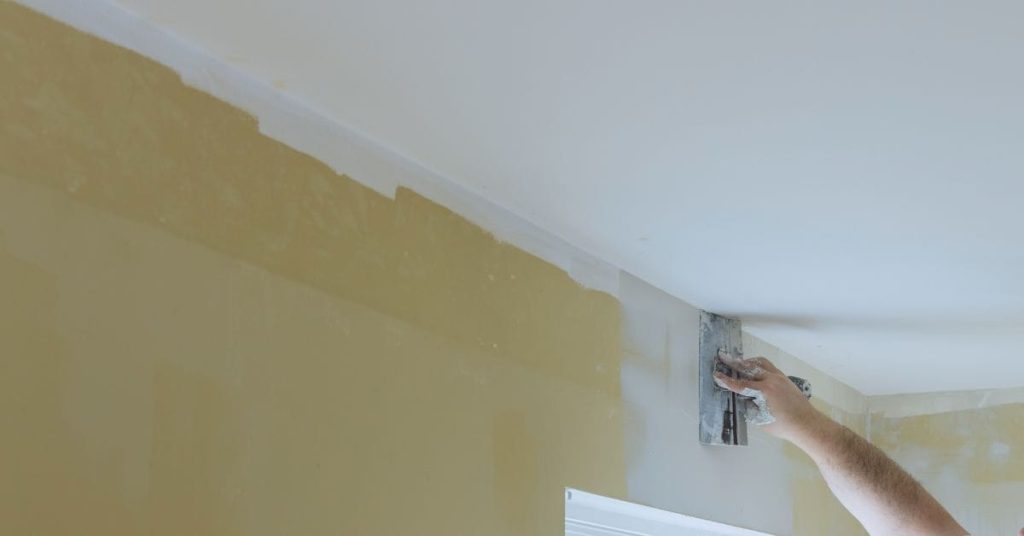
Introduction Patterned decorative plaster patches are small, repeatable designs applied to damaged plaster to create a seamless look. The goal is to line up the pattern so the patches blend with the surrounding wall and hide the seams. Work with the existing texture and color as a guide. Start by cleaning the area and roughing […]

Patterned Decorative Plaster Patches: Aligning Repeats and Hiding Seams Read More »

Hand applying green paint to white wall with roller

Roller-Applied Base Coats for Plaster Skims: When They Improve Flatness

Introduction Roller-applied base coats are thin plaster coats spread with a roller to help flatten and level a wall before the final skim. This approach is done after the substrate is prepped and dampened as needed. It gives you a smoother starting surface, but it isn’t a substitute for proper substrate prep or final finishing.

Roller-Applied Base Coats for Plaster Skims: When They Improve Flatness Read More »

Worker smoothing wet plaster on wall with trowel wearing orange gloves

Plaster Blisters from Trapped Moisture: Drying Strategy Before You Re-Skim

Introduction Blisters in plaster happen when moisture is trapped behind the skim coat, causing bubbles. Before you re-skim, the goal is to dry out the area and reattach loose material. Check the plaster surface for loose edges and follow manufacturer instructions or local rules for drying. Give the area plenty of ventilation and use gentle

Plaster Blisters from Trapped Moisture: Drying Strategy Before You Re-Skim Read More »

Worker smoothing white plaster wall with metal trowel

Plaster Returns at Deep Windows: Reinforcement That Doesn’t Bulge the Edge

Introduction Reinforcement for plaster returns at deep windows means adding solid edge support so the plaster won’t bulge. In practice you build up a stable, tight edge before the final coat. This keeps the plaster flush and reduces cracking. Use appropriate edging, furring, or metal lath as directed on the product label and by the

Plaster Returns at Deep Windows: Reinforcement That Doesn’t Bulge the Edge Read More »

Worker smoothing plaster on a wall with a trowel

Microcement Over Old Plaster: Bond Layers, Movement Risk, and Sealer Selection

Introduction Microcement over old plaster means applying a thin cement-based coating on top of a plaster substrate with careful surface prep. Start by cleaning the surface and repairing obvious flaws to give the new layer something to grip. Roughen or abrade slightly and use an appropriate bonding primer to improve adhesion. Movement risk comes from

Microcement Over Old Plaster: Bond Layers, Movement Risk, and Sealer Selection Read More »

Hand applying cement plaster with trowel on brick wall

Keene’s Cement Plaster: When Hardness Helps and How to Avoid Crazing

Introduction Keene’s cement plaster is a lime-based plaster mix that hardens to a solid wall finish. Hardness in this plaster helps durability, but it can cause cracks if it’s applied or cured improperly. To avoid crazing, follow proper mixing, priming, and curing practices and check product instructions for recommended working times and environmental limits. If

Keene’s Cement Plaster: When Hardness Helps and How to Avoid Crazing Read More »

Hands holding plaster mold and casting on white table

Repairing Plaster Medallions and Ornament: Simple Mold Tricks for Missing Details

Introduction Repairing plaster medallions and ornament means recreating missing decorative detail on a plaster ceiling or wall. It starts with shaping a patch of material to mimic the curve and edge you see around the piece, then pressing it in to blend with the surrounding plaster. Take your cues from the existing profile and work

Repairing Plaster Medallions and Ornament: Simple Mold Tricks for Missing Details Read More »

Person applying plaster over blue mesh on wall

Clay Plaster Over Plywood: Movement Joints, Mesh Choices, and Crack-Reduction Tricks

Introduction Clay plaster over plywood is a traditional finish that you apply to plywood walls, using joints and mesh to control movement and cracks. This article gives practical, hands-on steps for choosing joint spacing, mesh types, and tricks to reduce cracking. Expect a process that favors small batches, careful bonding, and testing along the way.

Clay Plaster Over Plywood: Movement Joints, Mesh Choices, and Crack-Reduction Tricks Read More »