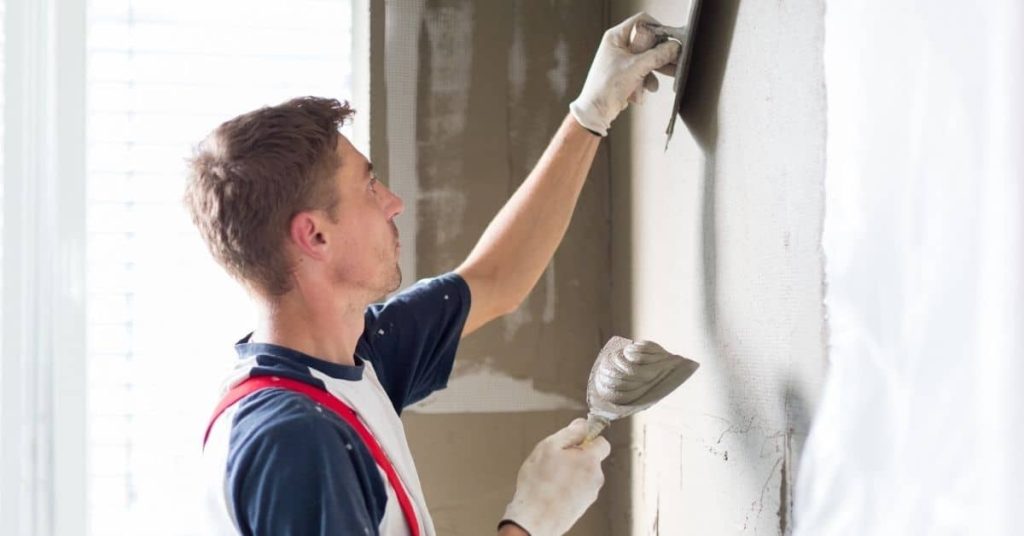
Patching Plaster After Plumbing Access Holes: How to Keep the Patch from “Drumming”
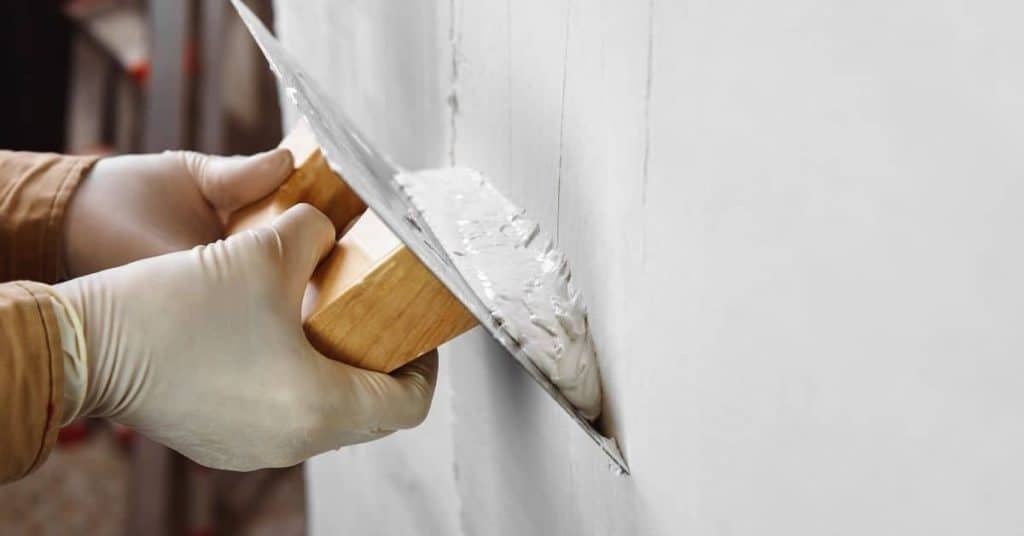
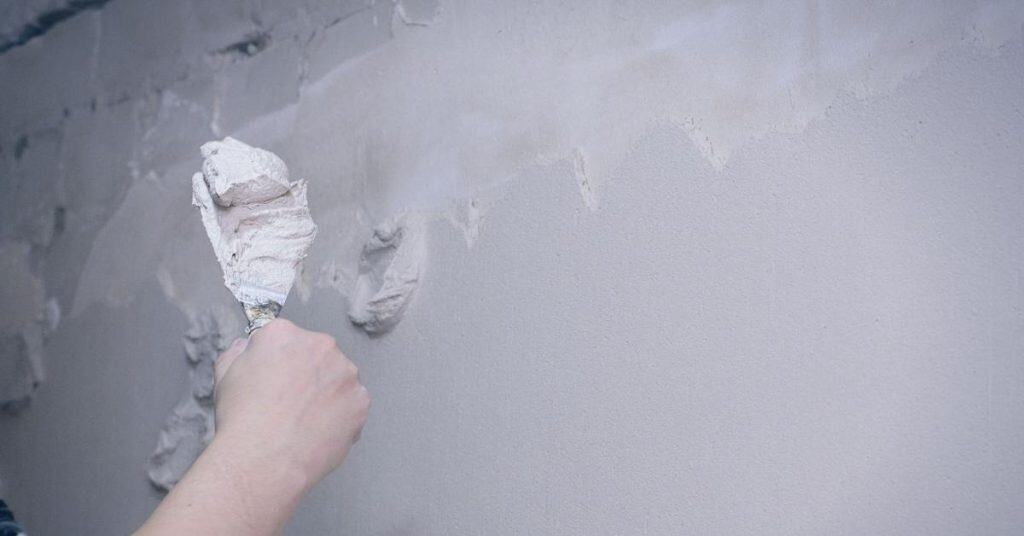
Introduction Patching plaster after plumbing access holes means rebuilding the damaged wall so it won’t drum when you tap it. Start by carefully removing loose plaster around the hole and cleaning the edge so the patch bonds well. Check the backing and, if needed, install a thin scrim or patching plaster to create a solid […]
Patching Plaster After Plumbing Access Holes: How to Keep the Patch from “Drumming” Read More »