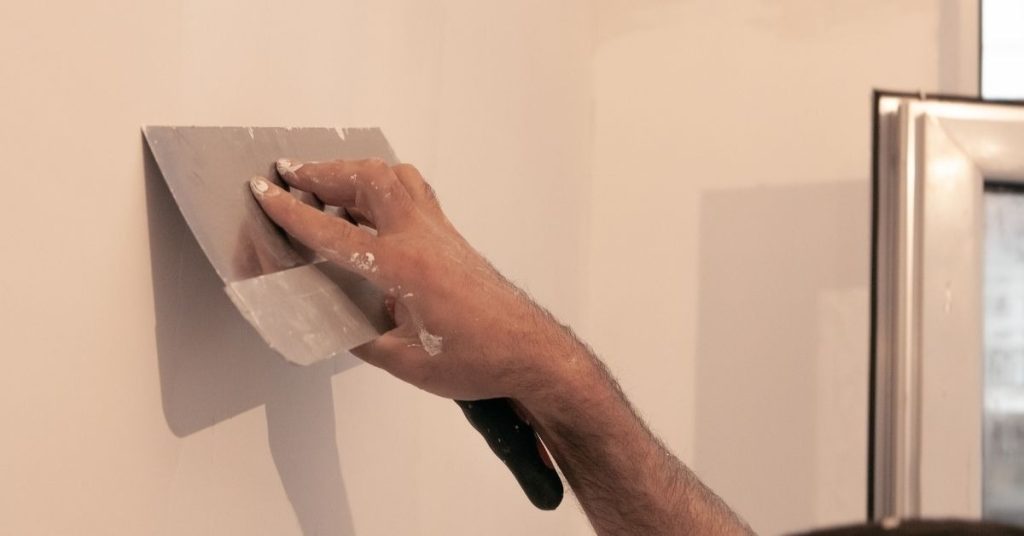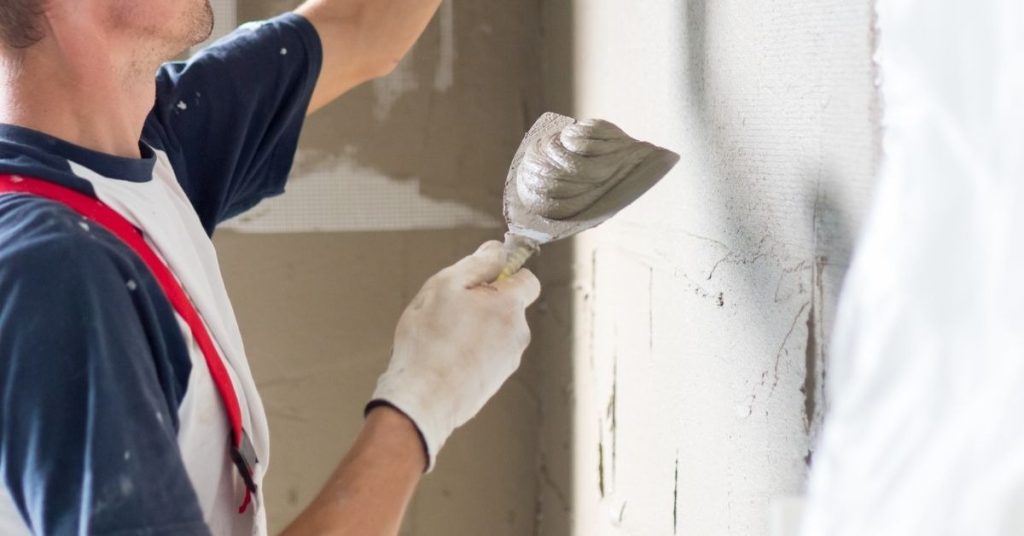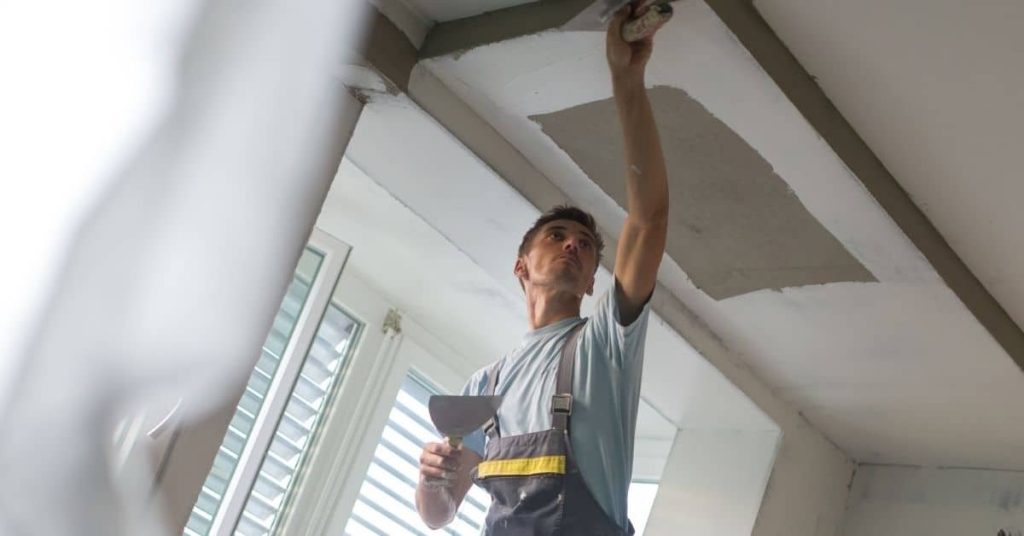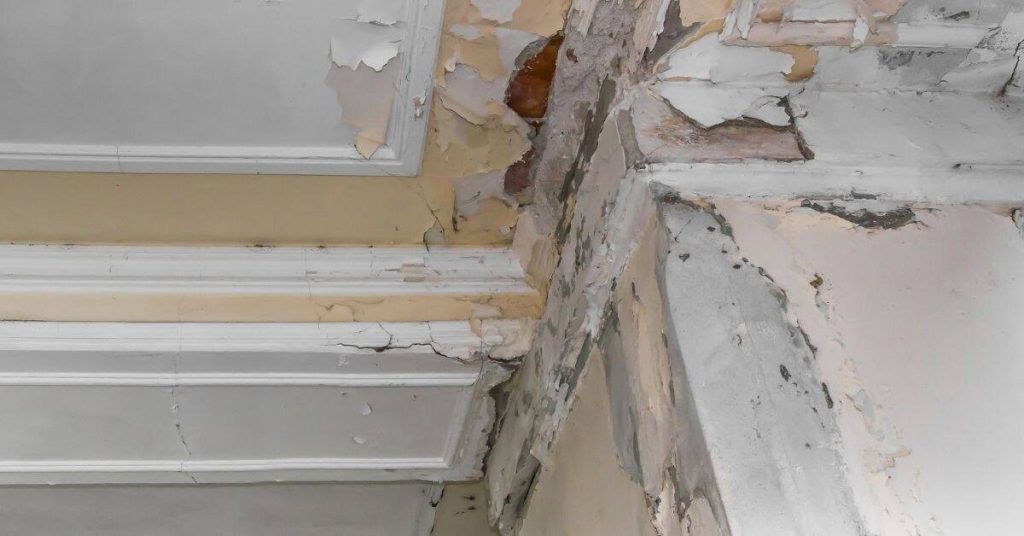
Plaster Over Brick: Bonding and drying control to prevent blisters
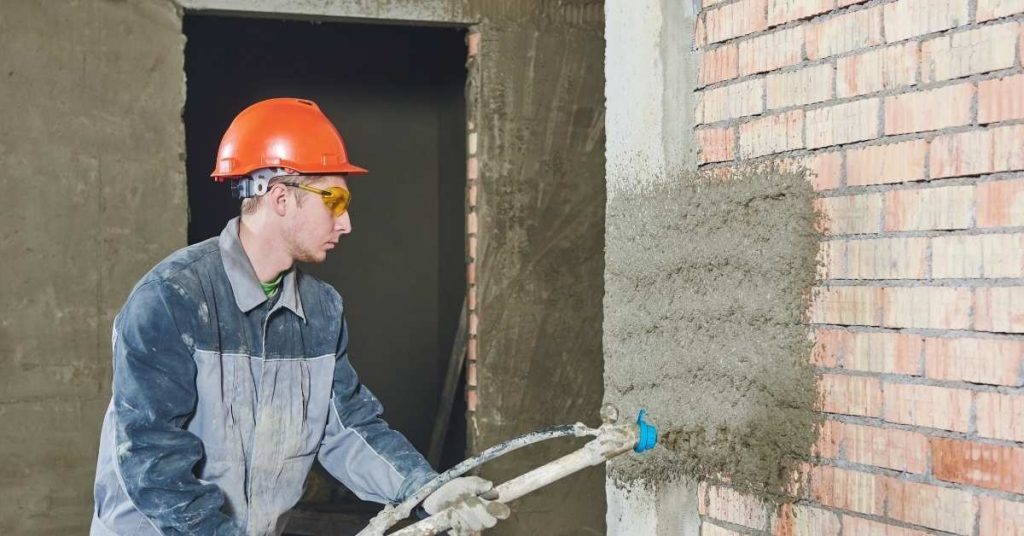
Introduction Plaster over brick is applying a plaster coat directly onto a brick wall to create a smooth, ready-to-finish surface. The key is good bonding and managing drying so the plaster doesn’t blister. Follow surface prep steps, use the right bonding coat, and monitor moisture as you go. Clean and dampen the brick surface as […]
Plaster Over Brick: Bonding and drying control to prevent blisters Read More »