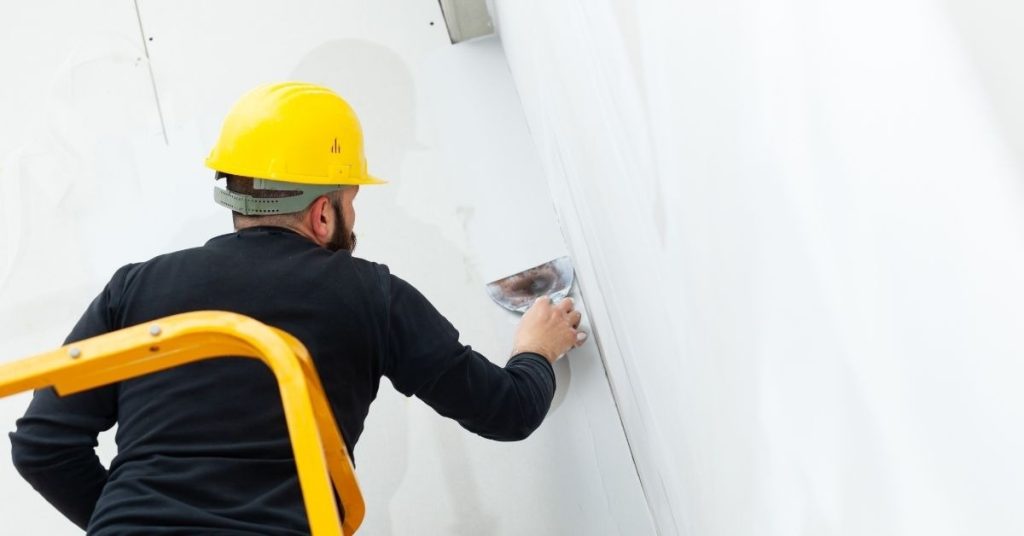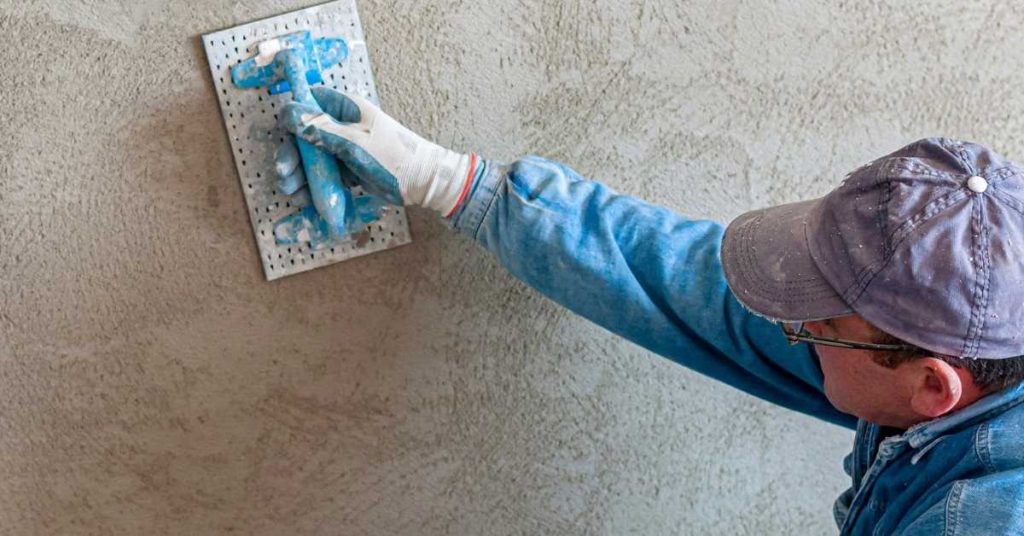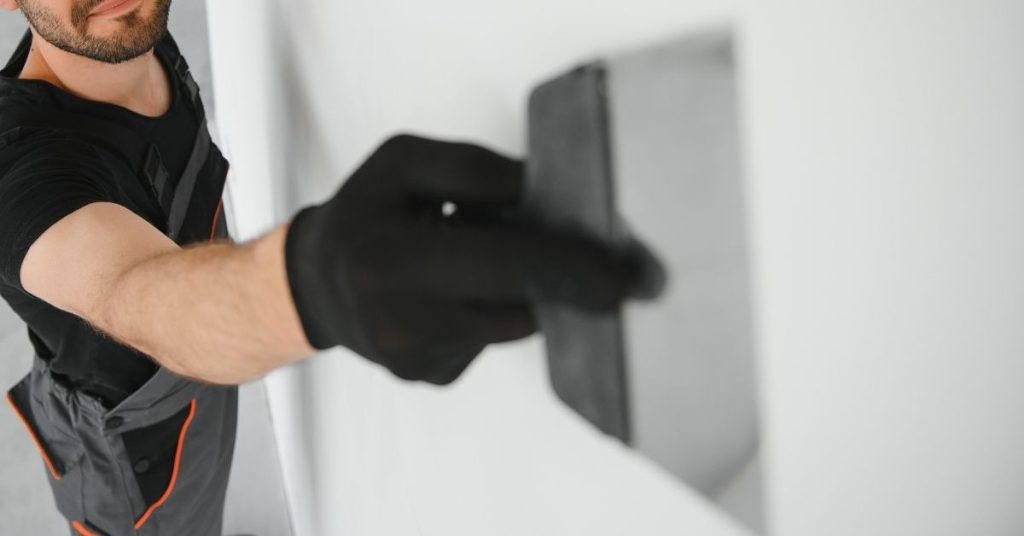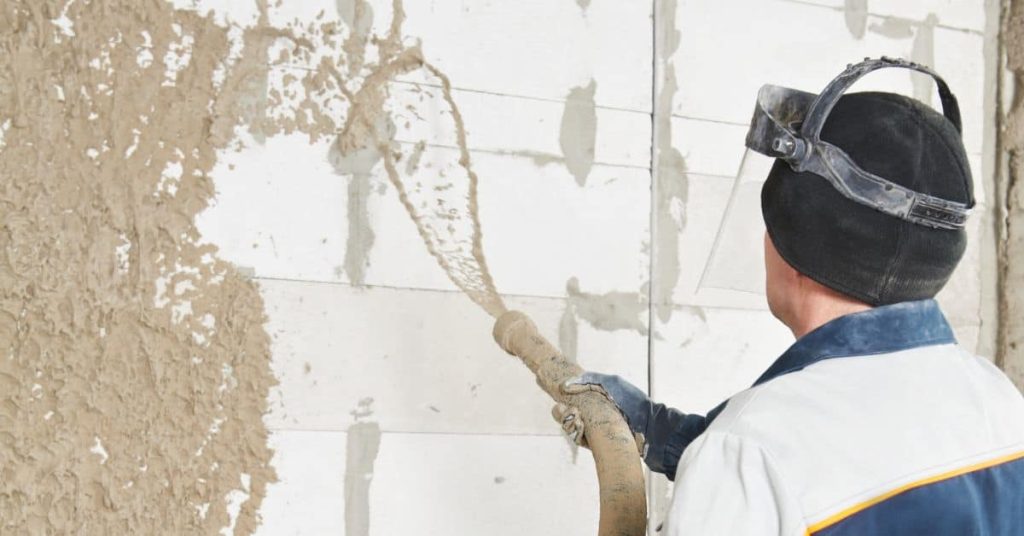
Clear Breathable Sealers for Colored Stucco: When to Seal and When to Leave It Alone
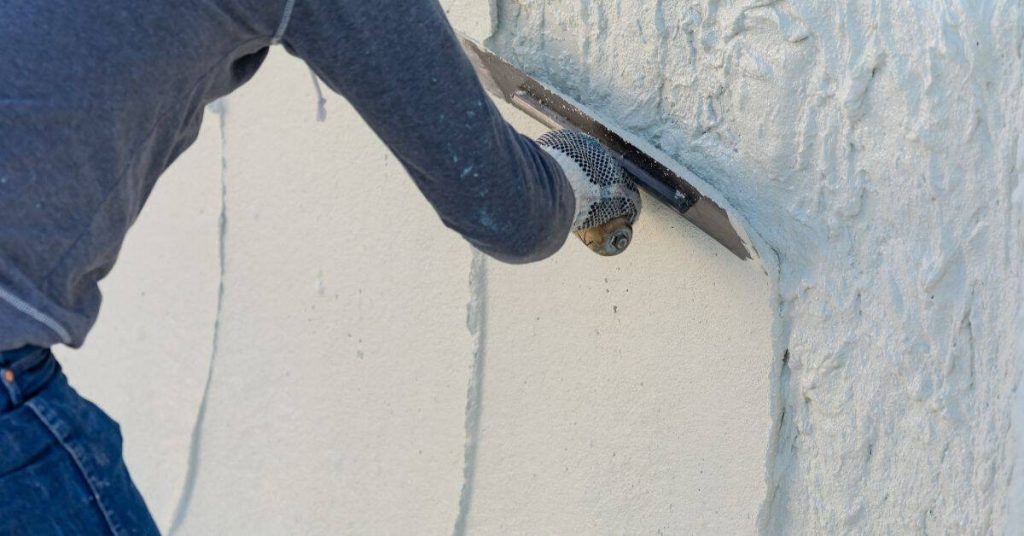
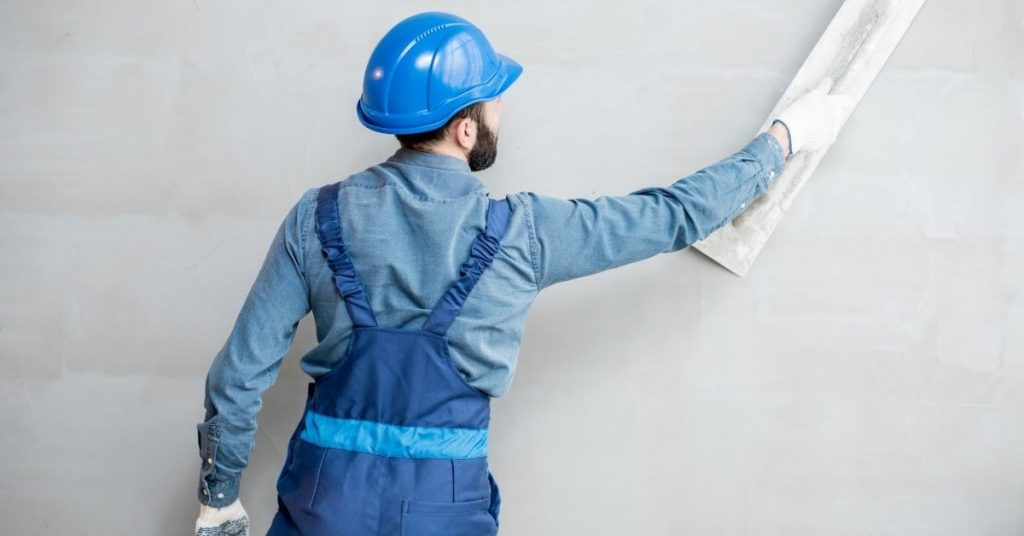
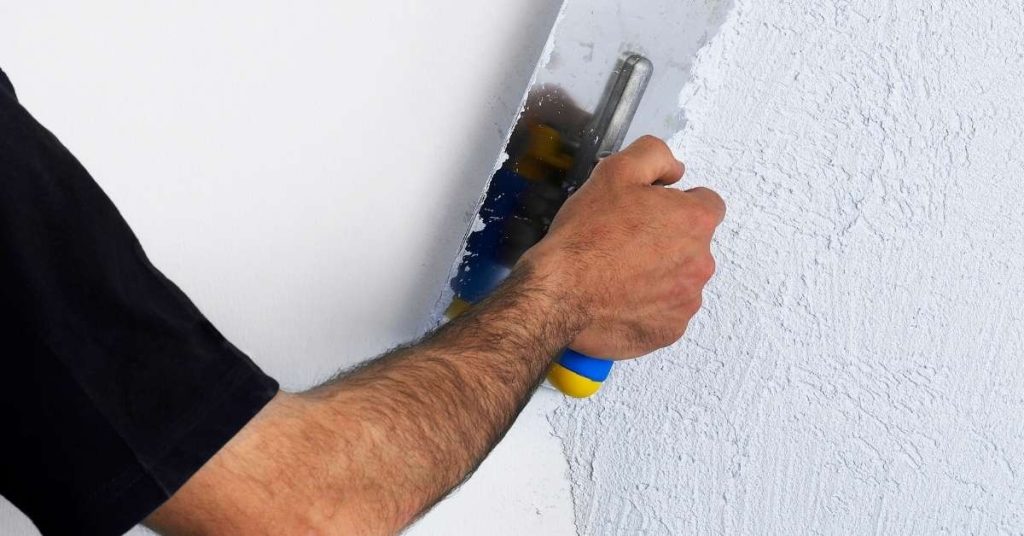
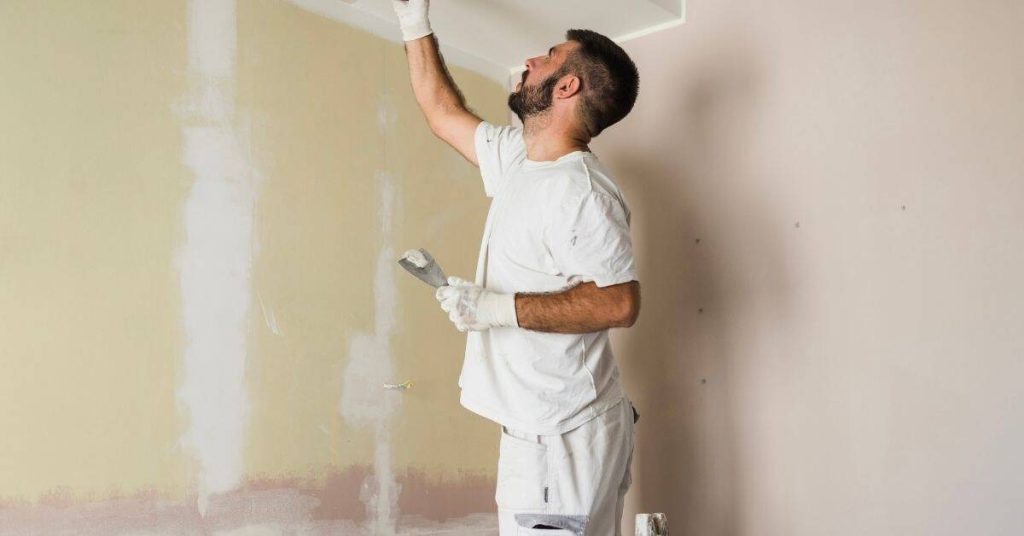
Introduction Clear breathable sealers let moisture escape from stucco while preserving its color. As a DIYer, you want to understand when a finish is appropriate and when it’s better to skip it. This article gives a practical, hands-on view of sealing colored stucco without turning it into a mystery. Surface prep matters: clean, dry, and […]
Clear Breathable Sealers for Colored Stucco: When to Seal and When to Leave It Alone Read More »