Worker smoothing plaster wall wearing blue overalls and helmet

Skim Coating over Painted Plaster: How to Test Adhesion Before Committing

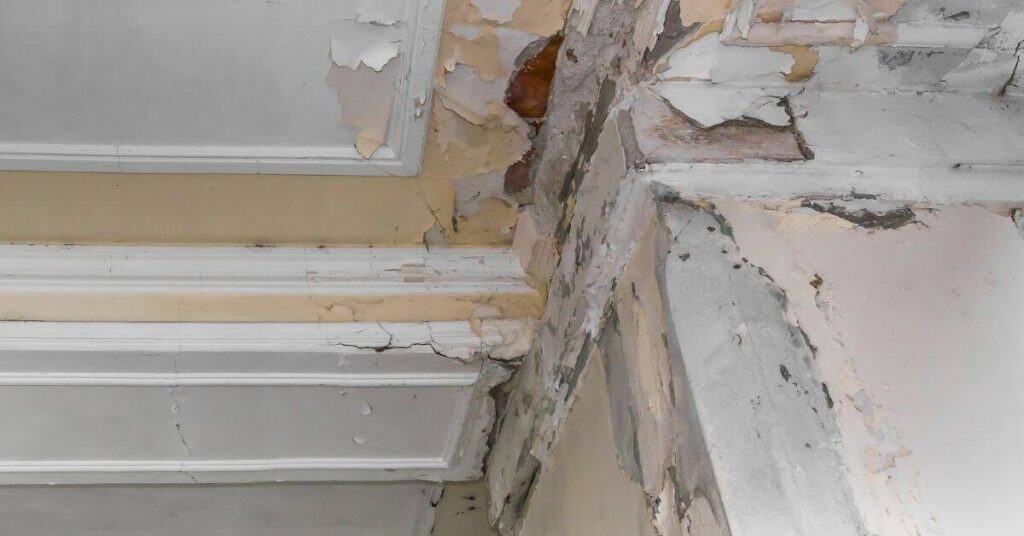
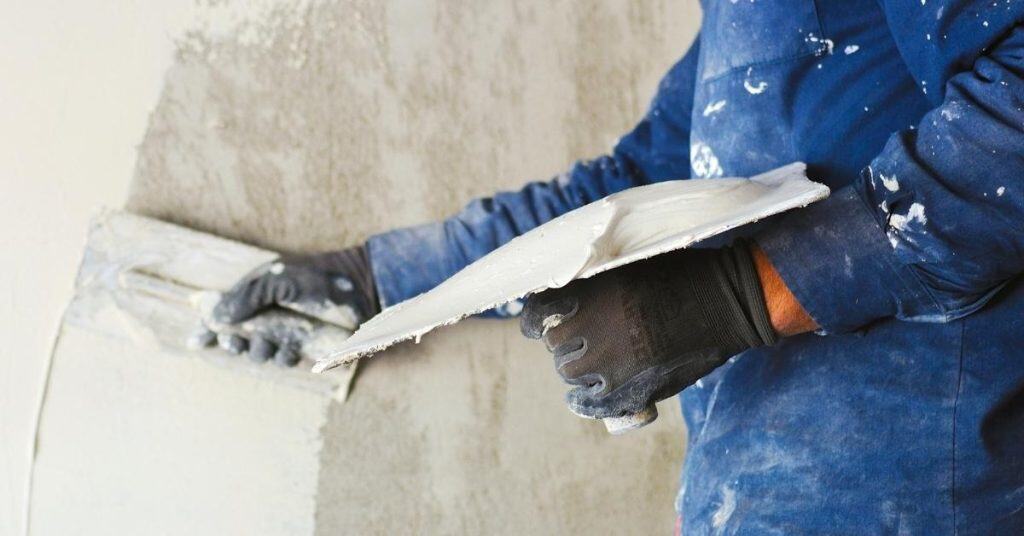
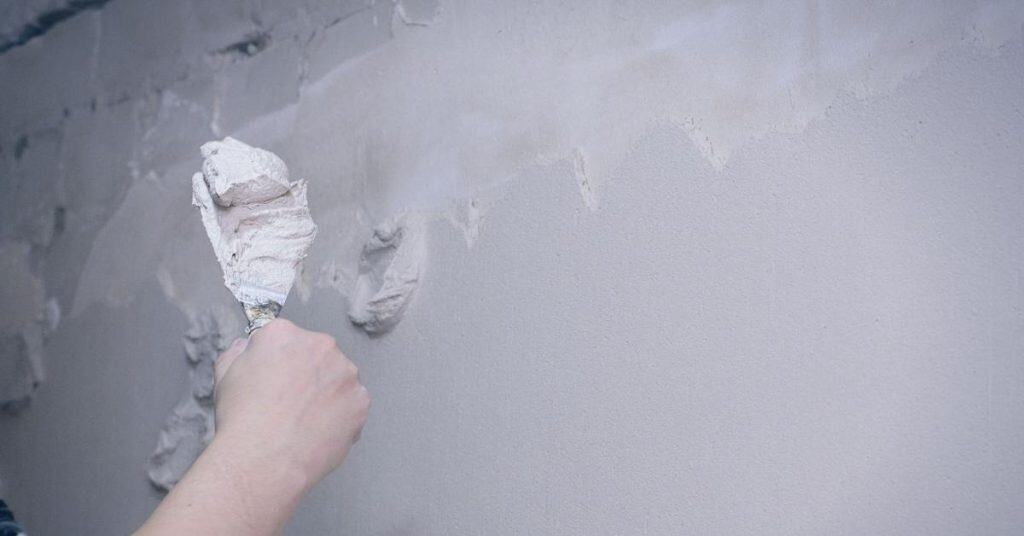
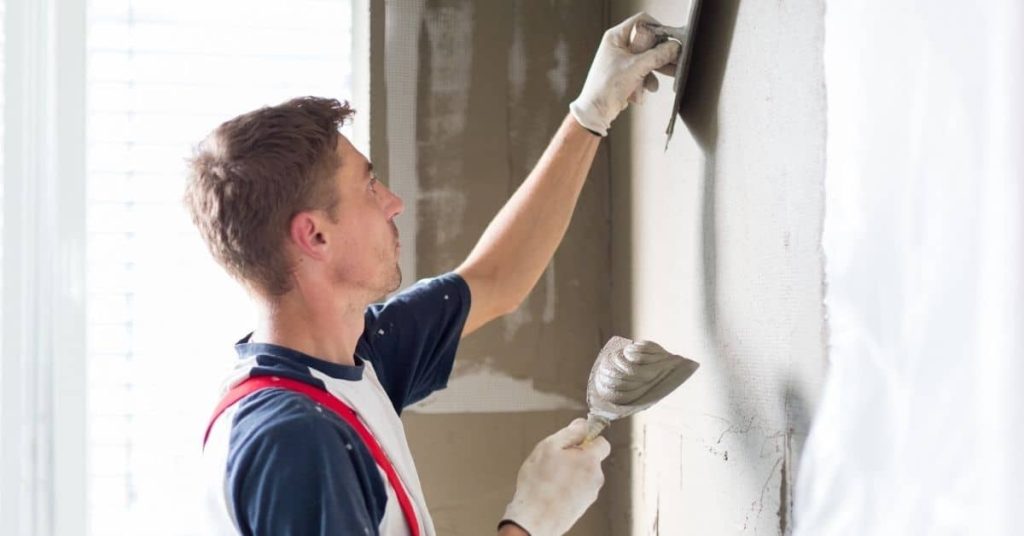
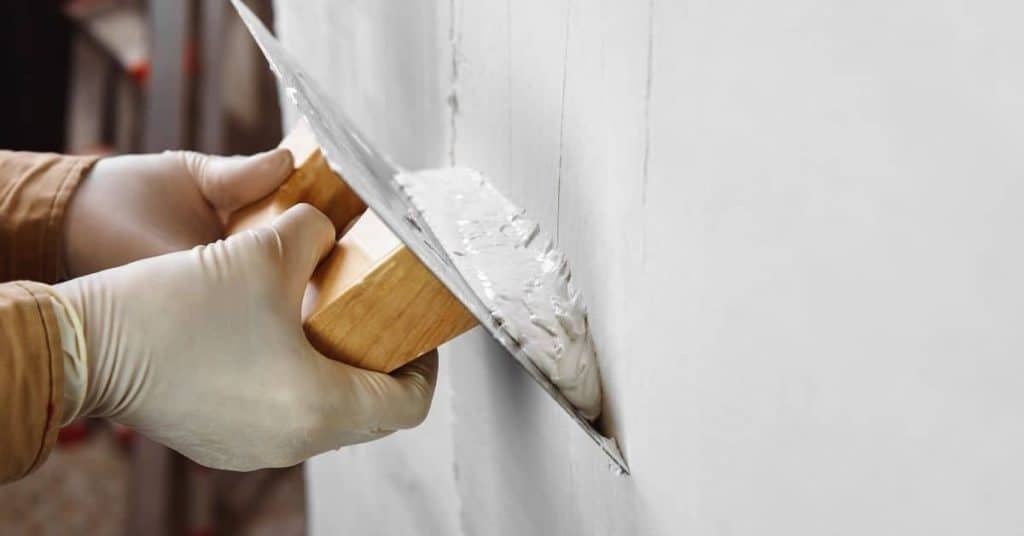
Introduction Skim coating over painted plaster requires testing adhesion first to know if the surface will hold the skim. Start by making sure the painted layer is sound, clean, and free of wax, flaking paint, or dust, and plan any necessary surface preparation before you proceed. This quick check helps you decide whether to go […]

Skim Coating over Painted Plaster: How to Test Adhesion Before Committing Read More »

Worker smoothing plaster on wall with trowel wearing gloves and cap

Hardwall Plaster on Masonry: Achieving a Flat Plane Without “Waves”

Introduction Hardwall plaster on masonry is applying a cement-based coating to brick or block to create a flat, level surface. It means you’re sealing the rough masonry and guiding the plaster down to a true plane. Start by checking the wall for moisture and any loose material, then read the instruction on the product label

Hardwall Plaster on Masonry: Achieving a Flat Plane Without “Waves” Read More »

Cracked and peeling plaster near ceiling and crown molding

Repairing Water-Damaged Plaster: Drying Steps and What Must Be Cut Out

Introduction Repairing water-damaged plaster means removing the wet, compromised material and drying the area before patching. You should cut out all obviously damaged plaster and lath, and then dry the wall cavity with ventilation and heat as needed. Stay alert for mold, structural clues, and electrical hazards, and follow safe practices on the job site.

Repairing Water-Damaged Plaster: Drying Steps and What Must Be Cut Out Read More »

Worker applying plaster to wall with trowel and hawk

Plaster Bonding Agent Application: Coverage Rates and “Tacky Vs Dry” Timing

Introduction Plaster bonding agent application is applying an adhesive coat to help plaster bond, focusing on how much area it covers and when it becomes tacky or dries. In practice, you spread or roll on the bonding agent following the surface you’re working with, pausing long enough for it to tack to the right feel

Plaster Bonding Agent Application: Coverage Rates and “Tacky Vs Dry” Timing Read More »

Hand applying plaster to wall with a trowel

Patching Plaster After Plumbing Access Holes: How to Keep the Patch from “Drumming”

Introduction Patching plaster after plumbing access holes means rebuilding the damaged wall so it won’t drum when you tap it. Start by carefully removing loose plaster around the hole and cleaning the edge so the patch bonds well. Check the backing and, if needed, install a thin scrim or patching plaster to create a solid

Patching Plaster After Plumbing Access Holes: How to Keep the Patch from “Drumming” Read More »

Decorative plaster corbel on exposed brick wall

Rebuilding Decorative Plaster Edges: Simple Molds You Can Make to Match Profiles

Introduction Rebuilding decorative plaster edges means making simple, handmade molds to reproduce the profile you want. You can shape the mold from clay or use basic flexible material to match the original edge, then set it up for casting. Check the profile on the piece and follow manufacturer instructions or local rules for materials and

Rebuilding Decorative Plaster Edges: Simple Molds You Can Make to Match Profiles Read More »

Man applying plaster to interior wall with trowel

Plaster Repairs in High Humidity Rooms: How to Prevent Powdery Finishes

Introduction Plaster repairs in high humidity rooms require moisture-aware prep and material choices to stop powdery finishes. Start by preparing the walls carefully, removing loose material and cleaning the surface before patching. Choose materials and patching methods suited for humid conditions, and verify any limits on use with the product label or manufacturer instructions. Mix

Plaster Repairs in High Humidity Rooms: How to Prevent Powdery Finishes Read More »

Two plaster trowels leaning against rough plastered wall

Fixing Plaster at Baseboards: Rebuilding the Bottom Edge Without Removing All Trim

Introduction This is fixing plaster at the baseboard by rebuilding the bottom edge while leaving the trim in place. It’s a hands-on repair that tightens up gaps and brittle edges along the wall line. Plan to clean, assess damage, and mix materials that suit your wall type and existing plaster. You’ll need to protect the

Fixing Plaster at Baseboards: Rebuilding the Bottom Edge Without Removing All Trim Read More »

Person applying plaster to wall near window corner

Repairing Cracks at Door and Window Corners: Reinforcement Methods That Stay Invisible

Introduction Invisible reinforcement methods for cracks at door and window corners involve strengthening the surrounding frame and substrate without visible patching. This article covers practical, stay-in-place techniques you can do yourself to keep a tight, long-lasting seal. You’ll identify crack types and choose a method that doesn’t alter the look of the opening. Identify crack

Repairing Cracks at Door and Window Corners: Reinforcement Methods That Stay Invisible Read More »

Hands in gloves applying plaster with a flat trowel

Lime Vs Gypsum Patching: Why Mismatched Materials Cause Future Failure

Introduction Mismatched patching materials can fail later due to incompatible chemistry. Lime and gypsum set and breathe differently, so using the wrong combo can lead to cracks, dusting, or damp spots. Stick to a patching mix that matches what’s already on the wall for best results. When patching, verify that the material is compatible with

Lime Vs Gypsum Patching: Why Mismatched Materials Cause Future Failure Read More »