
Introduction
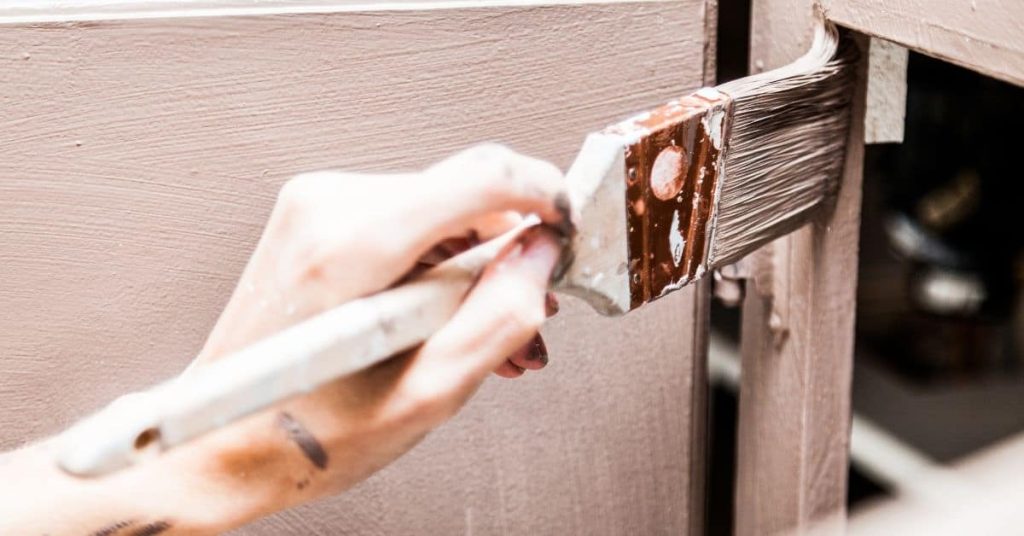
Painting is the practical, hands-on job of applying color to walls to refresh and protect a room. This guide breaks the task into simple steps you can handle, from prep to the final finish.
You’ll learn how to pace the work from prep through the first coats to the final touches. Know when to stop so you don’t overwork the surface and end up with dull patches or brush marks.
Key takeaways
- Simplify by batching similar tasks and completing each area in one pass.
- Before painting, inspect surfaces and repair flaws to prevent overworking later.
- Use broad-to-detail technique: large areas first, then refine with smaller brushes.
- Stop when edges look crisp; avoid chasing perfection with rework.
- Always wear PPE and keep solvents away from heat sources during cleanup.
- Practice plan: start with simple projects to internalize consistent strokes and timing.
Table of Contents
- Introduction
- Key takeaways
- Why Simplify Your Process and Avoid Overworking
- Before You Paint — Planning and Setup That Prevent Overwork
- Tools, Materials, Cost Considerations, and Safety
- During Painting — a Broad-to-Detail Workflow
- Intentional Techniques — Pick Two or Three and Use Them Well
- Knowing When to Stop — Signs, Simple Rules, and Visual Checkpoints
- Troubleshooting and Salvaging Paintings
- Beginner Practice Plan and Simple Projects to Internalize These Tips
- Conclusion
- FAQ
Why Simplify Your Process and Avoid Overworking
Simplifying your painting routine helps you keep contrast crisp, colors fresh, and your confidence intact. Fewer moving parts also reduce mistakes on concrete surfaces by making the plan easier to follow. This section sets you up with practical, bite-sized steps you can apply right away.
We’ll tackle mindset and pacing, explain how to limit choices, and show you simple tactics that prevent overworking. By keeping the process straightforward, you can finish with predictable results and less fatigue. Expect clear prompts you can use today to start cleaner, faster work.
The benefits of simplification
Simplifying your painting process isn’t just about making things easier. It’s about making them better.
Limiting your choices helps you make better decisions. With fewer options, you can focus on what really matters – the relationship between colors and values.
It also speeds up progress. Fewer moving parts mean less time wasted on indecision or mistakes. You’ll get through your concrete surface quicker, with less stress.
And it clarifies your composition. With a simplified process, you can see what’s working and what isn’t more clearly. It’s like having a clean workspace – everything has its place, and nothing gets lost in the clutter.
Common causes of overworking
Overworking happens when you keep painting long after you should have stopped. It’s like trying to fix a problem by making it bigger.
The most common cause is fear of mistakes. You think you can ‘fix’ a spot with another coat, but really, you’re just covering up the original problem and creating a new one.
Another cause is chasing detail. You see something that’s not quite right, so you keep painting, trying to ‘perfect’ it. But all you’re doing is muddying the color and losing contrast.
Poor planning can also lead to overworking. If you don’t have a clear plan for your paint application, you might end up fiddling with the surface, trying to make it look right. But really, you should have planned better before you started.
Before You Paint — Planning and Setup That Prevent Overwork
Start with a quick pre-paint decision checklist to remove indecision. Confirm surface type and condition, repair cracks or holes, and check moisture and temperature while ensuring ventilation and safety gear are in place. These checks set the stage for a smoother paint phase.
Get material and tool readiness in order, plan a simple surface prep, and decide on a color plan before you touch a brush. This plan minimizes delays and keeps you from chasing last-minute changes during the job.
Limited palette: how to pick and why
Before you start mixing colors, decide on a limited palette. This means choosing a small set of harmonious pigments that can be mixed to create a wide range of tones.
Aim for flexibility in your mix. Choose one each of warm and cool reds, blues, yellows, and greens. Add a neutral like white or gray for lightening and darkening.
Why limit your palette? It simplifies your process, prevents overworking, and helps you understand color theory better.
Before you start painting, test your mixes on scrap paper. This way, you can see how they react and adjust as needed.
One-brush rule: selecting and practicing with one versatile brush
Instead of switching between various brushes, choose one multi-purpose brush. This trains your hand and eye to work broadly, reducing fiddly details.
A good all-around brush has soft bristles, a slanted edge, and is about an inch wide. It’s great for both broad strokes and fine details.
Why the one-brush rule? It keeps your compositions cohesive, speeds up your painting process, and helps you develop a consistent style.
Practice using this brush in different ways. Load it with paint for broad strokes, or tap it lightly for fine details. The more you use it, the more versatile you’ll become.
Choosing references with clear contrast
When selecting reference photos or scenes to paint, look for strong light-dark shapes and simple values. This makes your painting decisions easier.
High contrast means there are distinct differences between light and dark areas. This helps you see the basic structure of your subject clearly.
What to avoid? Complex subjects with low contrast can be confusing and lead to overworking as you try to figure out what’s happening.
Simplicity is key. Choose references where the main shapes are clear, and the values are distinct. This will help you paint more confidently and prevent overworking.
Tools, Materials, Cost Considerations, and Safety
Outline core painting tools and workspace setup to stay organized and safe. This includes drop cloths, painter’s tape, masking materials, and a clear, ventilated work area. A tidy setup reduces cleanup time and material waste.
Break down primers, topcoats, sealers, and prep products, and note where you can invest and where to save. Always check labels for compatibility, cure times, and safety recommendations before buying or using products.
Essentials vs. nice-to-have supplies
The right materials make all the difference in a successful paint job.
- Quality Primer: Essential for adhesion and durability. Look for one rated for concrete. Tip: Don’t skip this step.
- Durable Topcoat: Invest in a good topcoat to protect your work. Check labels for UV resistance and longevity.
- Basic Brushes/Rollers: Start with mid-range brands. They’re affordable and get the job done. Avoid cheap ones that lose bristles or shed fibers.
- Drop Cloths: Protect your surfaces. Heavy-duty canvas or plastic are best. Skip thin, flimsy cloths that let paint through.
- Painter’s Tape: Essential for clean lines. Use a high-quality tape to avoid peeling paint later. Avoid cheap tape that leaves residue.
Safety and a tidy workspace
Proper ventilation is crucial when painting indoors. Use fans or open windows to keep the area well-ventilated.
Consider using low-VOC or zero-VOC paints to minimize fumes. Always wear a respirator or mask when working with solvent-based paints.
Keep your workspace clean and organized. A tidy area reduces accidents and makes cleanup easier. Use designated storage for tools and materials.
Remember, safety isn’t just about you – it’s also about protecting your work. Keep pets and children away from wet paint and use protective covers on surfaces not being painted.
During Painting — a Broad-to-Detail Workflow
Adopt a broad-to-detail mindset: cover large areas first, then refine edges and features. Secure baseline values such as color and opacity before moving to finer work. This approach helps you stay on track and avoid overworking.
Use quick diagnostics at key stages to decide whether to proceed or pause. Expect a sequence from broad coverage to controlled finishing to keep the finish even and purposeful.
Squinting and seeing big shapes and values
When you’re starting a painting, squint your eyes. This simple trick helps you see the broad shapes and value relationships rather than getting lost in details.
Look for large areas of light and dark. These are your major shapes. They’ll guide your initial strokes.
Why it matters: Seeing big shapes first keeps your painting loose and fresh. It stops you from overworking the surface too early.
Work broad to detailed, light to dark
Start by blocking in your lights and midtones. These are the foundation of your painting. They’ll give you a solid base to build upon.
Use large brushes or rollers for these initial passes. Work from top to bottom, side to side. This way, you’re covering broad areas evenly.
Then: Once your lights and midtones are established, start layering in darker accents and details. But remember, less is more at this stage. You can always add more later.
Paint shapes, not objects
Think about your subject in terms of abstract light, dark, and edge. This might sound strange, but it’s a game-changer for avoiding overworking.
Instead of trying to paint every detail of an object, focus on the shape it makes with light and shadow. How does it contrast with its surroundings?
Why it works: By thinking in abstract terms, you’re less likely to get bogged down in details too early. It keeps your painting fresh and lively.
Intentional Techniques — Pick Two or Three and Use Them Well
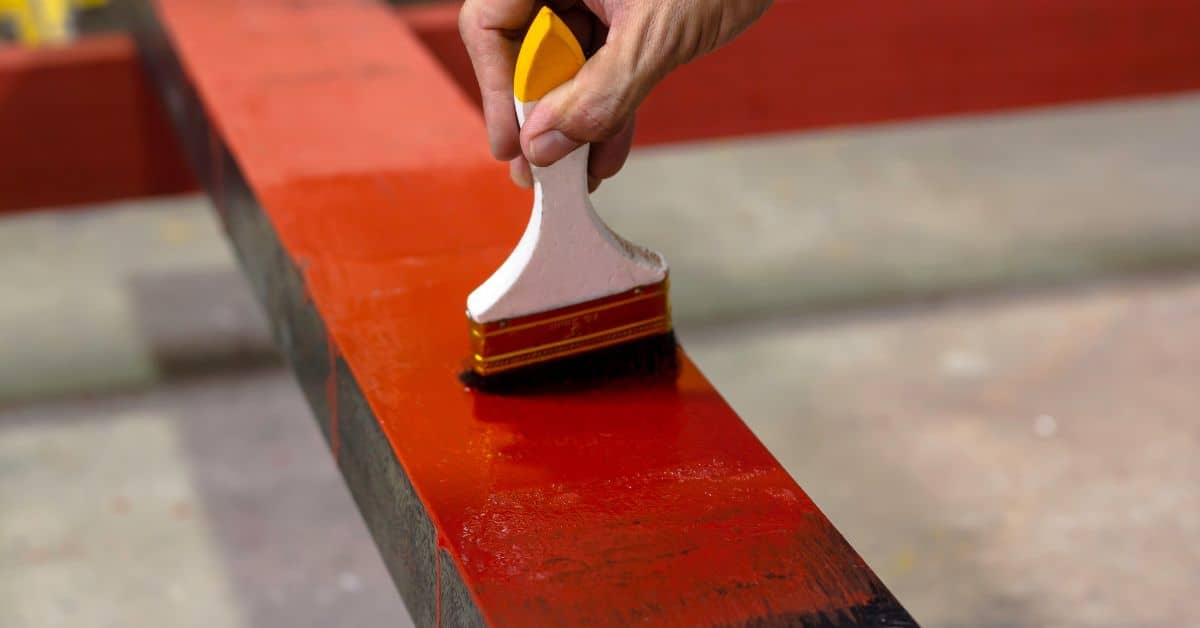
Clarify the core idea by choosing 2–3 reliable techniques and using them deliberately. Define what intentional painting means in practice, including goals, limits, and pacing. This focus prevents wandering into unnecessary effects.
Select candidate techniques and outline how each fits your surface and workflow. Provide practical rules for engagement and quick workflows that show how two techniques can be combined with purpose.
Core techniques to master first
The best way to start is by mastering a few reliable techniques. These will give you the most mileage and control over your painting.
Wash Control: This is your foundation. Practice laying down even, smooth washes without leaving brush strokes or creating streaks.
Wet-into-Wet: Learn to blend colors directly on the surface while they’re still wet. This helps create smooth transitions and gradations.
Glazing/Washes or Drybrush: Choose one of these for adding depth and texture. Glazing involves layering thin, transparent washes. Drybrushing is a technique where you brush off excess paint before applying it to the surface, creating a textured effect.
When to add texture and special effects
Texture and special effects can enhance your painting, but they should be used sparingly. Too much can clutter the piece.
Granulation: This is when you sprinkle dry pigment or salt onto wet paint to create a textured effect. Use it sparingly and only where it adds value.
Splattering: This technique involves flicking or dabbing paint onto the surface to create a random, speckled effect. It’s best used in small amounts to suggest movement or atmosphere.
Lifting: This involves removing paint from the surface to create highlights or add texture. Use a clean, damp brush to lift off color carefully and deliberately.
Knowing When to Stop — Signs, Simple Rules, and Visual Checkpoints
Identify clear finish signals such as even tone and intentional edges. Look for a consistent value range and avoid dull or muddy spots. Use neutral lighting to assess overall balance before declaring completion.
Establish simple stopping rules and a brief reassessment routine. A final check under neutral light helps you avoid lingering tweaks that dull the piece’s energy.
Visual checkpoints and stopping rules
Use this checklist regularly during painting to ensure you’re on track and know when to stop.
- Check highlights, midtones, and shadows: Ensure they’re consistent from a consistent distance. Inconsistencies can lead to a muddy look.
- Ver